For those of us who are less than mediocre with technology, WordPress plugins are a godsend. I discovered the limitless possibilities within plugins after I struggled to write code that would change my website’s cursor. After spending a great deal of time without any success, I discovered a plugin called Cursor Control, which made it unbelievably easy for me to upload images to make a custom cursor. Plugins are an extremely useful tool for beginners, tech-challenged people, or even tech people who don’t want to spend time coding. If you want to make it easier to change or include something in your website, there’s a plugin for that. I’m going to go over how to successfully search for and install plugins. While doing this, I will also introduce a particularly useful plugin that allows for easy data visualization within WordPress. This will be useful for those of us who have difficulty with embedding things, and also give us another, closer tool to visualize data.
The first step after logging on is to go to the plugin menu, shown to the right. This will only be available if you have permission to edit the website, so likely only if you’re the owner. To install a plugin, begin by clicking the “add new” button shown in the drop-down menu. From there you will be able to search for whatever tool your heart desires! Because we’re interested in data visualization, I searched “charts and graphs,” as seen below.
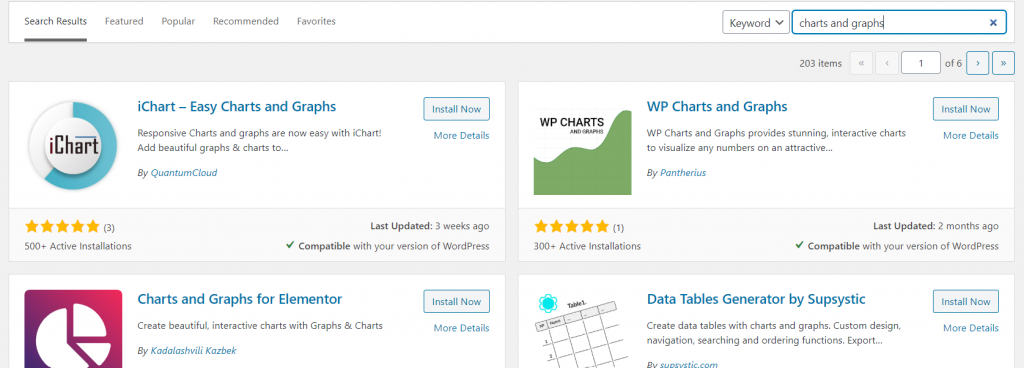
Already, we can see that there are a lot of options to choose from. To get the best experience, there are a couple of things to look for when picking the plugin you want to download. The first is how many Active Installations it has. Although there are good plugins that are less popular, it’s generally the case that the more downloads one has, the easier it is to work with. There’s usually more support available as well. It is also helpful to look at screenshots provided in order to determine if it’s actually what you want. FAQs, descriptions, and reviews can also inform you on how hands-on or intricate the plugin is. Look through a couple of the results before deciding which one to get, because with so many options, there will be something that fits your needs exactly.
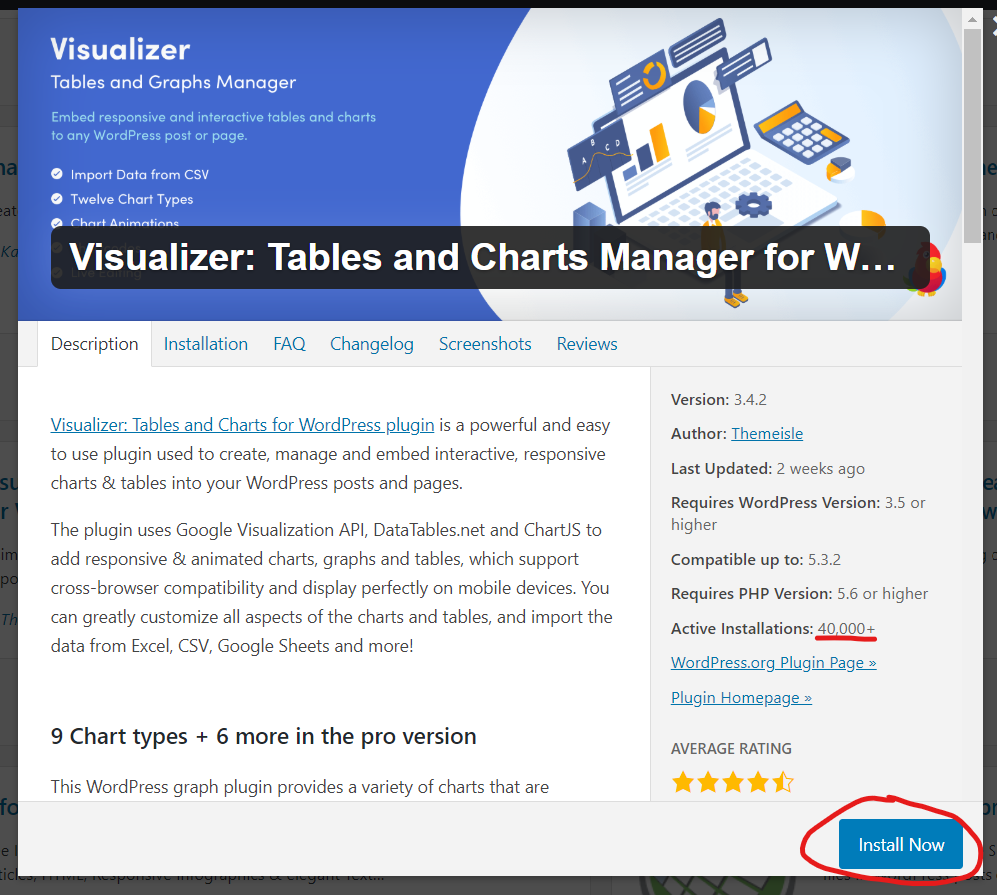
I decided to download my 5th search result, Visualizer. With over 40,000 active installations, an in-depth FAQ, good reviews, and visuals I liked, it was perfect. After installing the plugin, you have to go back to the plugin menu on your website to activate it. The activate button is shown below.
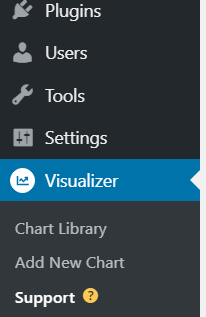
It won’t be the same with every plugin, but this one creates a new button on the menu, shown on the right. Other plugins may just be used within post options or through the plugin menu. Look around a bit at the options and/or changes that your new plugin has before going in to use it right away. Jumping right in, I’m going to add a new chart by clicking the button on the drop down menu.
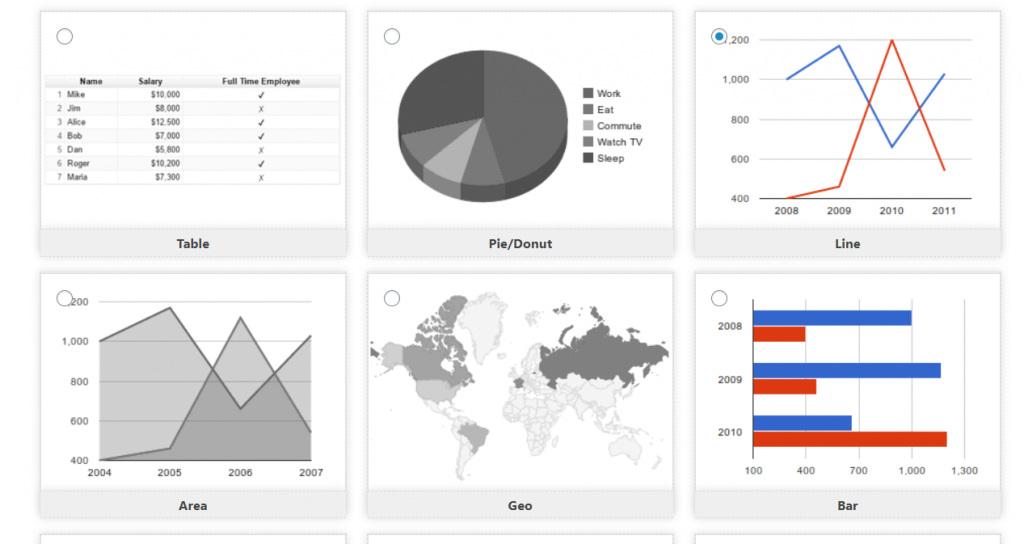
There are six great options available within the free version of Visualizer, shown above. I decided to go with a classic line graph, but of course it depends on the kind of data you have. Once you decide on your visual, you have to provide data to use.
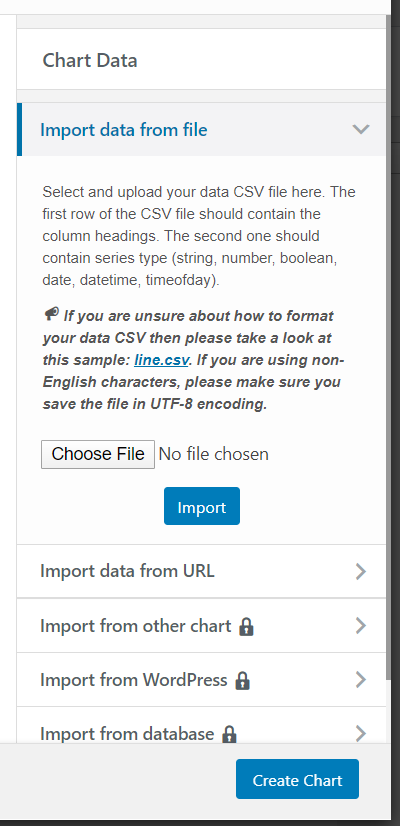
The free version of Visualizer allows you to import data from a local CSV file or a URL, as shown above. It’s important to note that in order to process the data, there are specific headings that are necessary. You can read more on that here, or see the changes I made to a document with the links in the next paragraph.
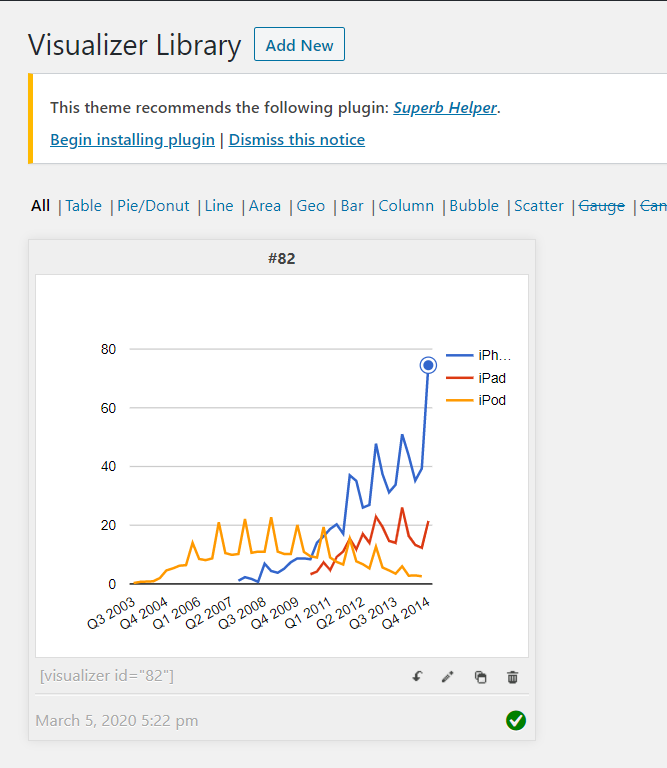
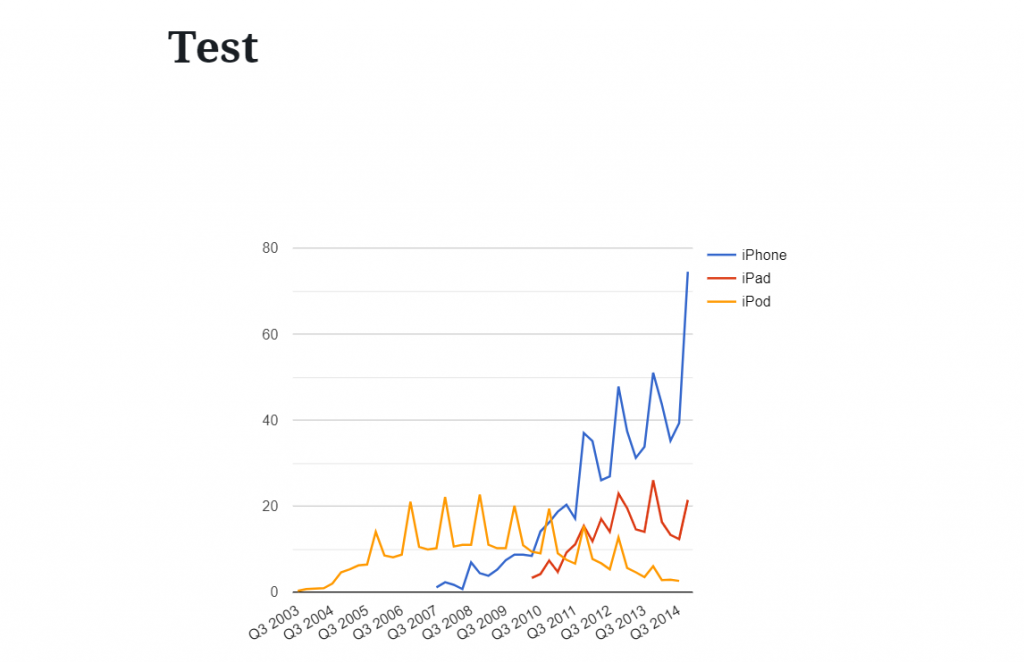
Using data I found about the popularity of Apple devices throughout different quarters, I edited it a bit, then created this line graph with ease! When I was done, it automatically got added to the Visualizer Library, which exists under the Visualizer tab. Now, to include this graph within a post.

When making a post, there is a new option (shown above) to add a Visualizer chart. After clicking on that, click on the chart you made, and it will automatically embed itself within the post. Easy peasy, and no coding required!
Plugins are a fantastic resource for website owners. They make it so you can customize your websites and posts with ease, and save a lot of time. The Visualizer plugin is helpful in creating colorful charts, avoiding the embedding process, as well as providing easy access to visuals from your WordPress account. So get out there! Explore the free plugins available to you and create an awesome website without coding.
6 replies on “Using Plugins in WordPress”
I appreciate that you included both general tips for all WordPress plugins and a tutorial for a specific one! I don’t think that I have much reason to use graphs on my WordPress site as of right now, but I’m sure that I can apply your tips to the plugins that I would like to add! Thanks!
I thought this was a very insightful tutorial! Though I was aware of plugins on the WordPress site, I had no idea that there was such a variety of different plugins, especially for data visualization. Additionally, even though this tutorial is centered around a specific plugin, the steps seem applicable to the installation of any plugin. Great work!
Thank you for your tips. It’s definitely a really powerful tool because this tool combines the data analysis and presentation into one plugin. I can use it to present my research result in WordPress know.
Nice Job Shannon, I found it really easy to download and use Visualizer, but sometimes I was confused by your images. One in the order they’re displayed and trying to see what you’re pointing out in each. I think better positioning of the images or clarity in the text would make your tutorial that much better
This is a very detailed tutorial! I am amazed by your layout and careful instructions. Now I know there are som many different plugins in WordPress, and those for data visualization are so powerful. Nice Job!
A few years ago when I was still learning HTML I never sought that making websites can be so much easier with WordPress. I think this is definitely an example of why sometimes you don’t really need to learn programming to be a good digital humanist because so many things are already done by other people and you can just be the one to take advantage of that. Good article!