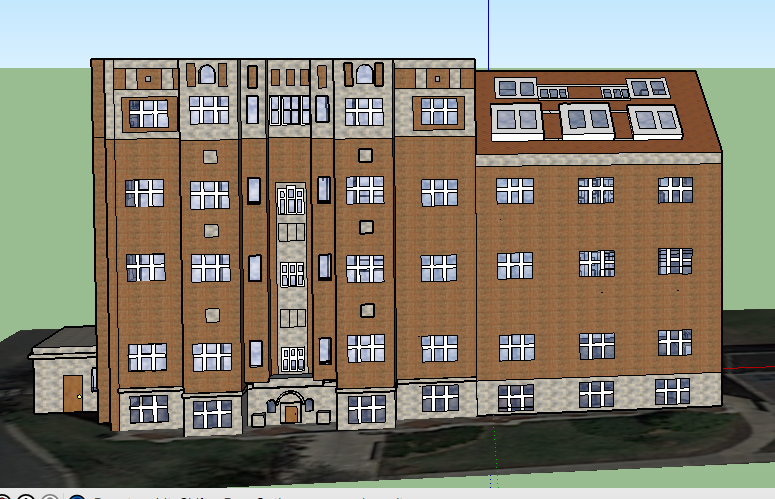
My finished product: Davis Hall
Looking at my newly-constructed Davis Hall and reflecting on my experience designing it, I’ve come to realize a few key lessons regarding the use of SketchUp. They are as followed:
1. Continuously scan your project for errors, especially early on. One instance where this became apparent for me was when I attempted to move a single window, only to find that my whole building went along with it. This was due to the fact that I was not careful when I made a copy with it, and, therefore, had caused there to be many unintentionally entangled shapes and lines hidden within my building. To make matters worse, if I tried to erase them, they would make a whole face disappear. Keeping an eye out for mistakes, no matter how small they seem, will only make your process easier down the road.
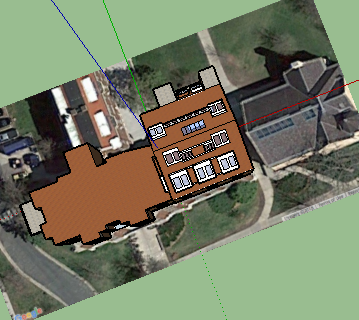
2. Explore multiple options of building your model’s base and features. I tried it all. From photo matching to free form modeling, but nothing seemed to be working out. It wasn’t until I read a fellow classmate’s blog that I decided to attempt using the “Geo-location” feature (as pictured below).
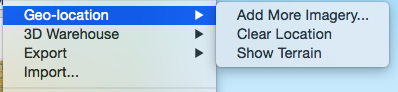
This helped me get the intricate shape of Davis, and gave me a place to work off of.
3. Use the copy tool to your advantage. To use this tool, simply select the object you wish to copy by highlighting it with the mouse button (if you do execute this step correctly, the entire object should be blue). Next, hold down option and click the “move” button to navigate where you place your object. Doing this helps ensure that multiple objects that reappear frequently (such as a window, pillar, or door) are even in size and length. One issue I had with this is that you cannot take copy and object from one face and move it to another. This cost me quite some time, seeing as Davis has many similar features on various parts of it.
4. If you want to shift a part of your building, but it seems to “jump,” try zooming in. Doing this will allow you to move it in smaller increments.
5. Always work with a photo next to you (assuming you’re not using the photo match feature). This will allow for historical accuracy. I found myself both getting carried away with minuscule details and missing critical parts of my building a few times. Doing this will make sure that your audience will get a good sense of what the building was like.
All in all, this project only made me a better SketchUp user. I am finally satisfied with my work, and I believe that this will help me in the future. In addition, I hope my commentary can give other users tips for living up to their full 3-D modeling potential.
Your model looks great, Tonya! And this is a very helpful post that pays forward what you’ve learned in the school of hard knocks. Nice work.
I really like your model! Davis Hall has a complex architectural design, but I think your model does a great job of representing it. Your post, like Austin said, is a great way of passing on your knowledge to others.
This model looks really great! Davis Hall seemed like a very hard building to make with so many details to include. However, you included all of them and completed the project with a fine model. Also, thank you for sharing your advice. Great job!
I too found myself getting carried away with minuscule details sometimes. I’ve got to say, sometimes they’re the most fun! It looks like you managed to see both the big and little pictures in the end, which certainly helped make your model look detailed and accurate.