Autodesk Fusion 360 is a CAD software which is a lot like Sketchup, but without all those annoying dots. The program is free for students,but can make your computer angry, which is why I used a school computer for this tutorial. Fusion 360 is really helpful for modeling different objects, especially for 3D printing. Today I’ll be showing you how to model a simple birdhouse.
Begin by opening Fusion 360 and starting a new design.
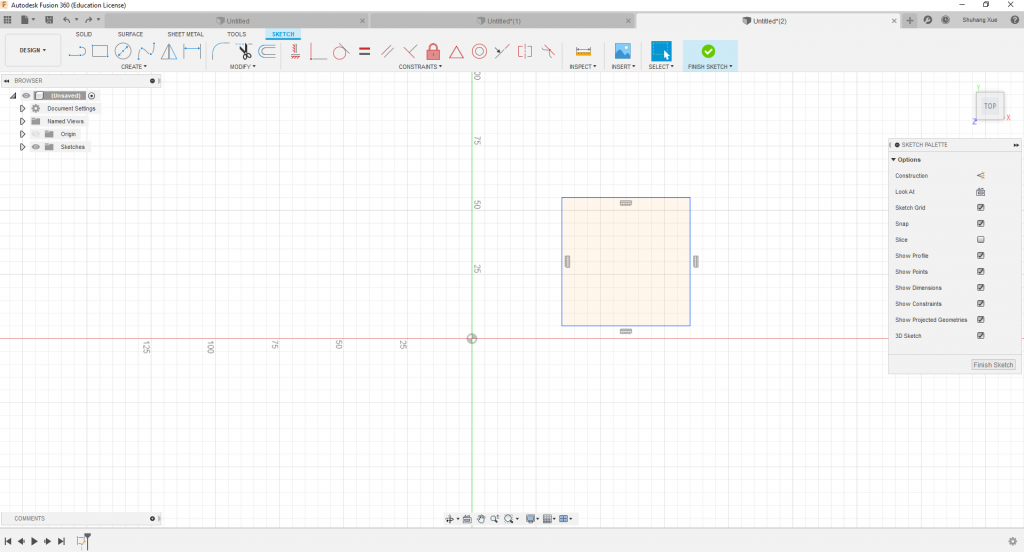
First we make a new sketch and select the x-plane. Then use the “2-Point Rectangle” tool to draw a square (or rectangle). Mine is 50.00 mm x 50.00 mm
Now hit Finish sketch and use the “Extrude” tool to make the square 3D. I extruded to 40.00 mm.
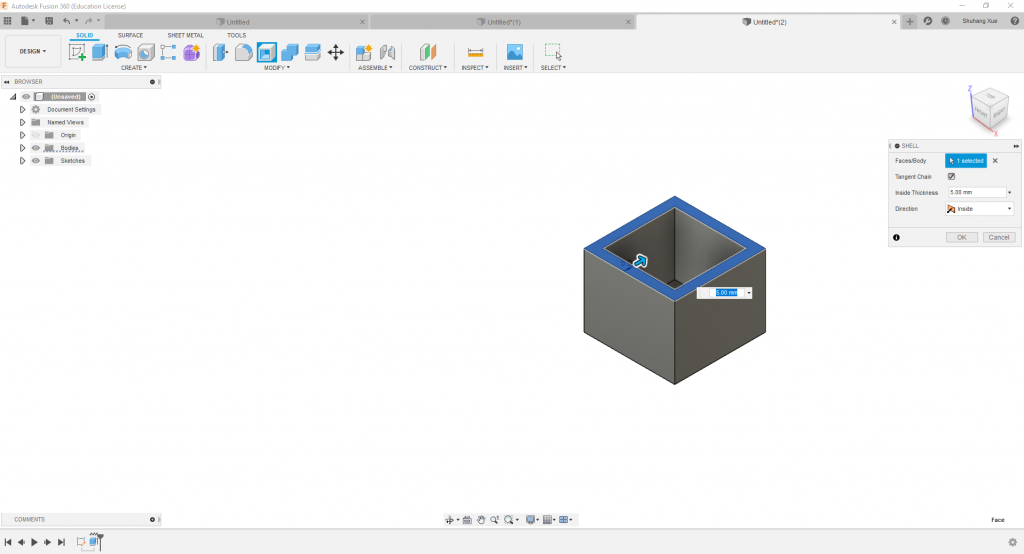
Then use the “Shell” tool (highlighted in blue) to make the birdhouse hollow. I made the walls of my birdhouse 5.00mm thick.
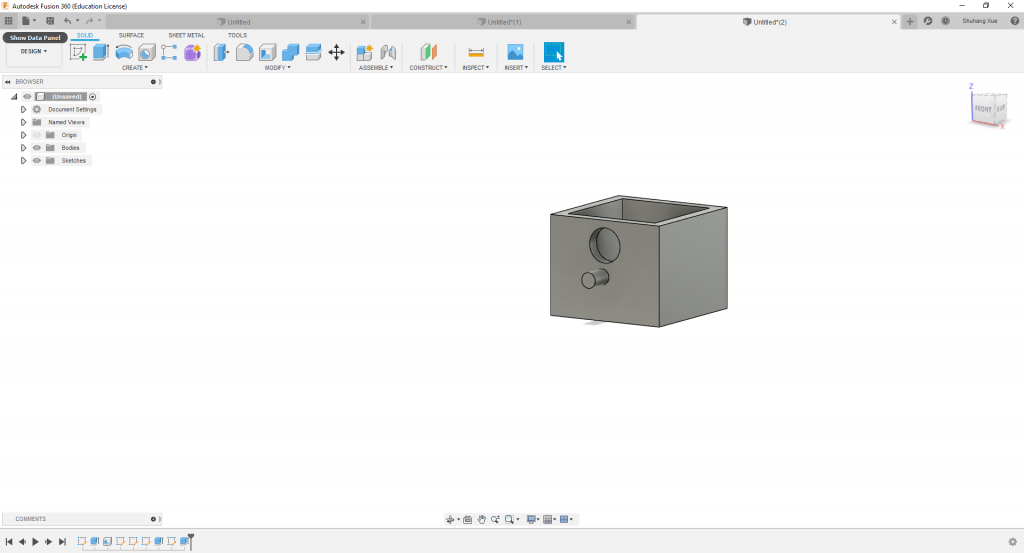
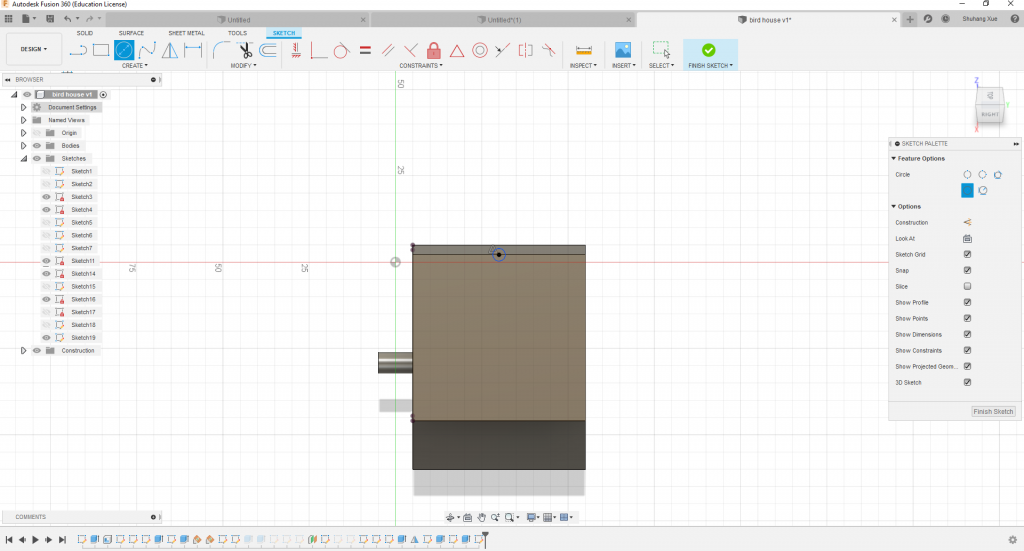
Now create a new sketch and select the side of your birdhouse you want to be the front as your plane. Use the “Circle” tool to draw a big circle and below that a small circle.
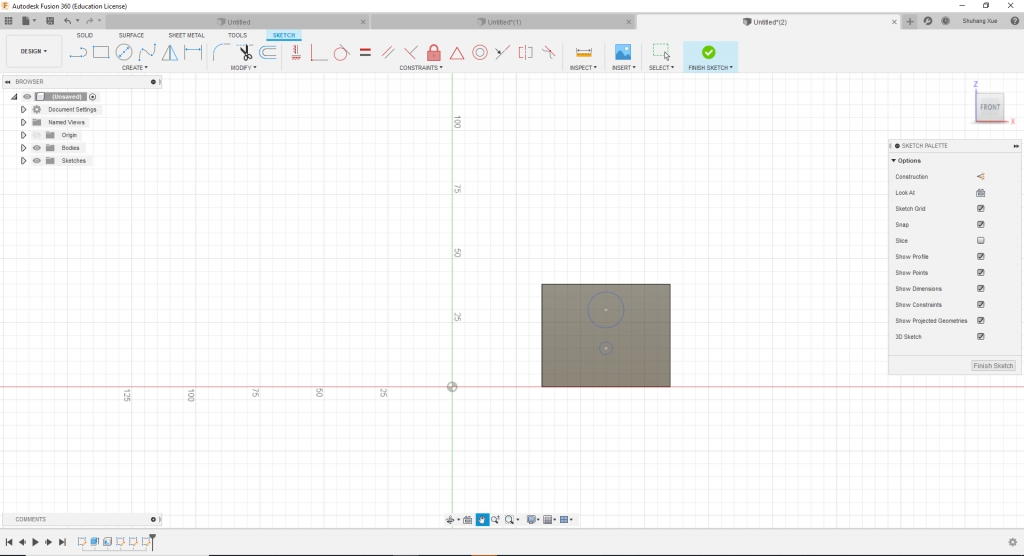
Hit “Finish Sketch”.
Now we’re going to use the “Extrude” tool on the big circle to make a hole for the bird to get the bird seed. Make sure to extrude to the negative thickness of your walls. So my circle is extruded -5.00mm.
Then extrude the smaller circle in the opposite direction to make a little perch for the bird. I extruded mine 10.00mm.
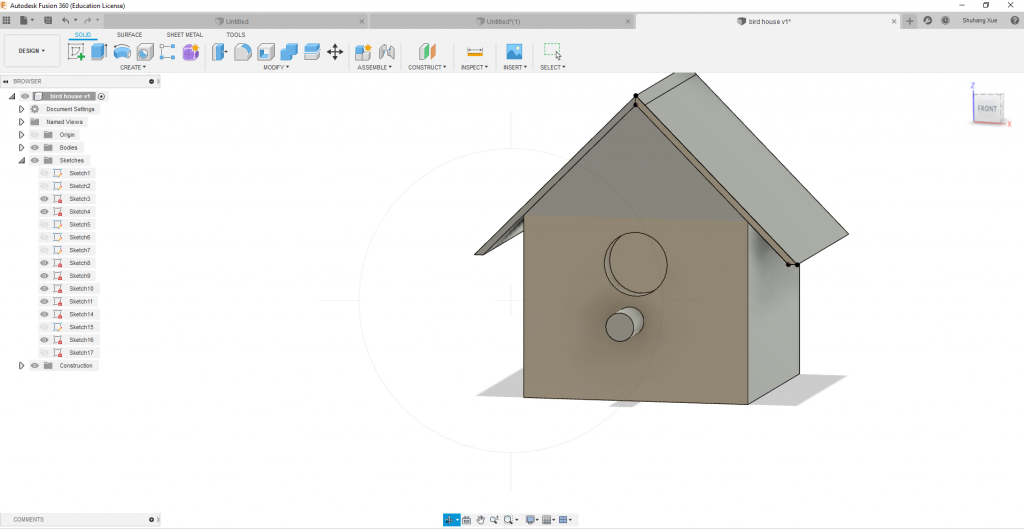
Now it’s time for the roof. Make a new sketch on your face plane and draw a construction line to mark the midpoint. Then draw a rectangle for the roof (pictured).
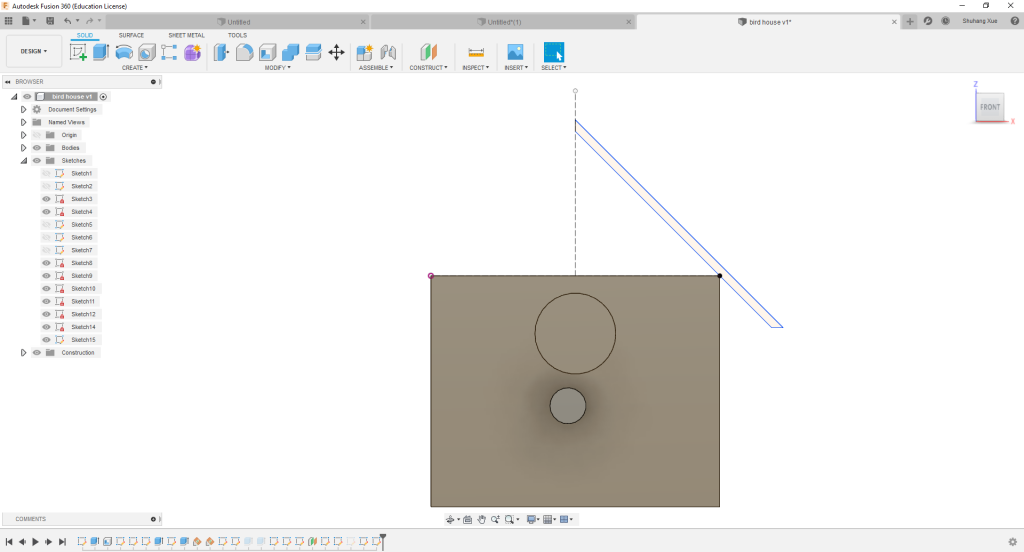
Now extrude the new rectangle backwards to make the first half of your roof.
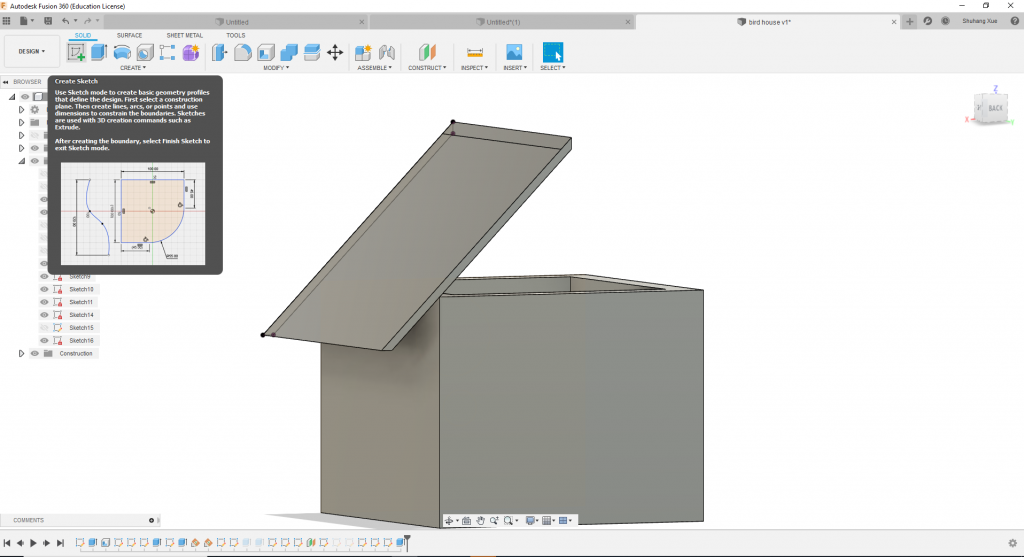
Go to the “Create” menu and select “Mirror”. Change “face” to “body” and mirror over the plane that will meet the new roof side in the middle.
Now to fill in the walls: Create a new sketch and select the front of your house as the plane. Draw a triangle that meets all the points where the roof meets the walls and extrude back the width of your walls to fill in the gap between the box and the roof. Repeat on the back side.
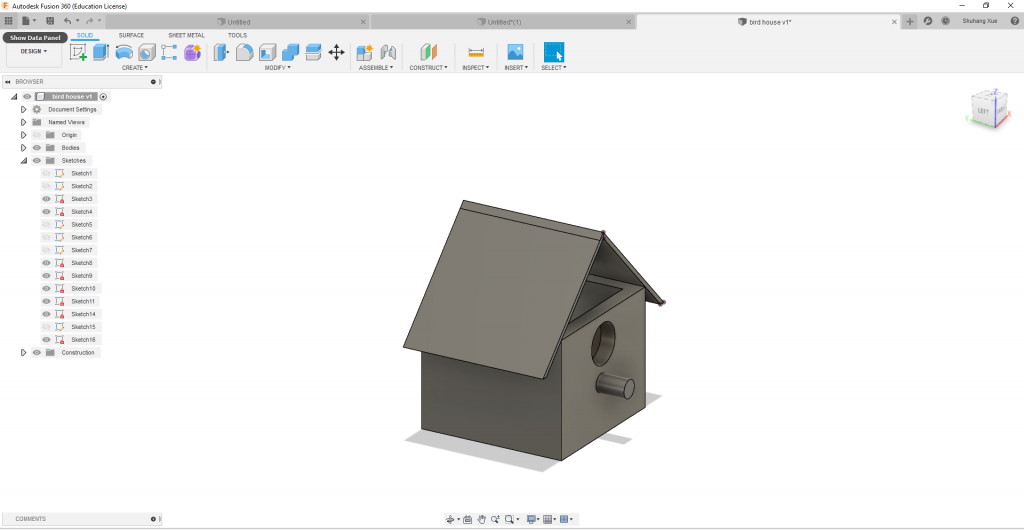
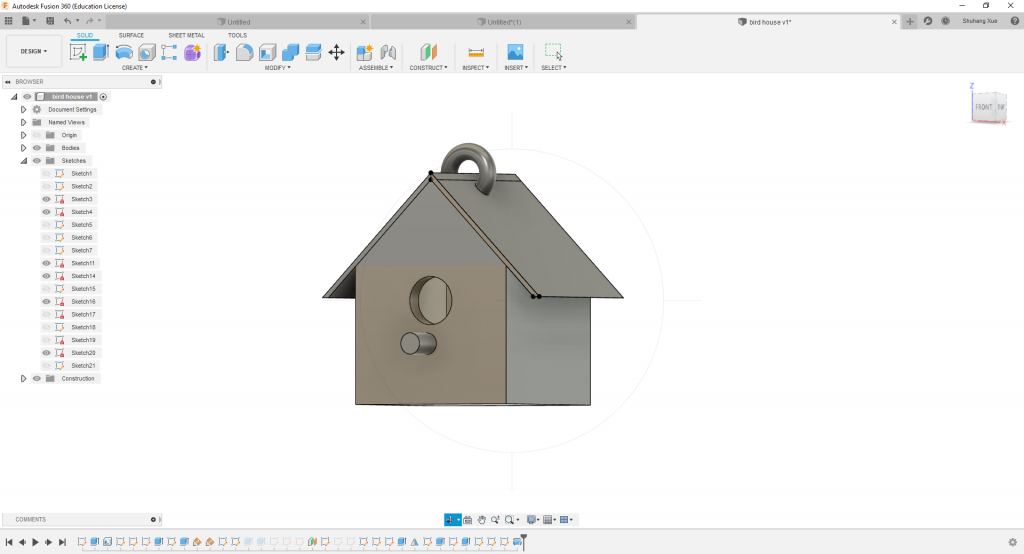
Finally, we’ll add a loop to hang it from. Create a new sketch and make a small circle on the plane of one of your roofs. Use the “Revolve” tool to rotate it over the center line. It should rotate 270 degrees.
And you’re done! You’ve modeled a bird house!
For more information on how to use Fusion 360, you can find lots of tutorials from Autodesk or this video series from SourceCAD. Happy modeling!
2 replies on “Autodesk Fusion 360 Tutorial”
This tutorial looks really nice; I wonder if this is something that you’ve learnt before this class or after? Have you created any personal projects with this tool? Anyways, great work!
I’ve used it once before but I’m still pretty much a newbie 🙂