In my previous post, I explained why creating the base and structure of the Faculty Club was so challenging. Unfortunately, this next step of adding textures and designs to my building was equally difficult. This was a different type of challenge though. When I created the structure of the Faculty Club, I used the “Extruding Footprint” technique. This technique was quite confusing to grasp and carry out. Applying textures and complex designs to my building wasn’t all that confusing, but it was incredibly tedious. Anyways, before I get into the details of my experience adding detail to the Faculty Club, take a look at the finished product below:
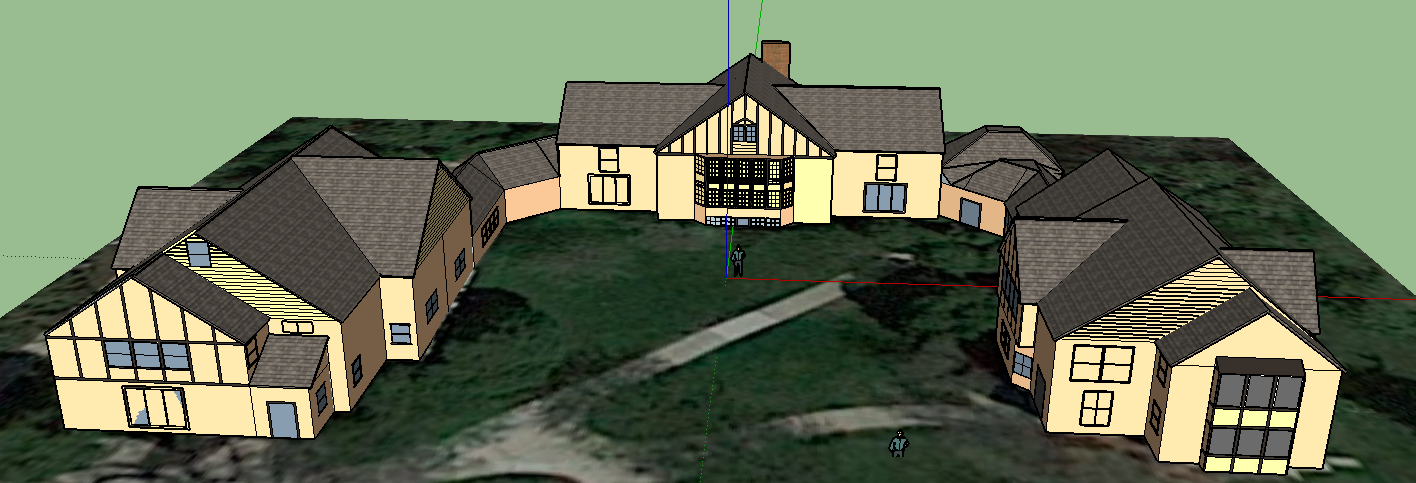
Figure 1
The first thing you may notice is how big the Faculty Club actually is. The U-Shaped structure (from a birds-eye view) of this building made photo matching for textures extremely challenging. There are actually tons of trees (see Figure 2) surrounding the Faculty Club as well, which just about made photo matching textures impossible.
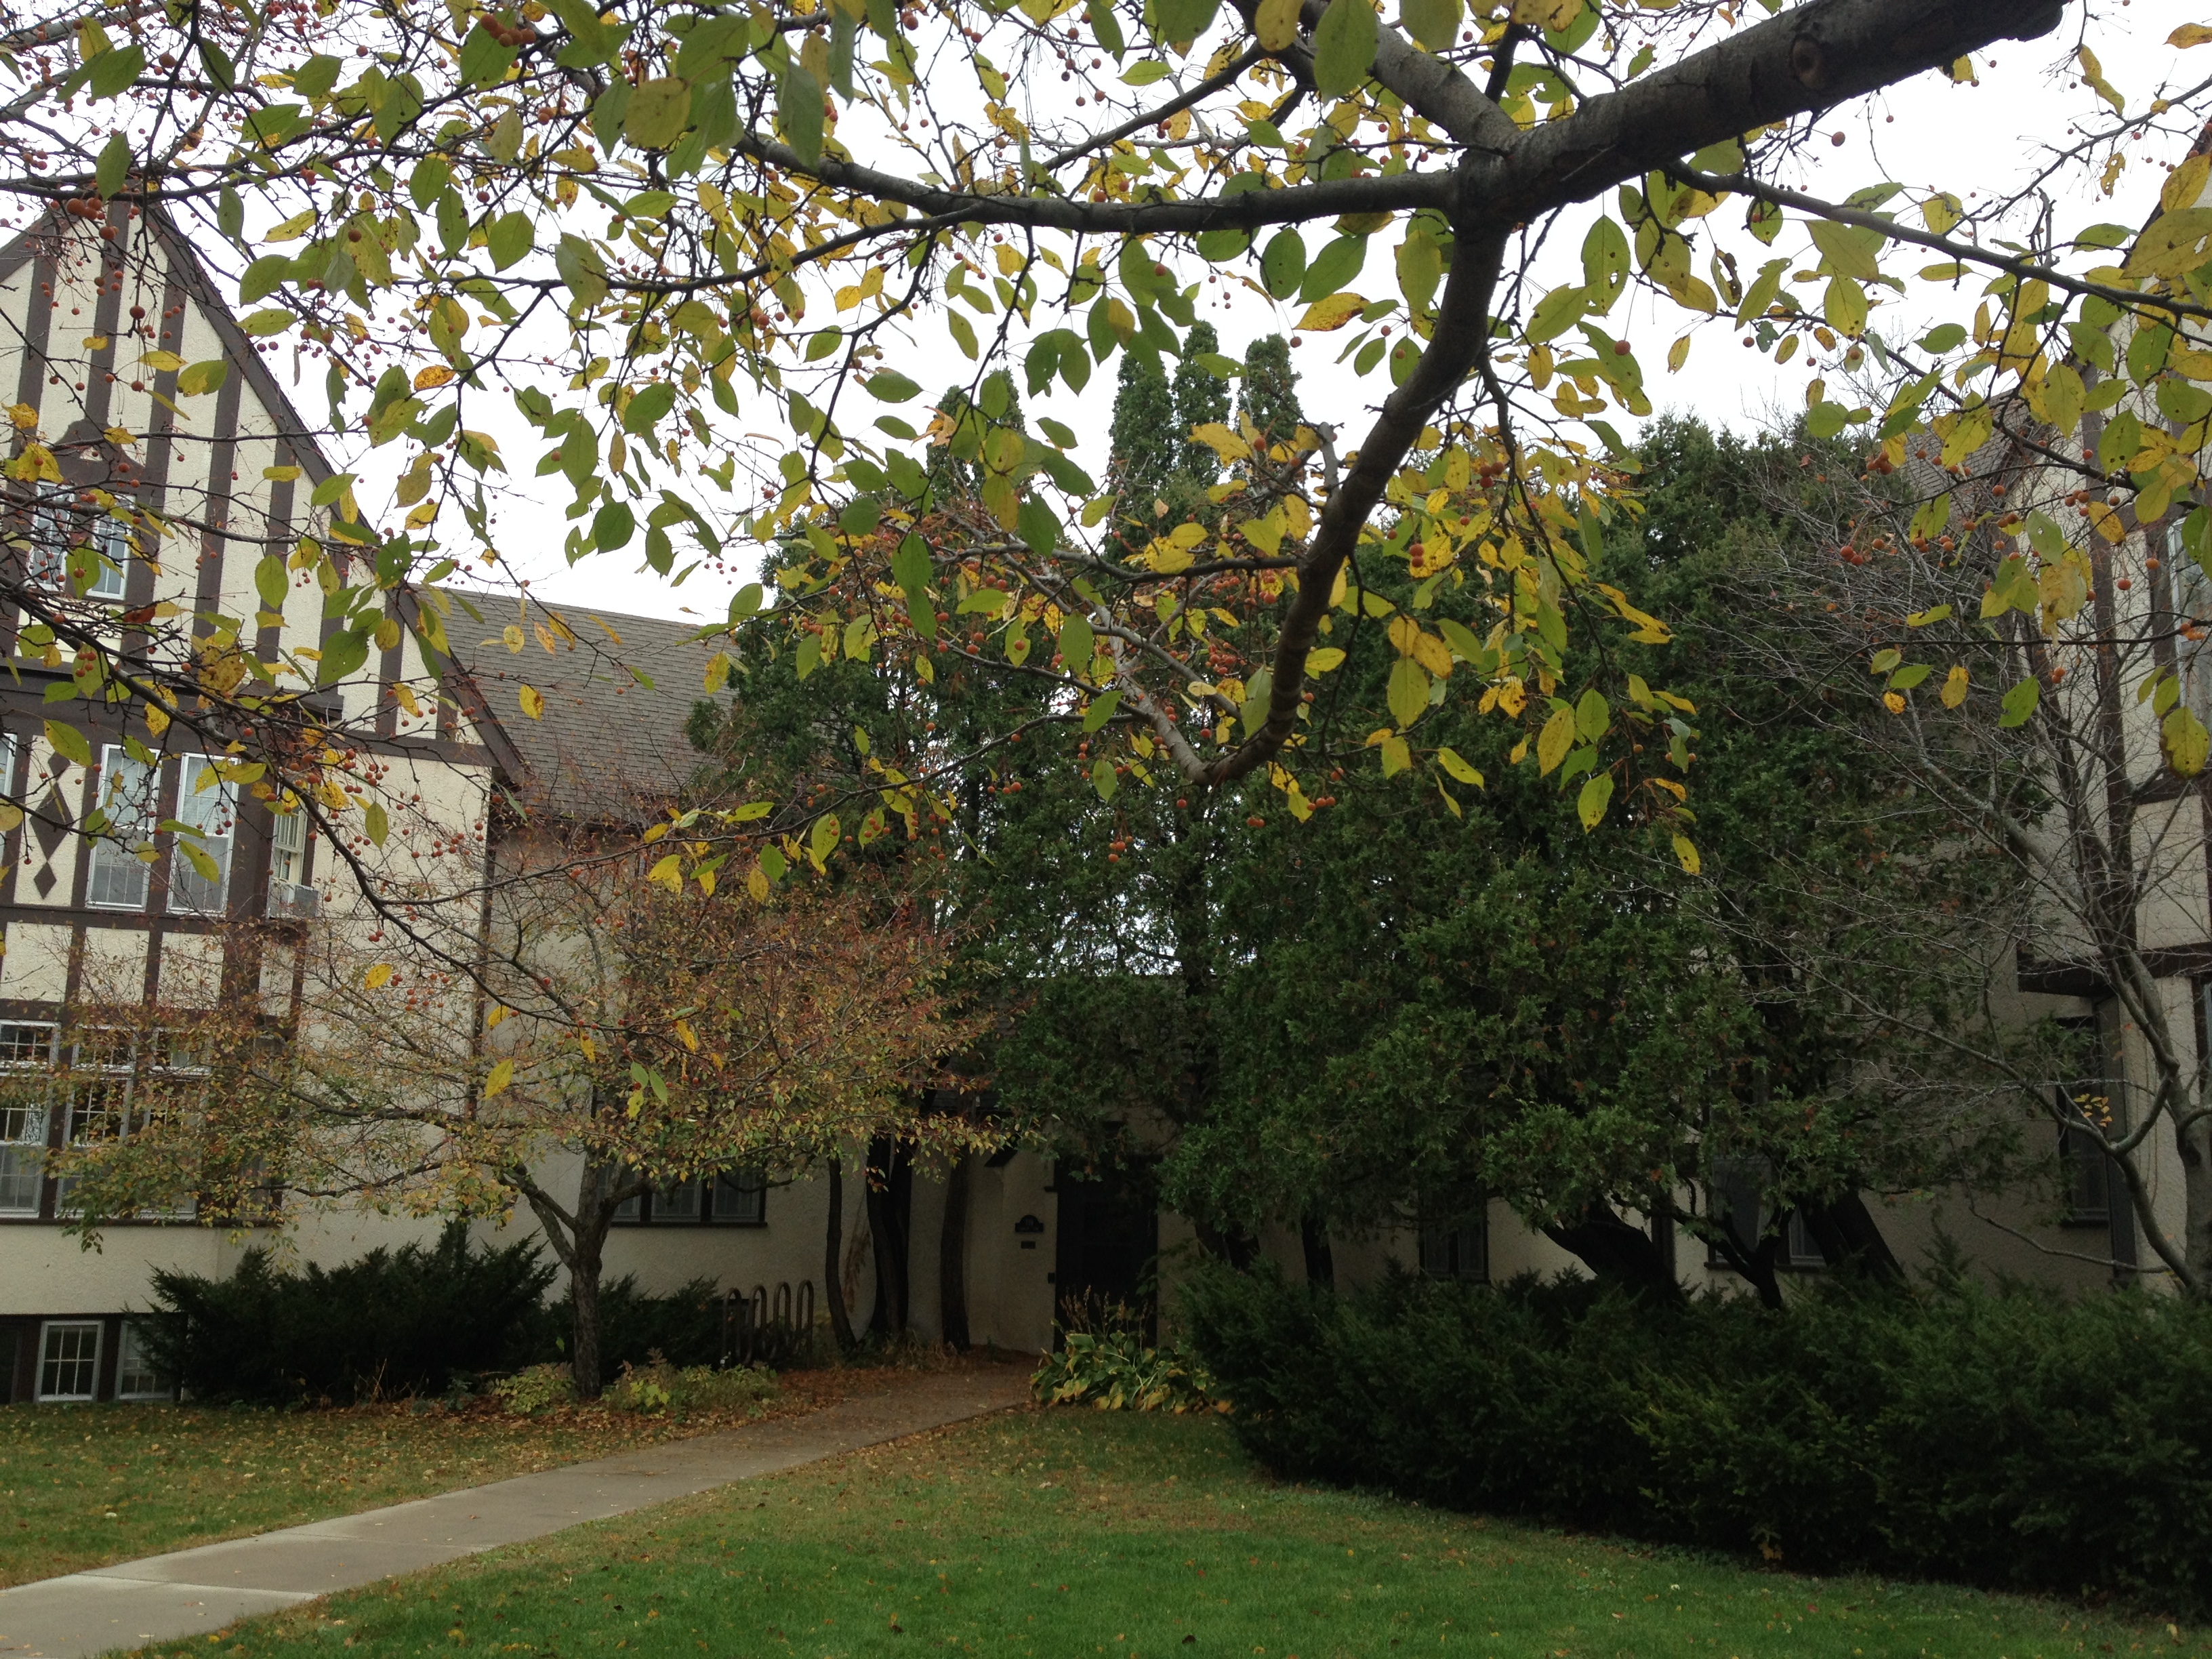
Figure 2
Anyways, because of how large the Faculty Club is (it is essentially three-interconnected houses), creating the textures and designs of the building was very time-consuming. For example, in the picture below, there are brown vertical lines on the walls of the building. These lines would each have to be drawn out individually (with a consistent width of 10cm), which became quite tedious. In the other screenshots of my building (see Figures 4-7), you can see that these lines were drawn out multiple times for several different faces of each house in the Faculty Club.
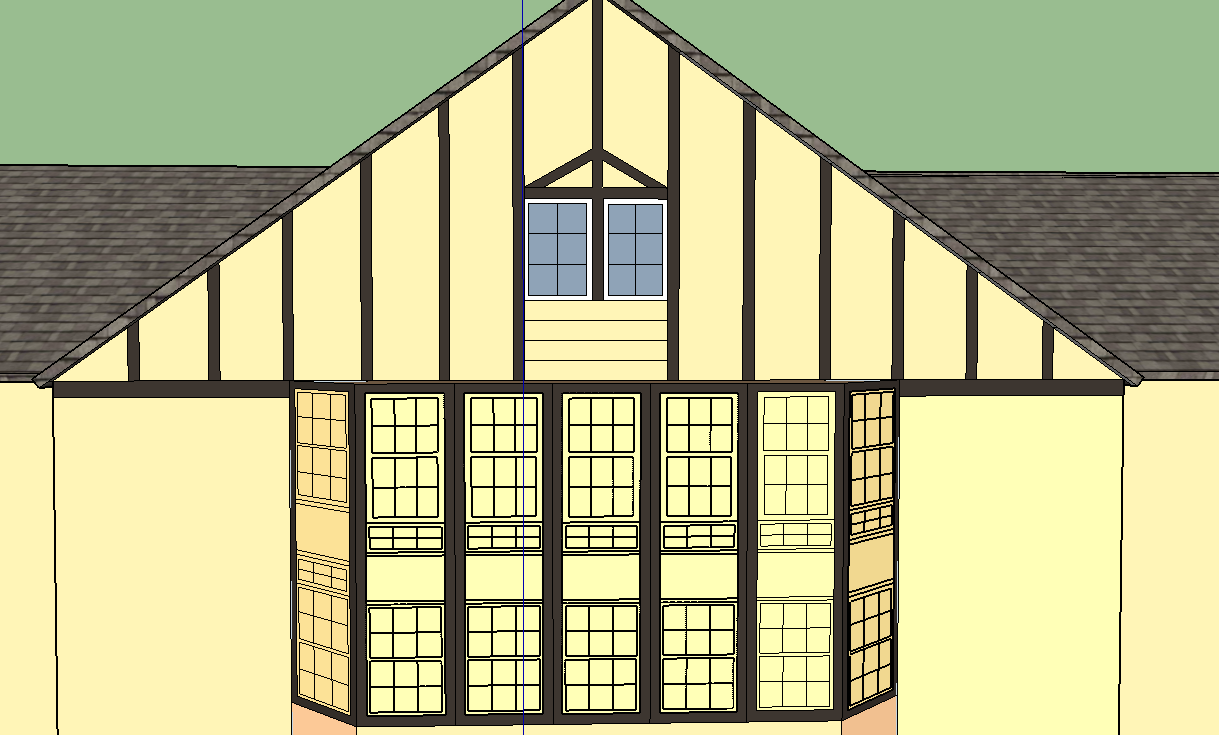
Figure 3
The windows (shown in Figure 3) were the most frustrating part of this construction process. After I created the first window on the far left, I tried to make it a component. Unfortunately, despite a series of trail-and-error tests, the component’s angle couldn’t be changed. So I had to individually create the windows again for the other faces at different angles.
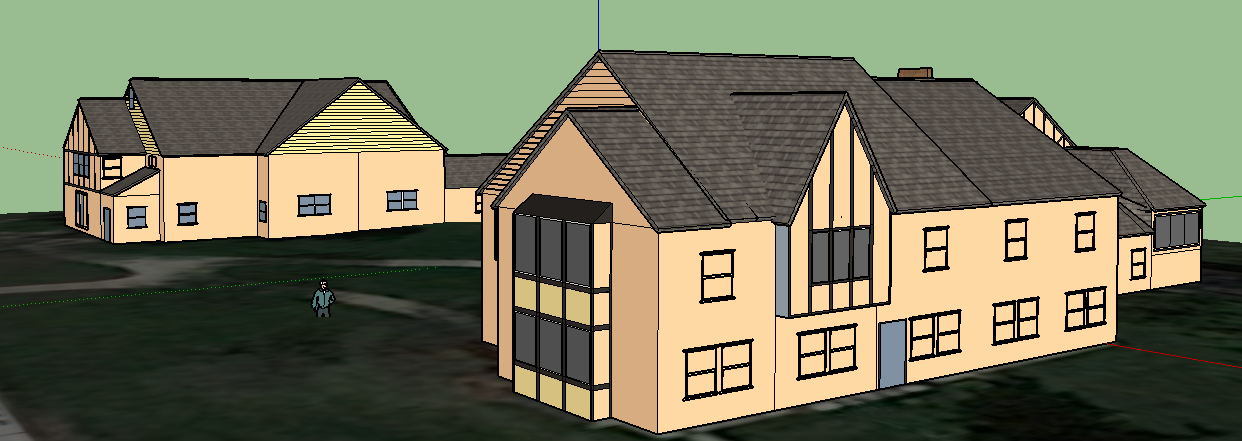
Figure 4
Despite these obstacles, I think my final product turned out relatively well. Here are some more photos comparing the actual Faculty Club to my final SketchUp piece:
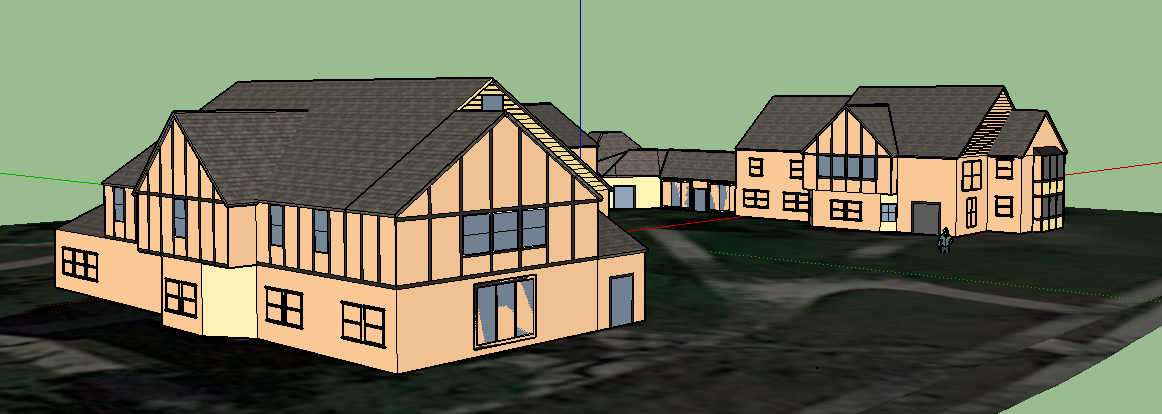
Figure 5
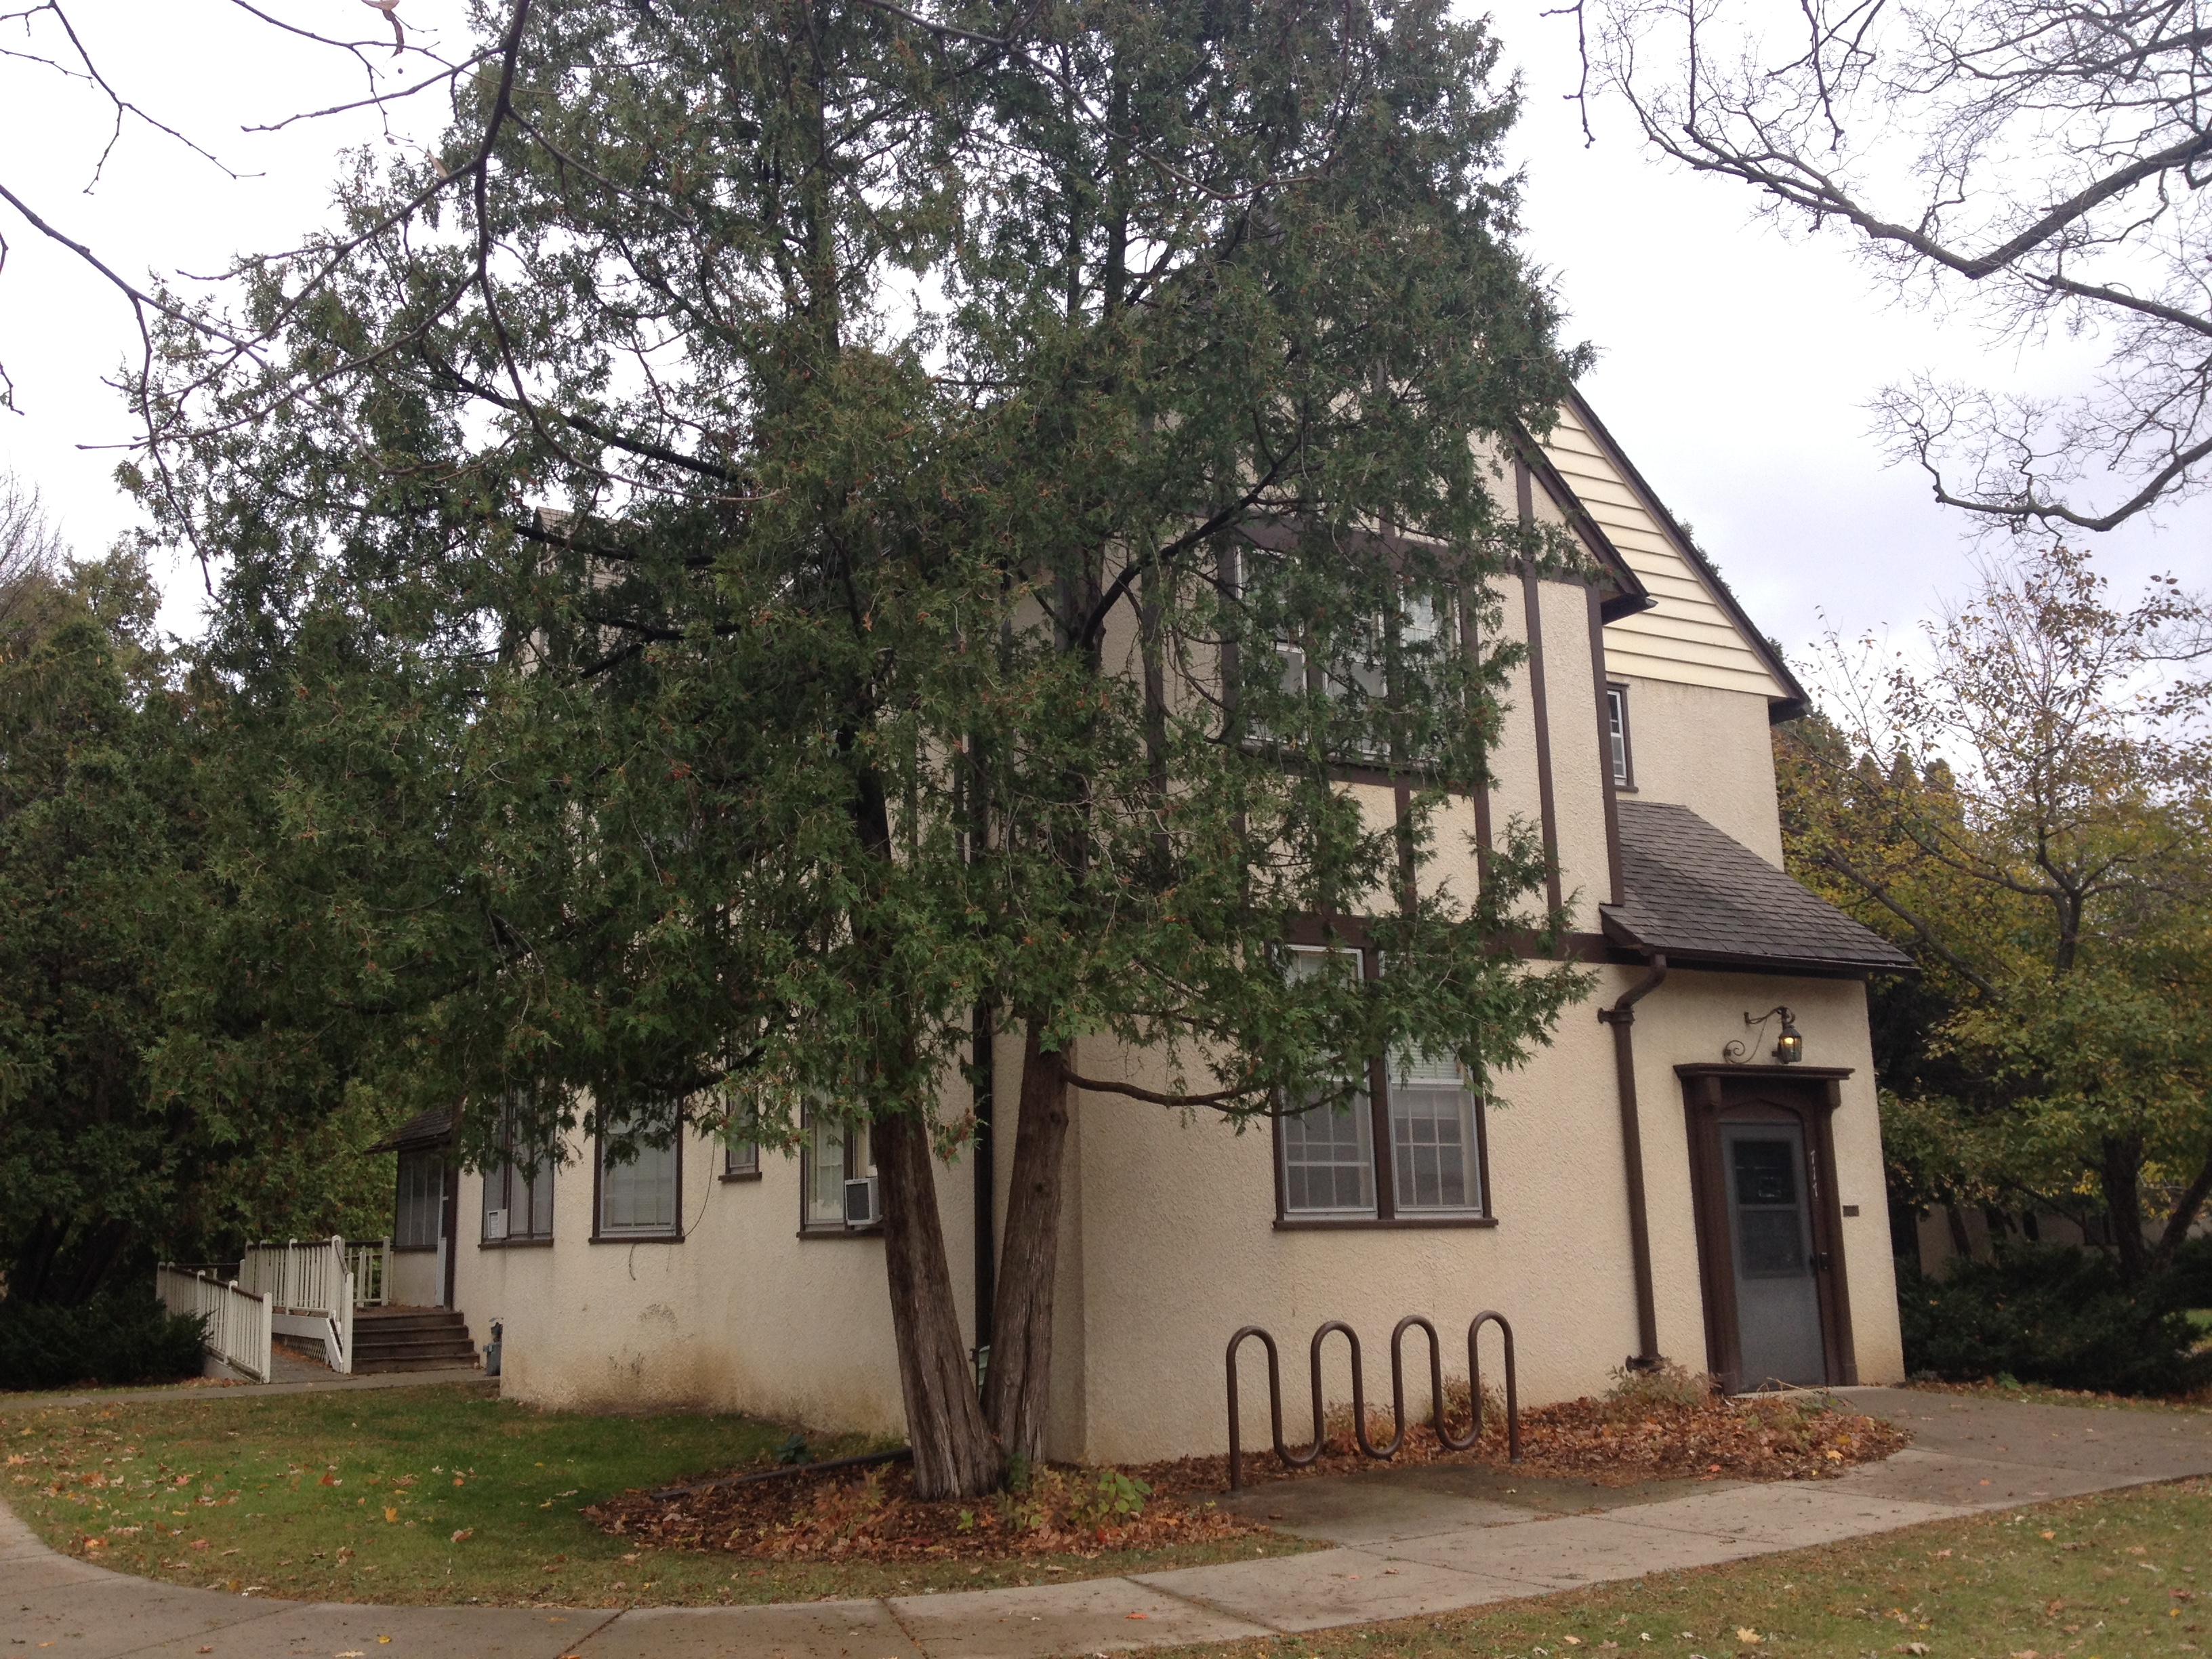
Figure 6
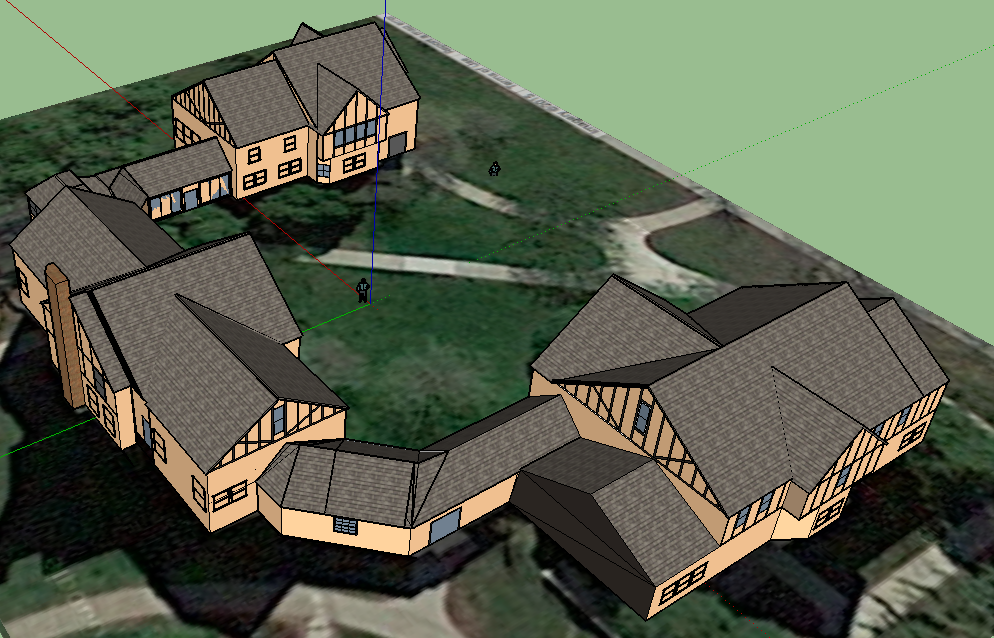
Figure 7
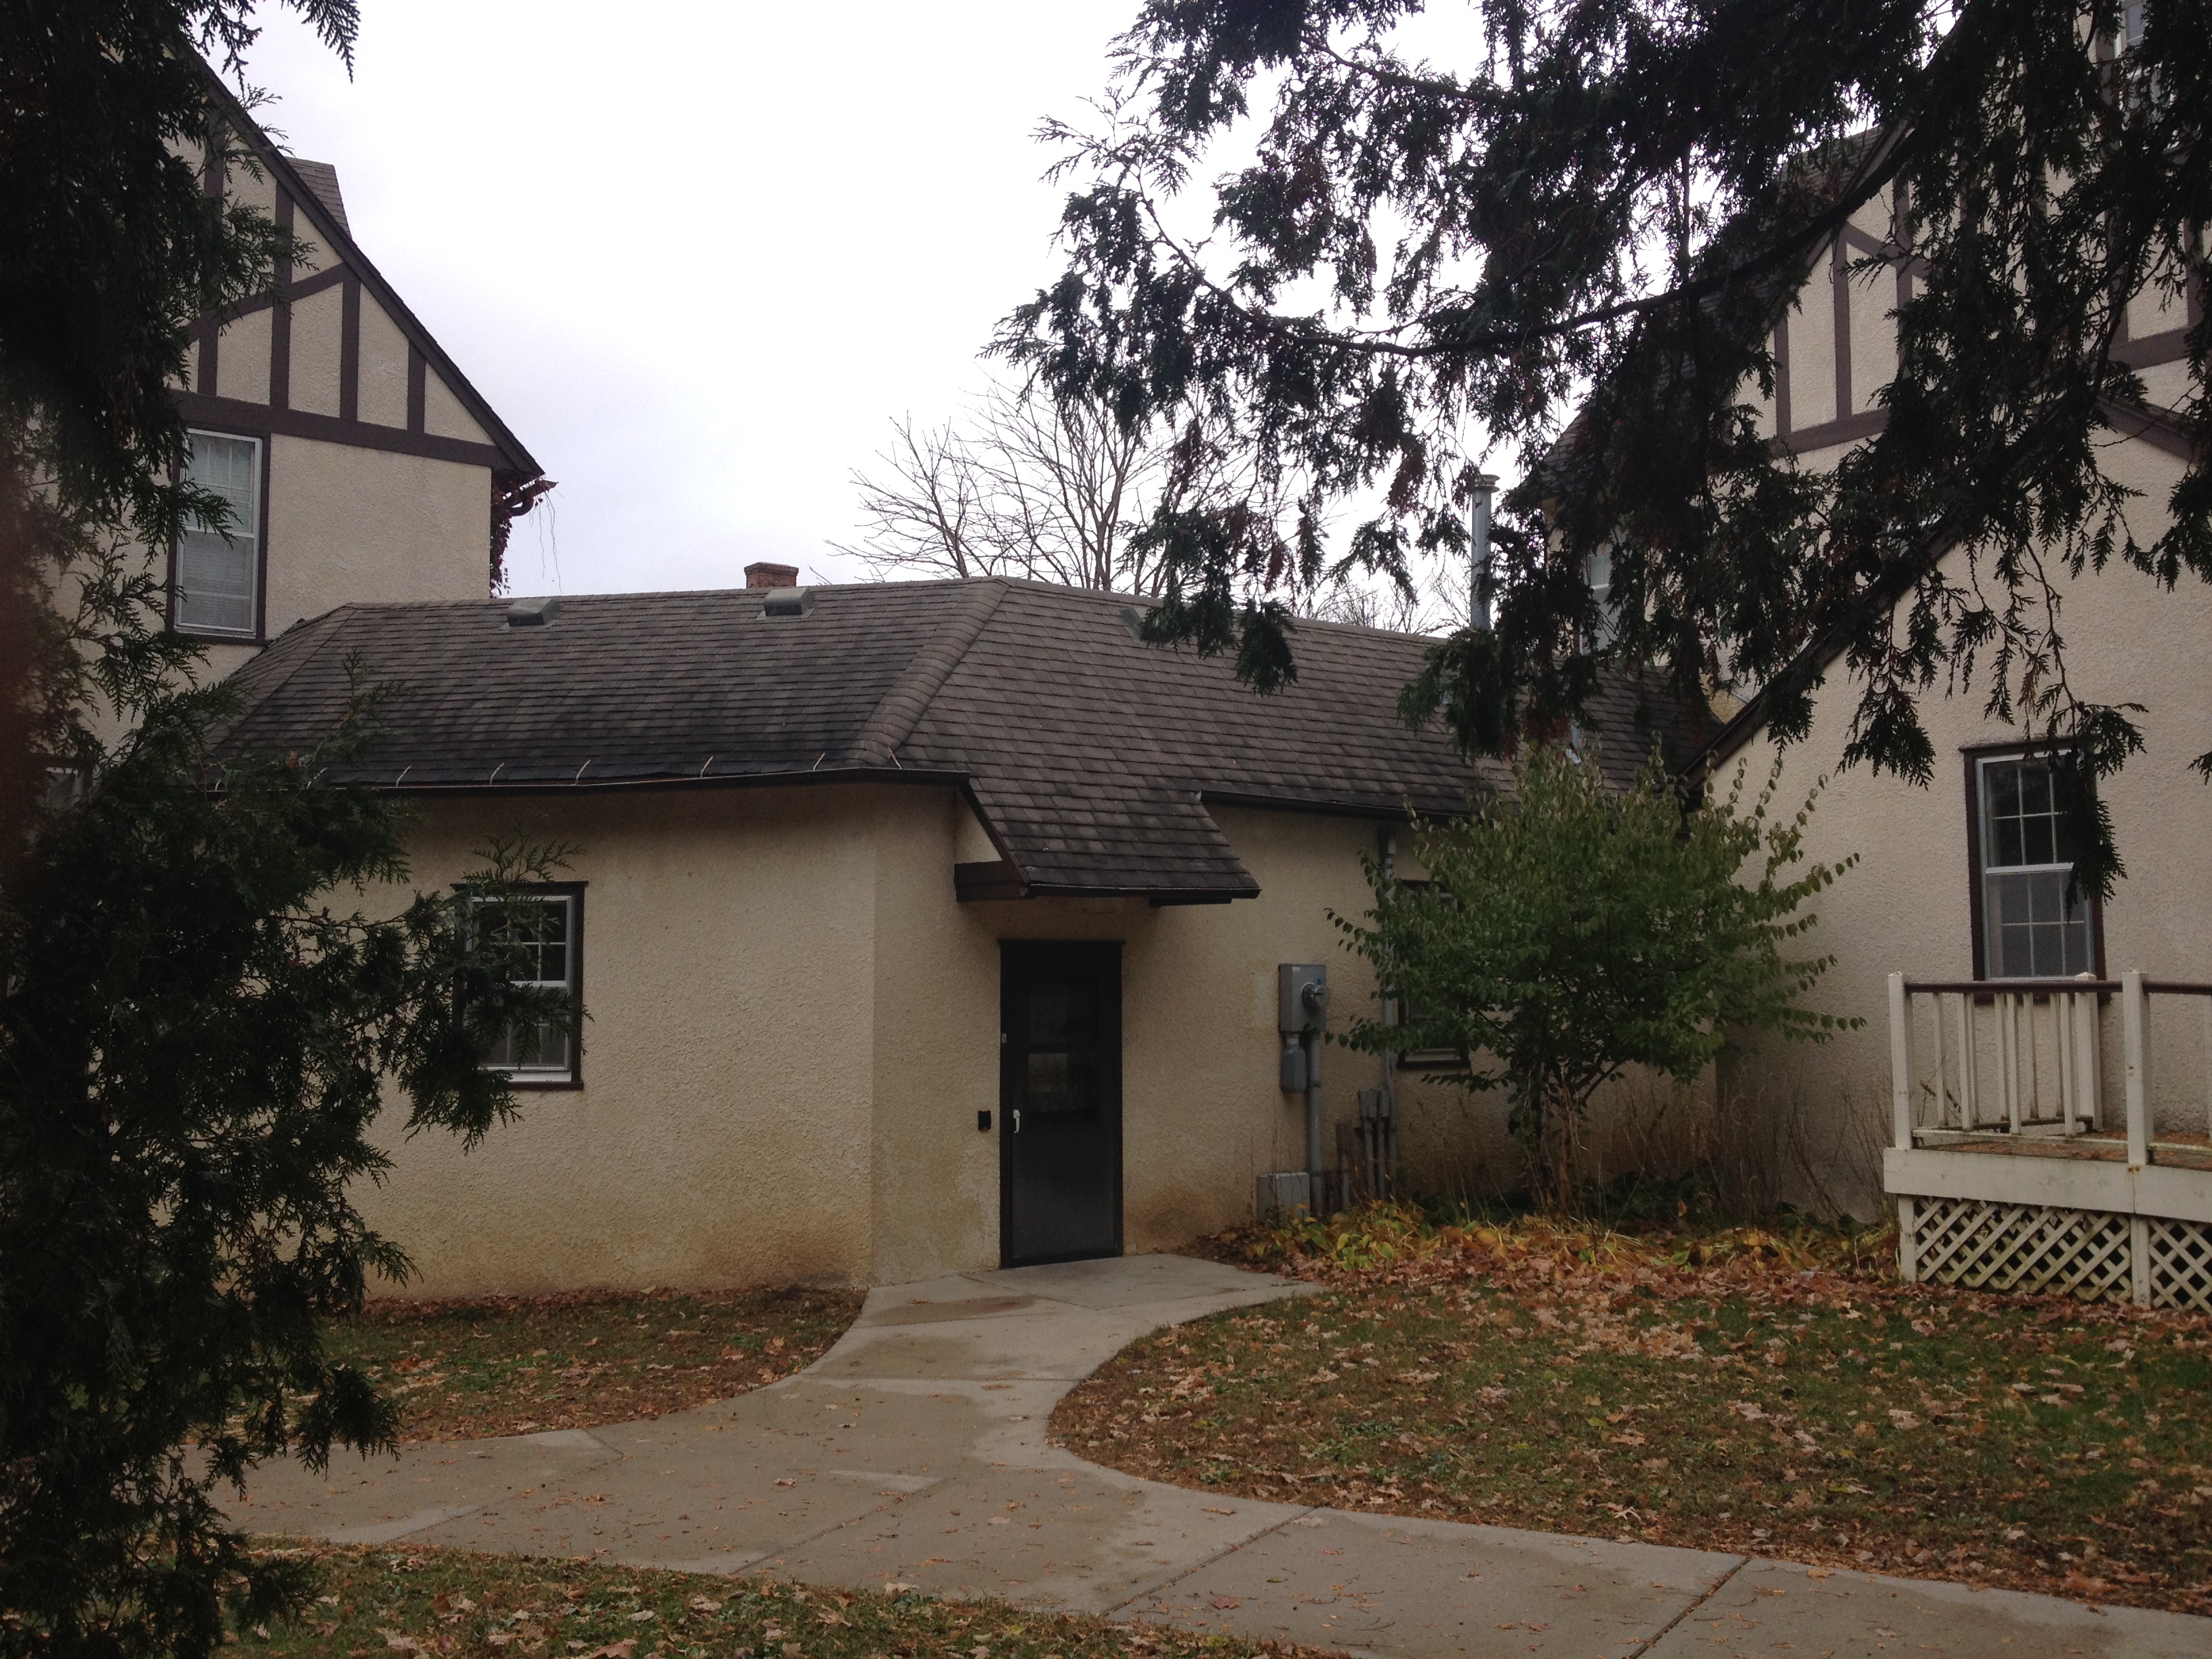
Figure 8
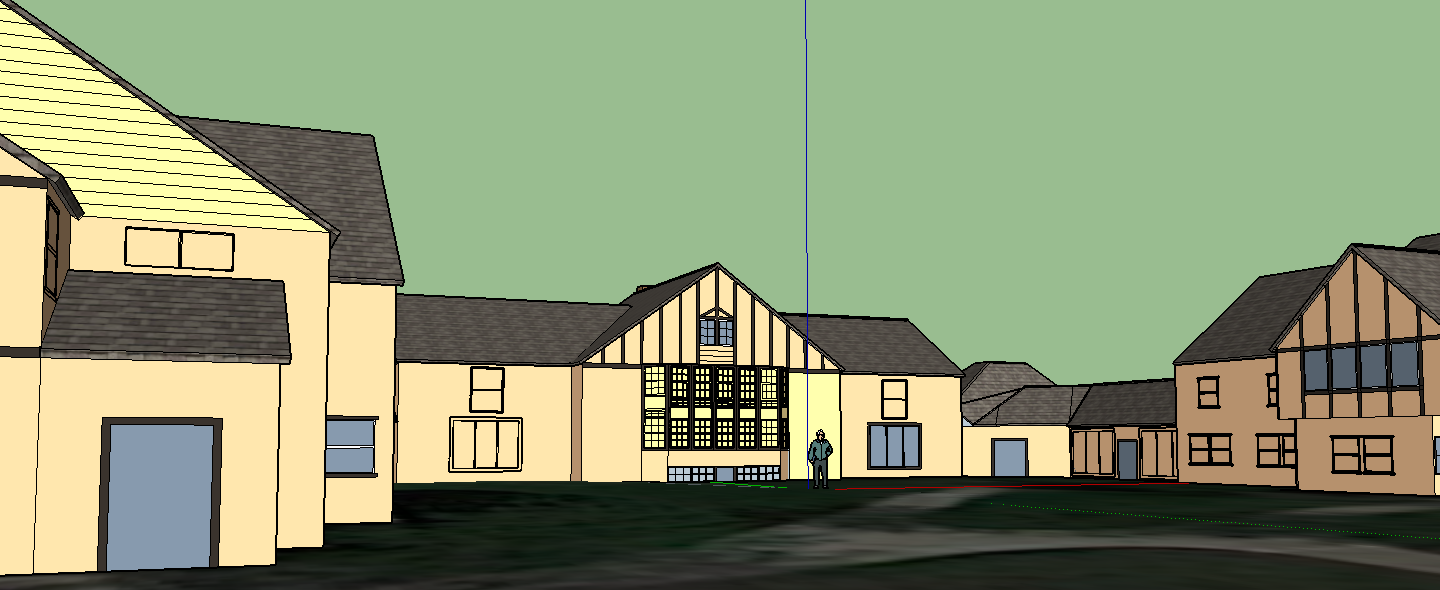
Figure 9
The main thing I took away from this building experience was the importance of closely reading directions and carefully learning shortcuts at the very beginning of the construction process. I started off slow (struggled with making components, proper lines, etc), but soon enough I learned most of the short cuts and little tricks that Sketch Up has to offer. This made creating my building much more efficient than it could’ve been.
I encountered the same issue of being unable to change the angle of components. You did a great job overcoming that obstacle and a great job overall modeling the Faculty Club! Without reading your post about the modeling process, I would not have noticed how different all the angles and sections of the building are from each other. It makes me wonder why the architect chose a unique design for the different sections.
Malekai,
I witnessed how challenging this particular building was for you in several class sessions, and I’m impressed with the hard-won results of your labors. The model looks very good and your attention to detail is laudable. FYI, I checked the statistics on your model and it includes 9,151 edges — you sure did draw a lot of lines! I’m sure there are ways to semi-automate the process, but I’ll try to remember that mock tudor buildings might not be the best candidates for modeling in future…
Completing the exterior designs of mock tudor buildings in Sketchup is tedious to say the least, but once its all done the result is usually rewarding. Anyways,I do recommend perhaps giving a gentle reminder to future hackers that mock tudor buildings require quite a bit of time and effort.
Mock Tudor buildings certainly do look frustrating, but you’re right that yours ended up looking amazing! I too found that being unable to change the angle of components was a frustrating (and strange) functionality to be missing from sketchup. On a general level, SketchUp seems to lack some rotation-type tools that I’m used to from photoshop and other drawing programs. Perhaps there’s an extension available that fixes some of these issues.