When conducting research for the spatial narrative piece that supplements our exterior model, we had to be considerate of our scope so that we would overlap as little as possible with the interior modeling group. This meant the focal research points had to be mostly unrelated to the interior shifts, in terms of the house’s floor plans. This research was largely conducted through resources provided by the Rice County Historical Society. Referenced primary sources were mainly old newspaper clippings that ranged from 1993-2018; a few of these clippings were missing dates or information on what newspaper they were being published in. Additionally, historical survey and preservation documents related to the Alexander Faribault House were used to reference information on more up to date house dimensions, as well as material lists and analyses. More general preservation guidelines, material, and weather changes that were sourced when discussing future threats and possibilities to historic structures, and put in context of the Alexander Faribault House were gathered from briefs by the United States National Park Services.
To build and model a digital version of the Alexander Faribault House we worked mainly with Agisoft MetshapePro, a professional photogrammetry software program. However, prior to modeling, we capture the materials needed for this process. Collaborating with Carleton’s licensed drone pilot Dann Hurlbert, we captured several minutes worth of high-resolution aerial footage from various angles and distances from the house; overhead footage of the house from both 45 and 90 degree angles; footage of each facade of the house; the front gable and porch; the eaves of the house; and back corners of the house. Additionally, the spacing between the house and surrounding structures were too tight for the drone to fly risk-free, so we carried the drone to manually capture close-up videos of the foundations and midsections. The footage had to be this comprehensive in order for the model to render correctly in Metashape, without enough overlap between video frames, holes can be left in the 3D model or there might not be enough information for the software to properly align the images. Once we captured the drone footage, we had to process it by converting each video into large still images files in order to use it in Metashape. We went about this by following version 1.8 of Agisoft Metashape Pro’s User Manual, which informed us that at least an 80% forward overlap and 60% side overlap is necessary when using aerial photography for modeling. Our large image files provide us with 86% overlap, so proceeded in our process by following another Metashape tutorial, “Combined processing of aerial and terrestrial image.” Essentially, this tutorial sets out a straight forward process, oversimplified in these four steps: upload all the images into Metashape, have the software align all the photos by recognizing and marking identical points (called tie points) between images, create a model based on the tie points, and finally generate the model’s texture.
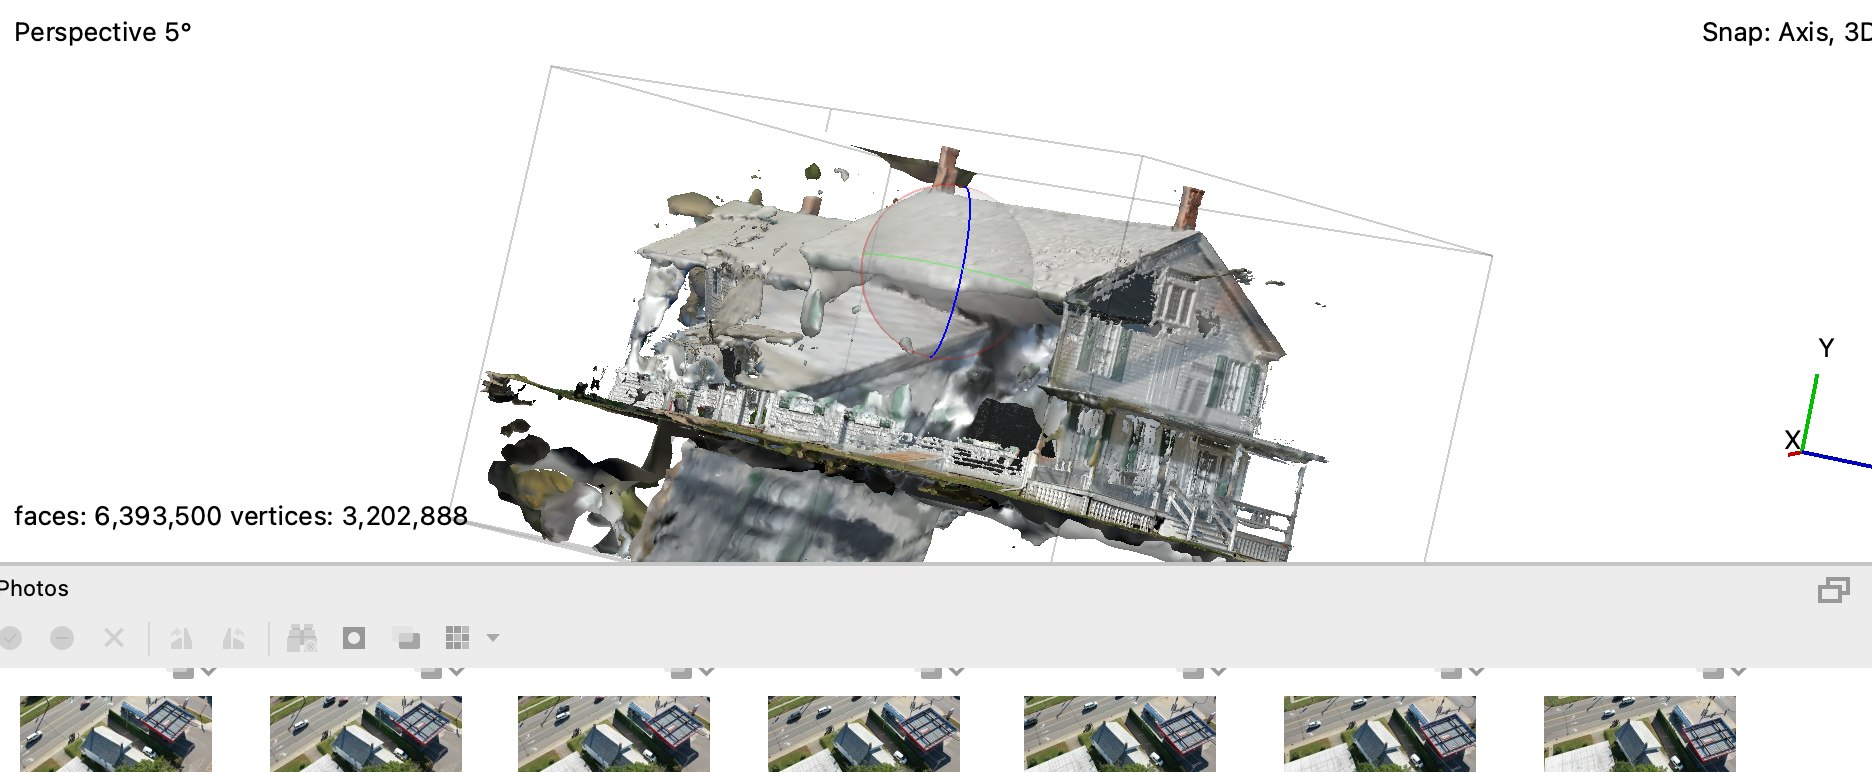
That’s how we hoped the process would go. However, the Metashape software had difficulties generically aligning all the images together, we suspect it was because of the ground-level images, where the angles and lighting were different enough that Metashape struggled to identify and match the eaves and partial facades of the home. We then attempted to bypass this issue by incrementally aligning each image subset, meaning we first aligned the overhead images, then tried to align the next section of the house to the overhead images. Unfortunately, this also proved to be unsuccessful and so we again had to find new methods, this time deciding to use more out of date techniques where one aligns each image subset individually and eventually merge them one-by-one. This was done by building point clouds for each image chunk, and manually marking prominent points that could be seen throughout numerous photos between chunks. We referenced a video tutorial made by YouTuber Christian D to learn more about chunk alignment by markers. With the point clouds built and chunks aligned, we were able to merge each section of the house after placing 30 unique markers between nine chunks or approximately 1900 images. The one limitation with this method is that there is more potential for slight misalignments in the point clouds, merging all the point clouds between chunks just means that any differing angles or lighting between sections, such as the roof or siding, will be layered together creating seams or awkward steps between sections. This is different from just having the software generate a model from one original chunk where it will produce a continuous, cohesive mesh that appears smoother and cleaner. Our methods used chunk-by-chunk techniques because of their successfulness, but it left us with some visual mishaps specifically on the left sides of the roof. The model of the Alexander Faribault House that we have produced up to this point is promising, but as there are pieces that still need to be cleaned up, the modeling process is still ongoing.
Sketchfab Description: This model was made from aerial footage of the Alexander Faribault House in Faribault, MN. It was part of a collabrative effort with the Rice County Historical Society to deeply map this important piece of Faribault history.
This model was made in Metashape Pro using chunk-by-chunk alignment and merge techniques by using markers. This had to be a lower-quailty rendering of the model due to Sketchfab size constraints.
