There is a common perception of a large set of barriers of entry into making and hosting a website, this tutorial will counter prove that. Github is website to share code empowered by Git, version control technology. This is helpful for anyone interested in making a website, and not wanting to carry the weight of cost or deal with routing. This technology is becoming more and more used and I often use it for professional work.
- Create a GitHub account and download the desktop client.
- Note: if your aren’t planning on buying a domain, make sure to pick a professional account name, because it will be in the URL.
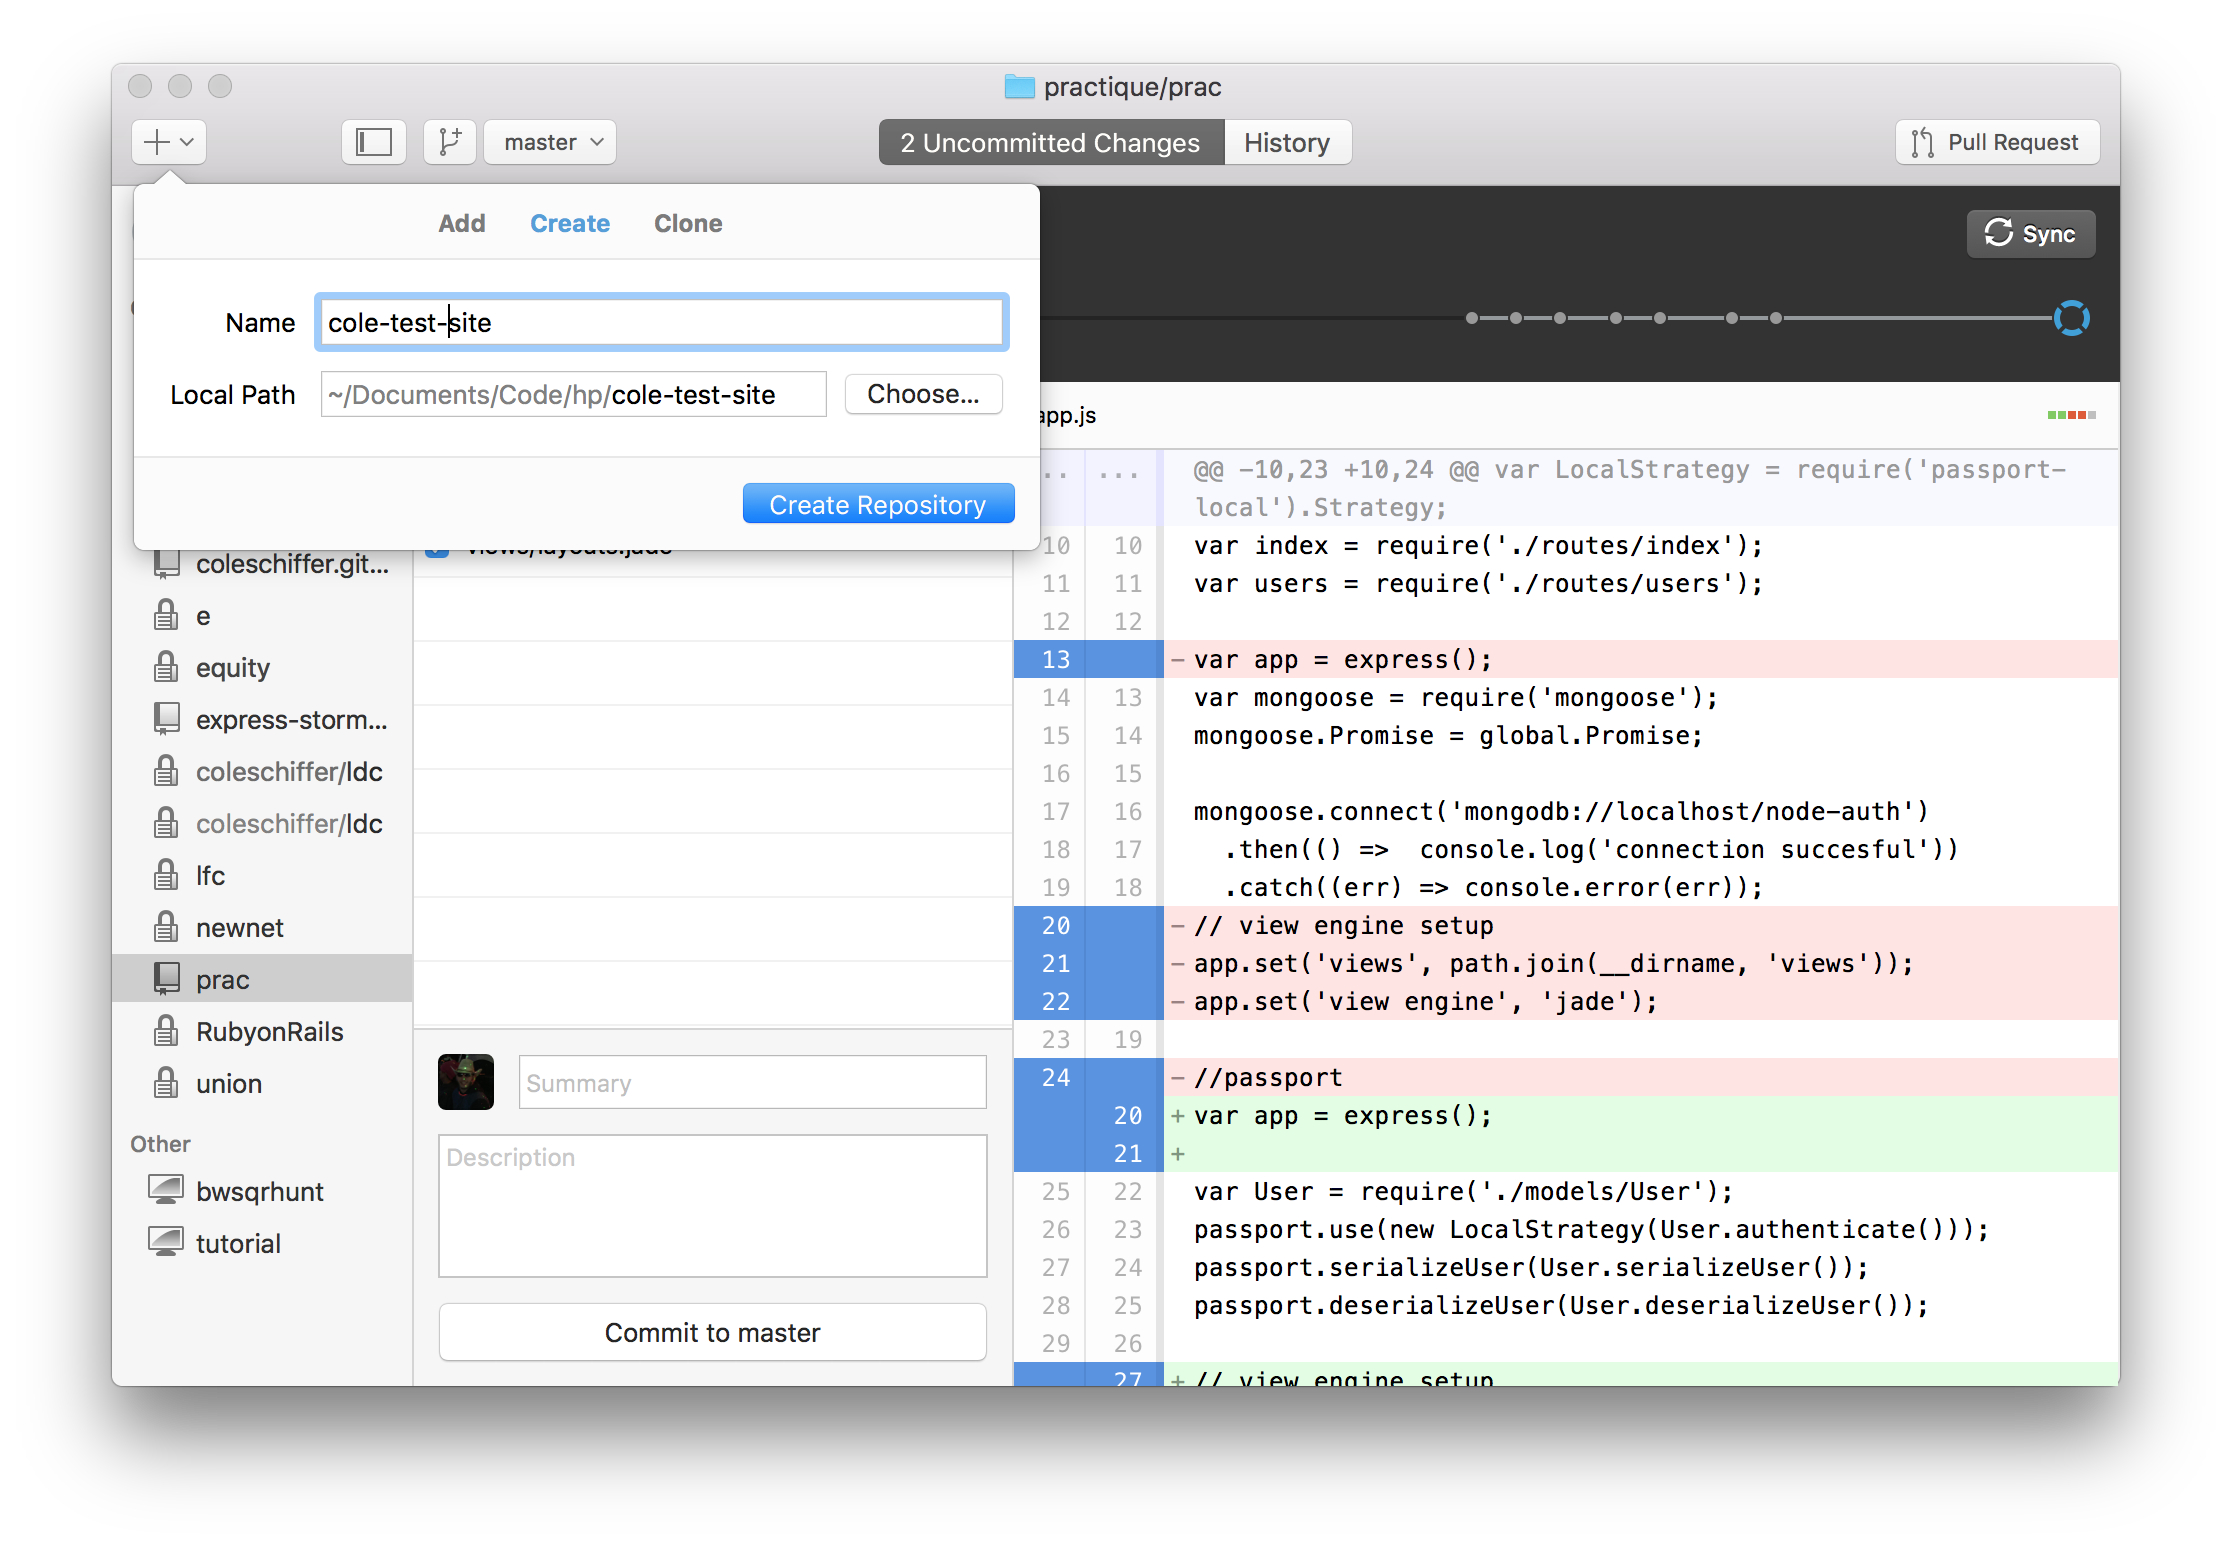
- On the GitHub desktop application create a new repository.
- Click on the plus button in the corner
- Pick a name for you website
- Select the local home for the website’s files.
- Click create.
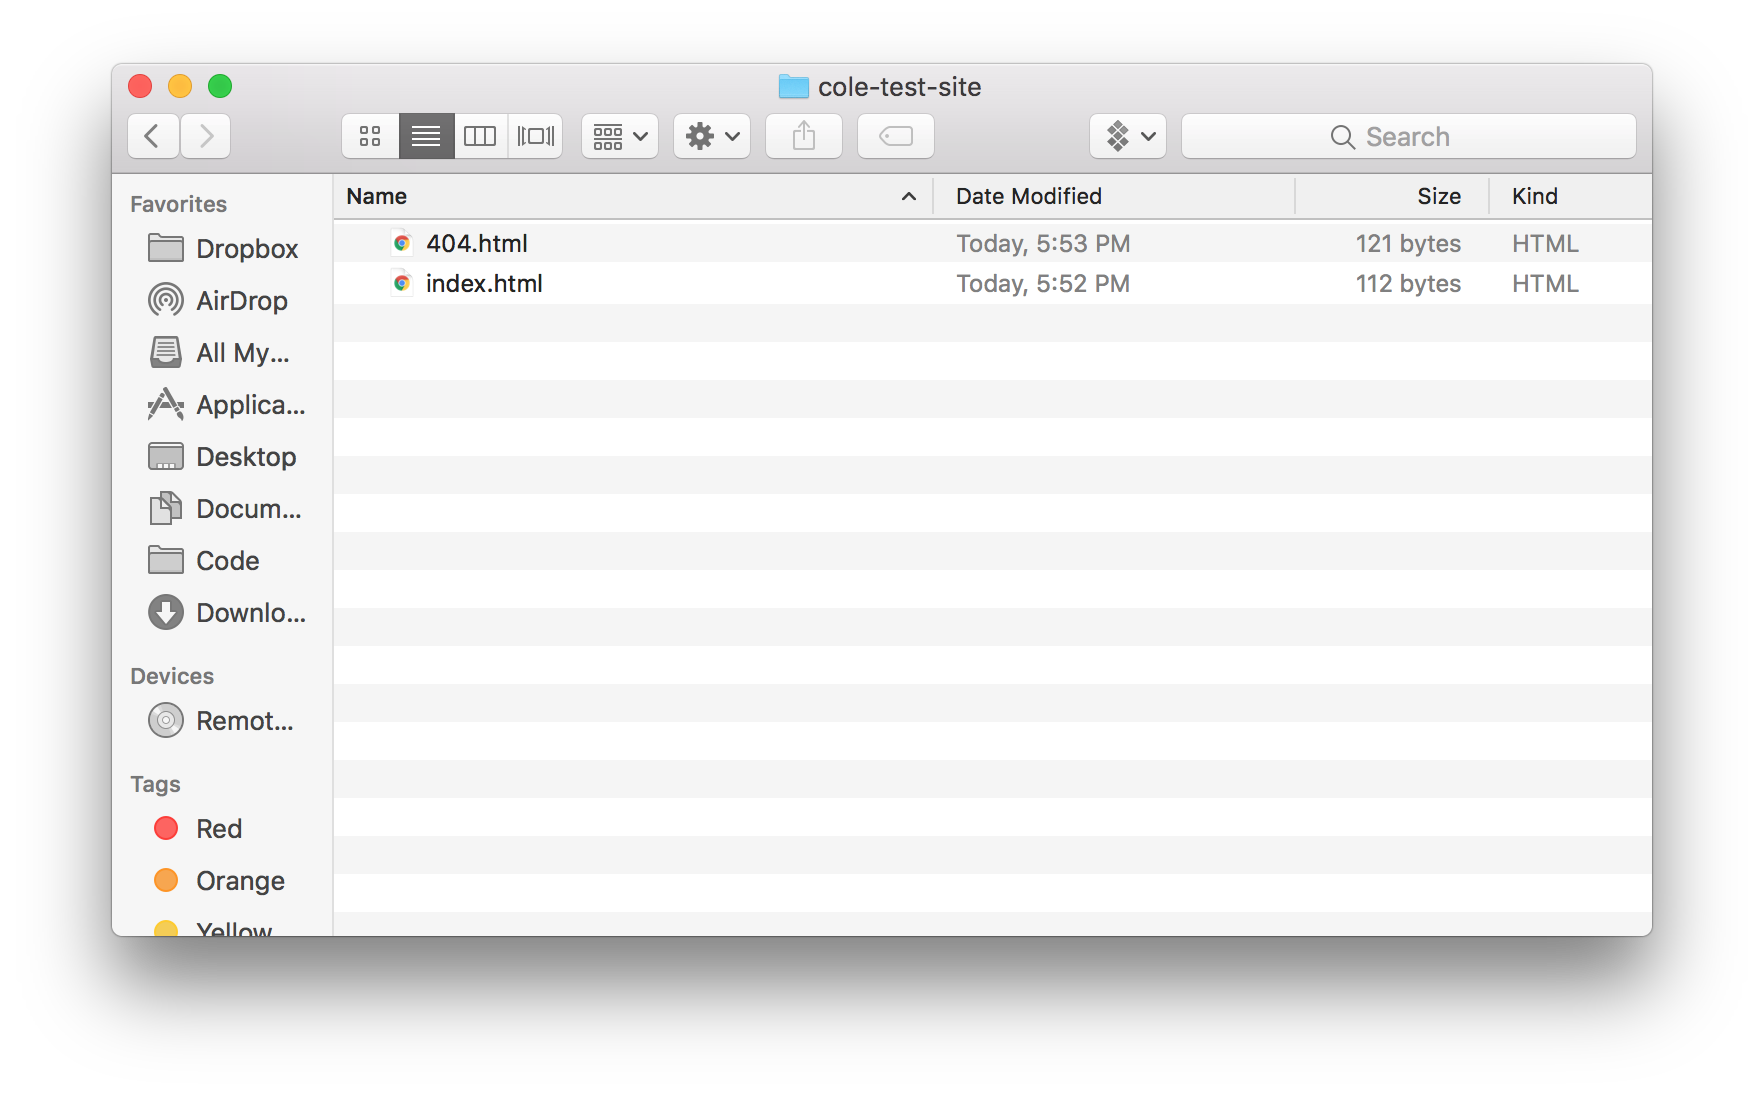
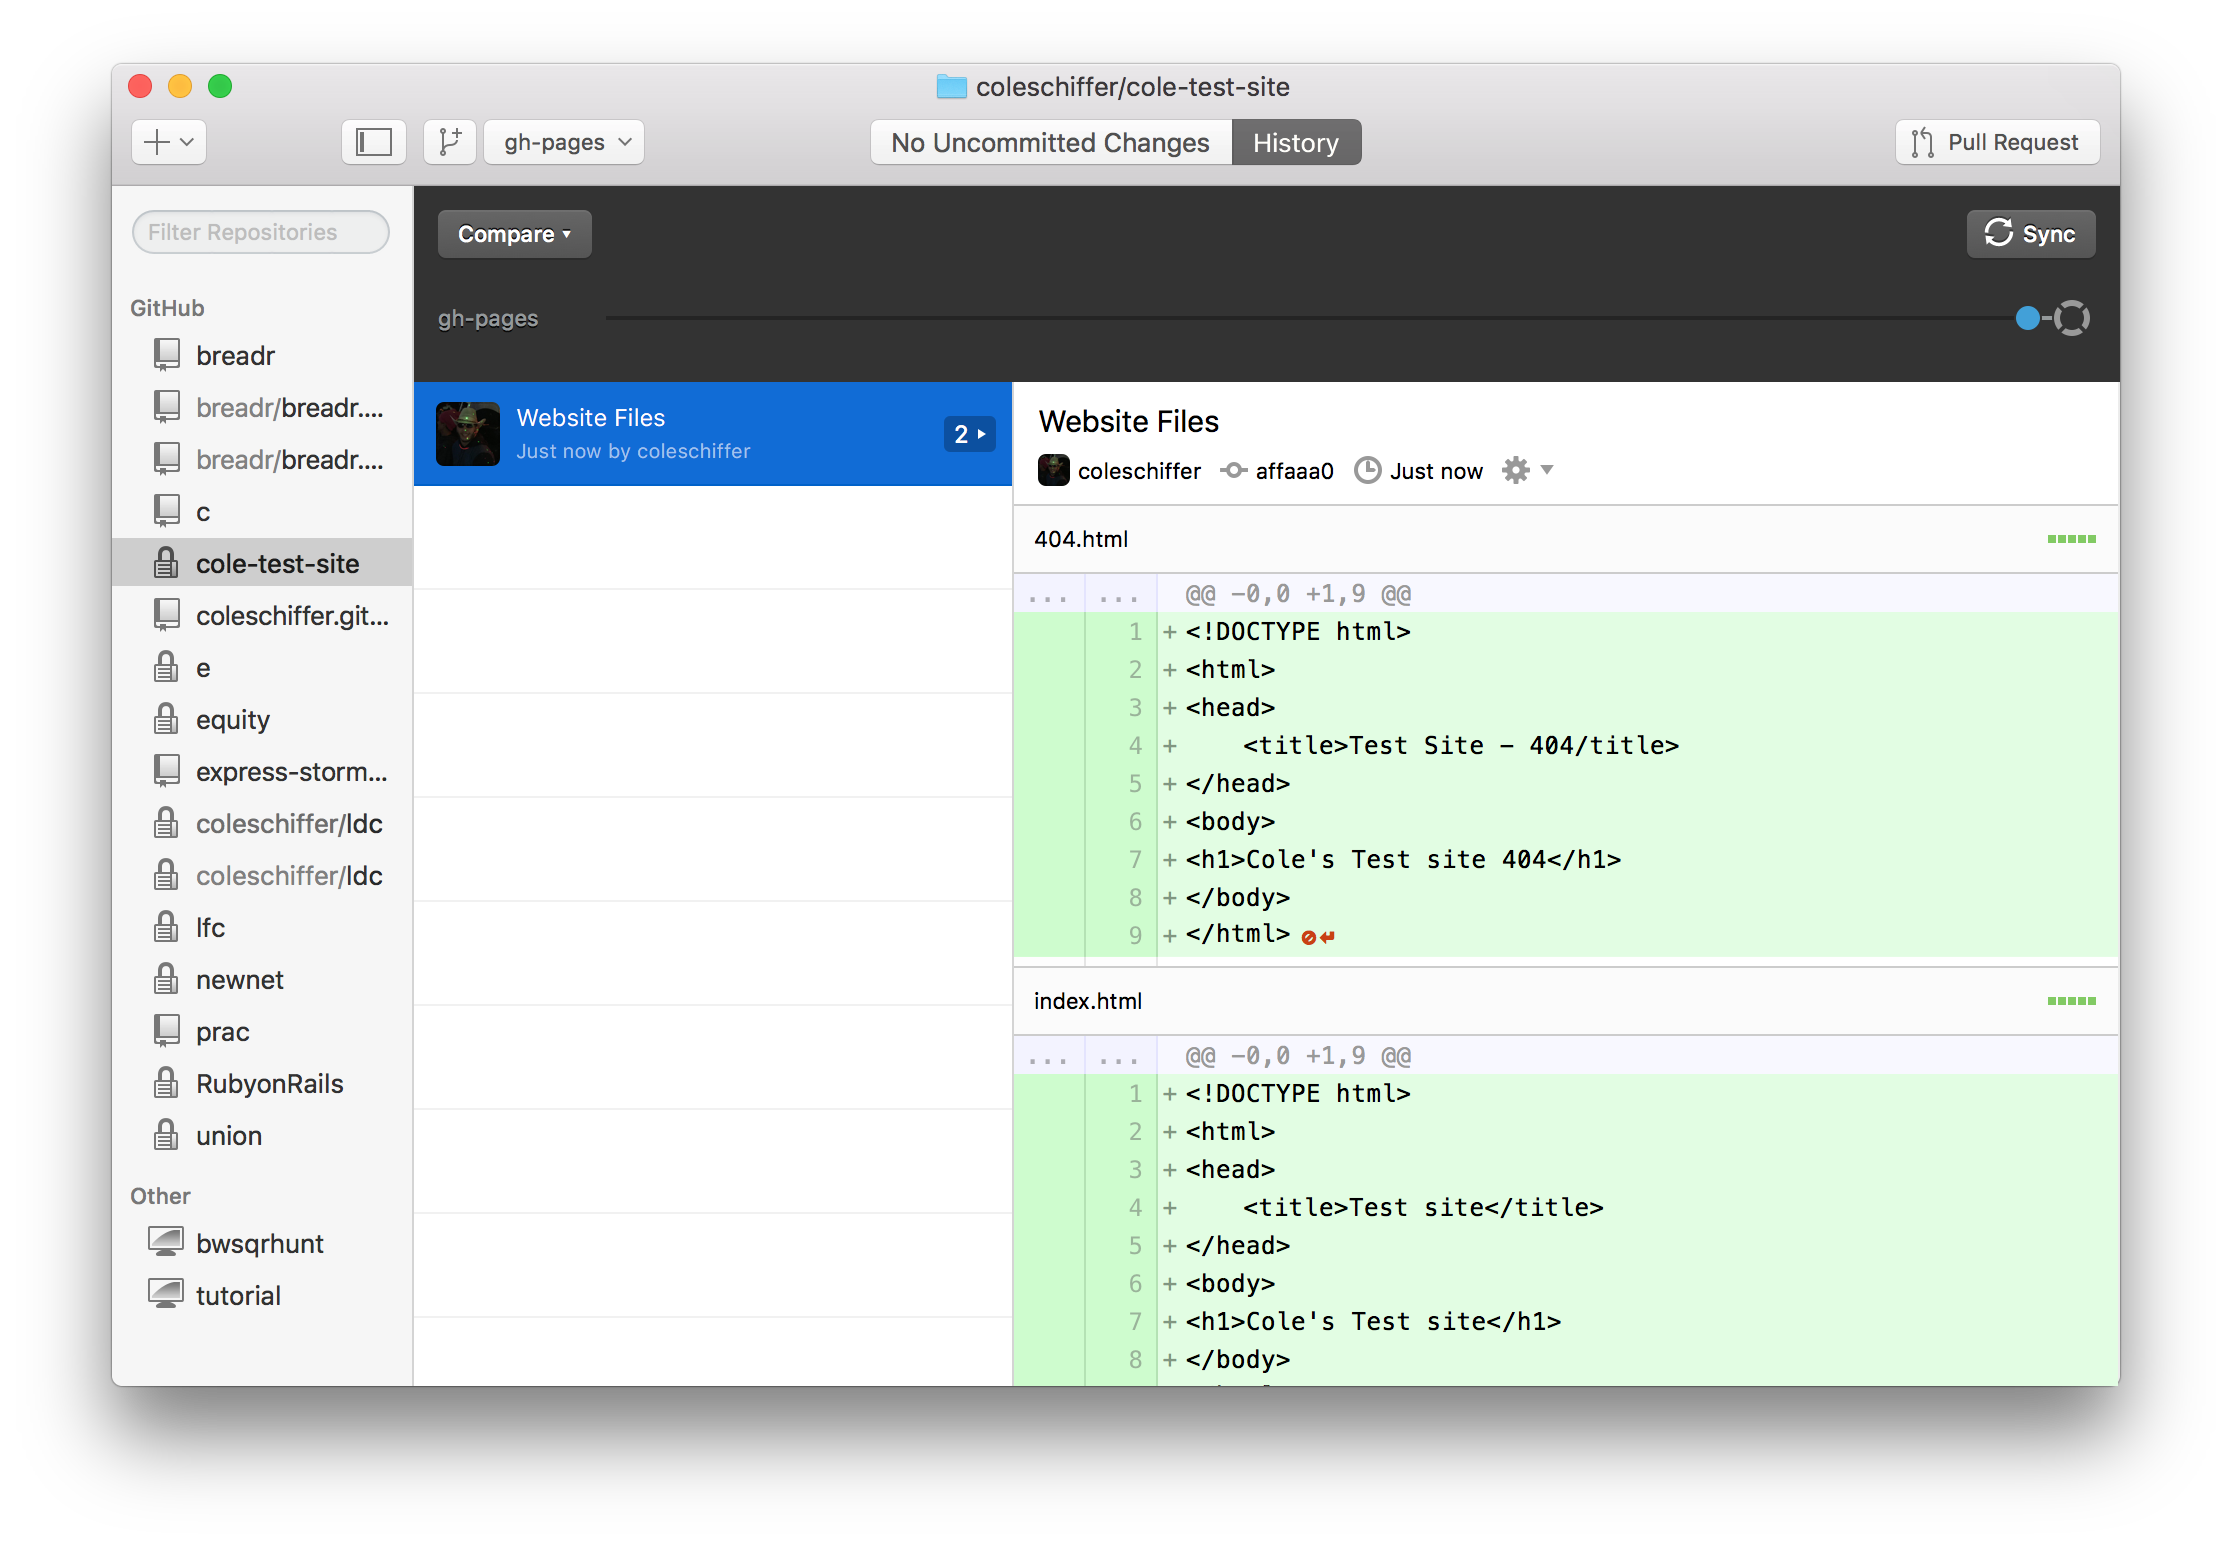
- Navigate to the local location and commit in your website files.
- Add in the HTML, CSS, and Javascript files
- Make sure to have index and 404 pages.
-
- Create a new branch and change if master to gh-pages
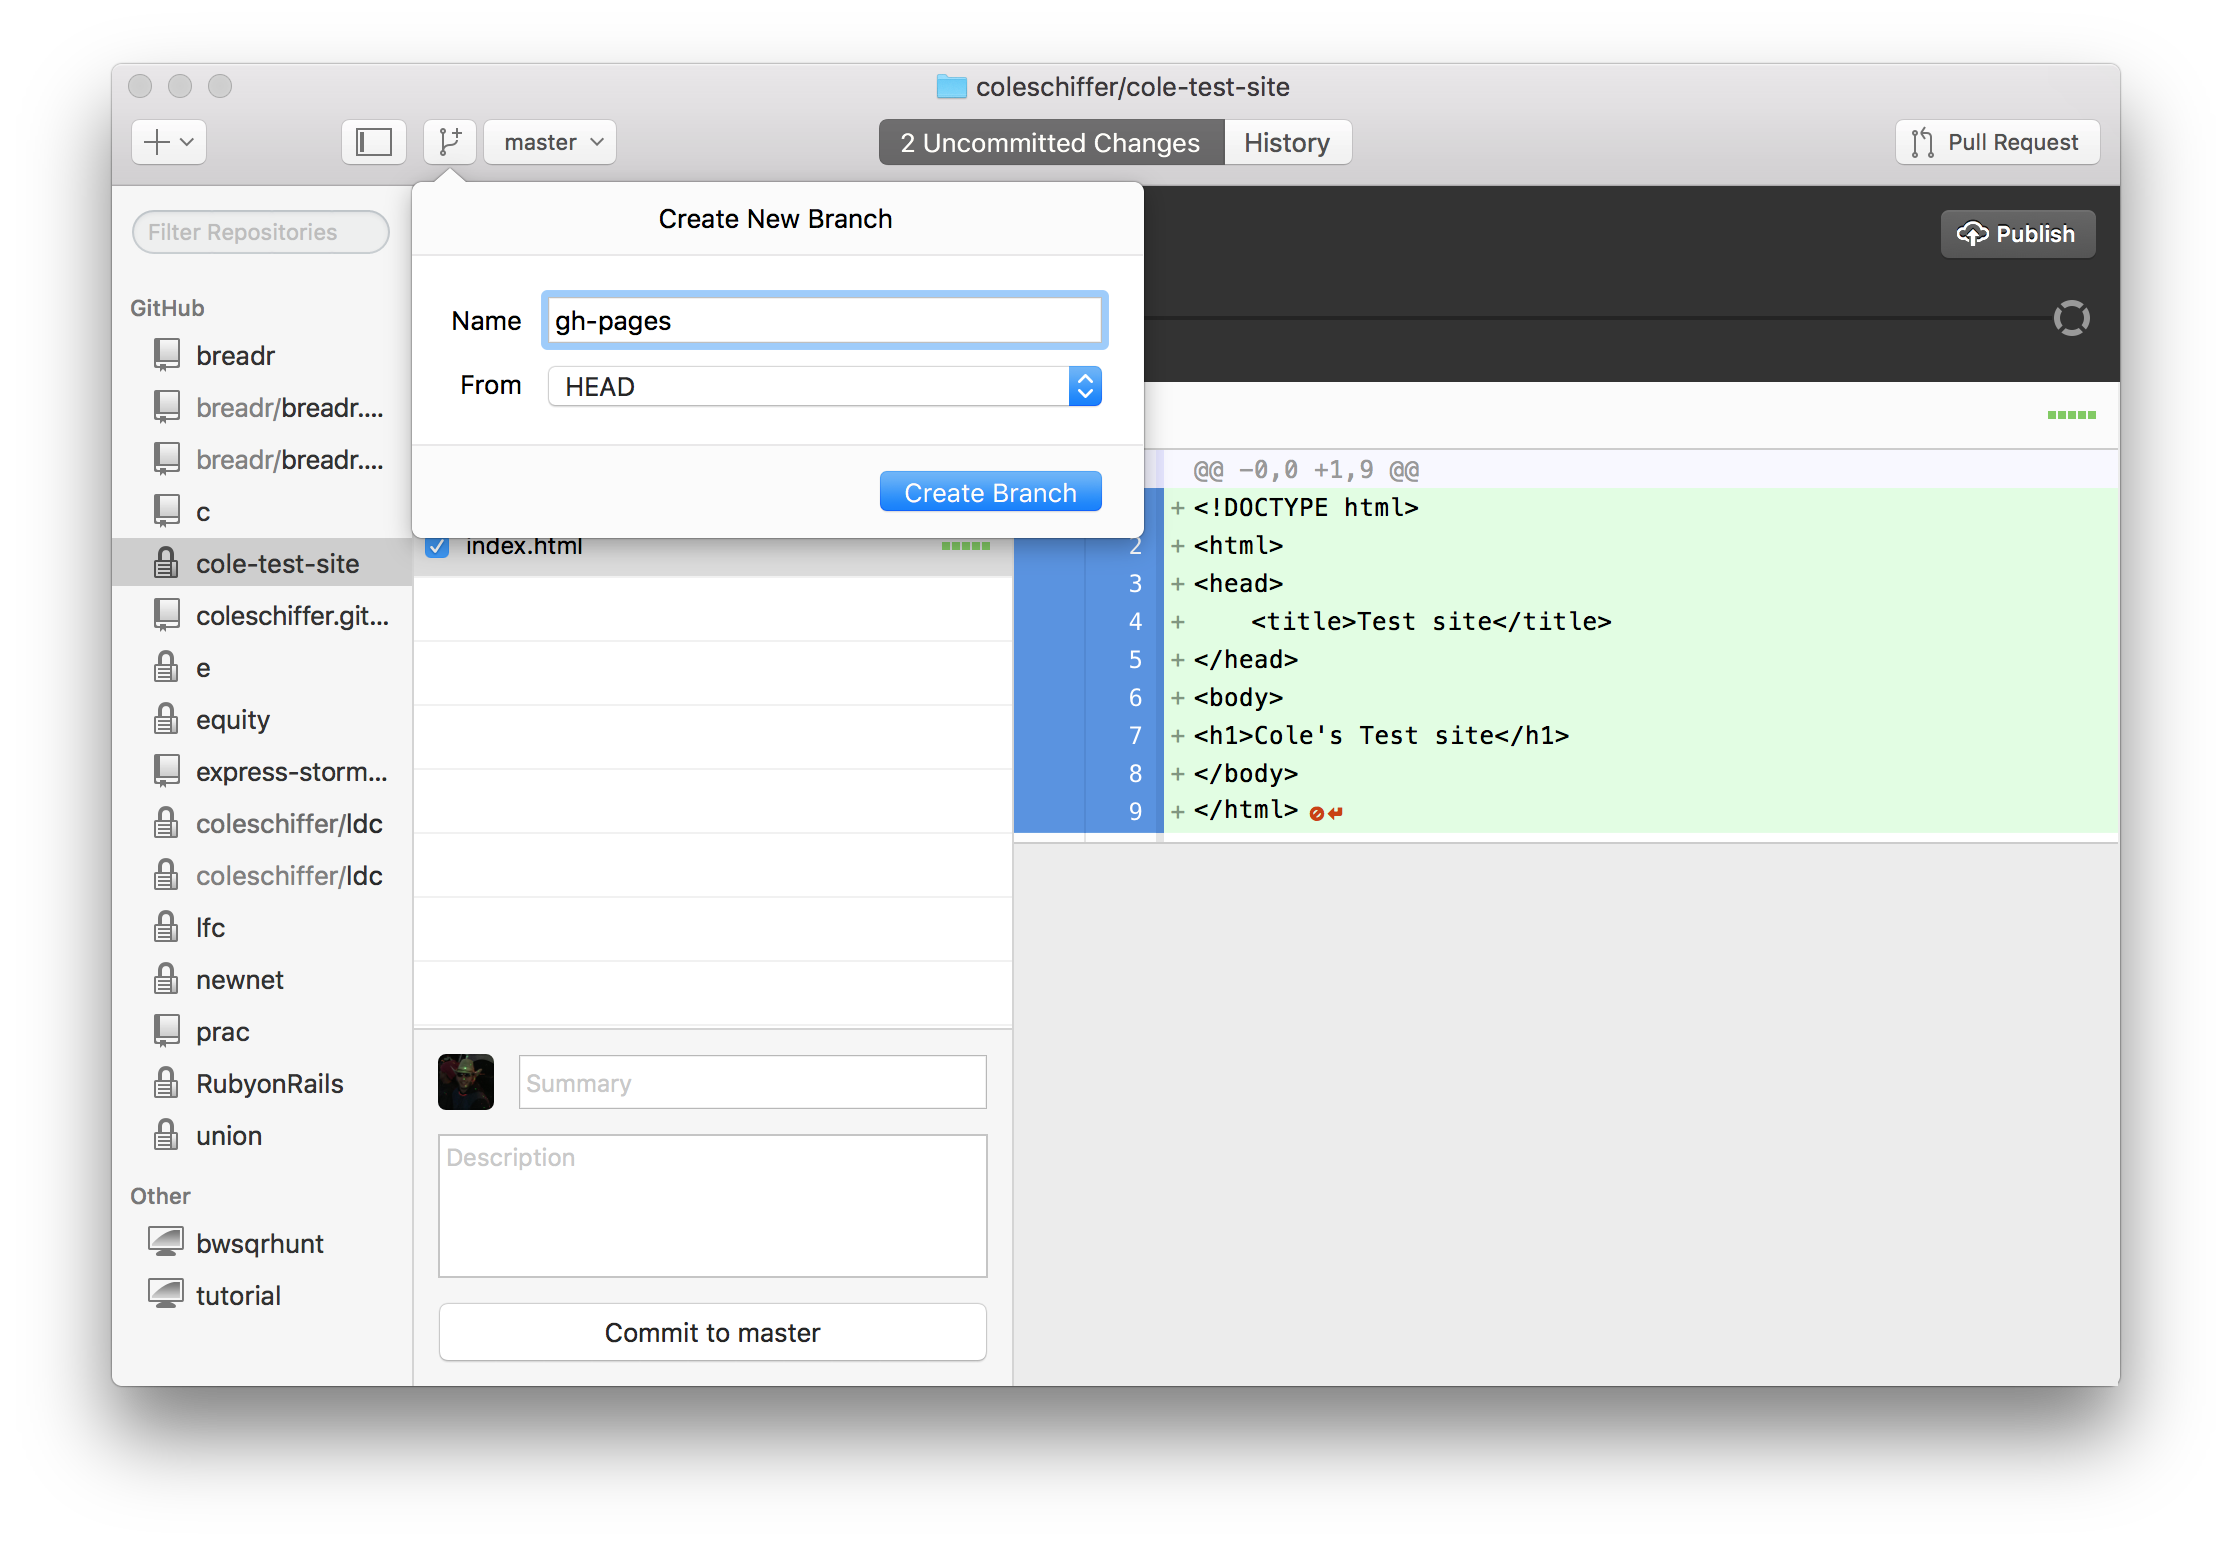
-
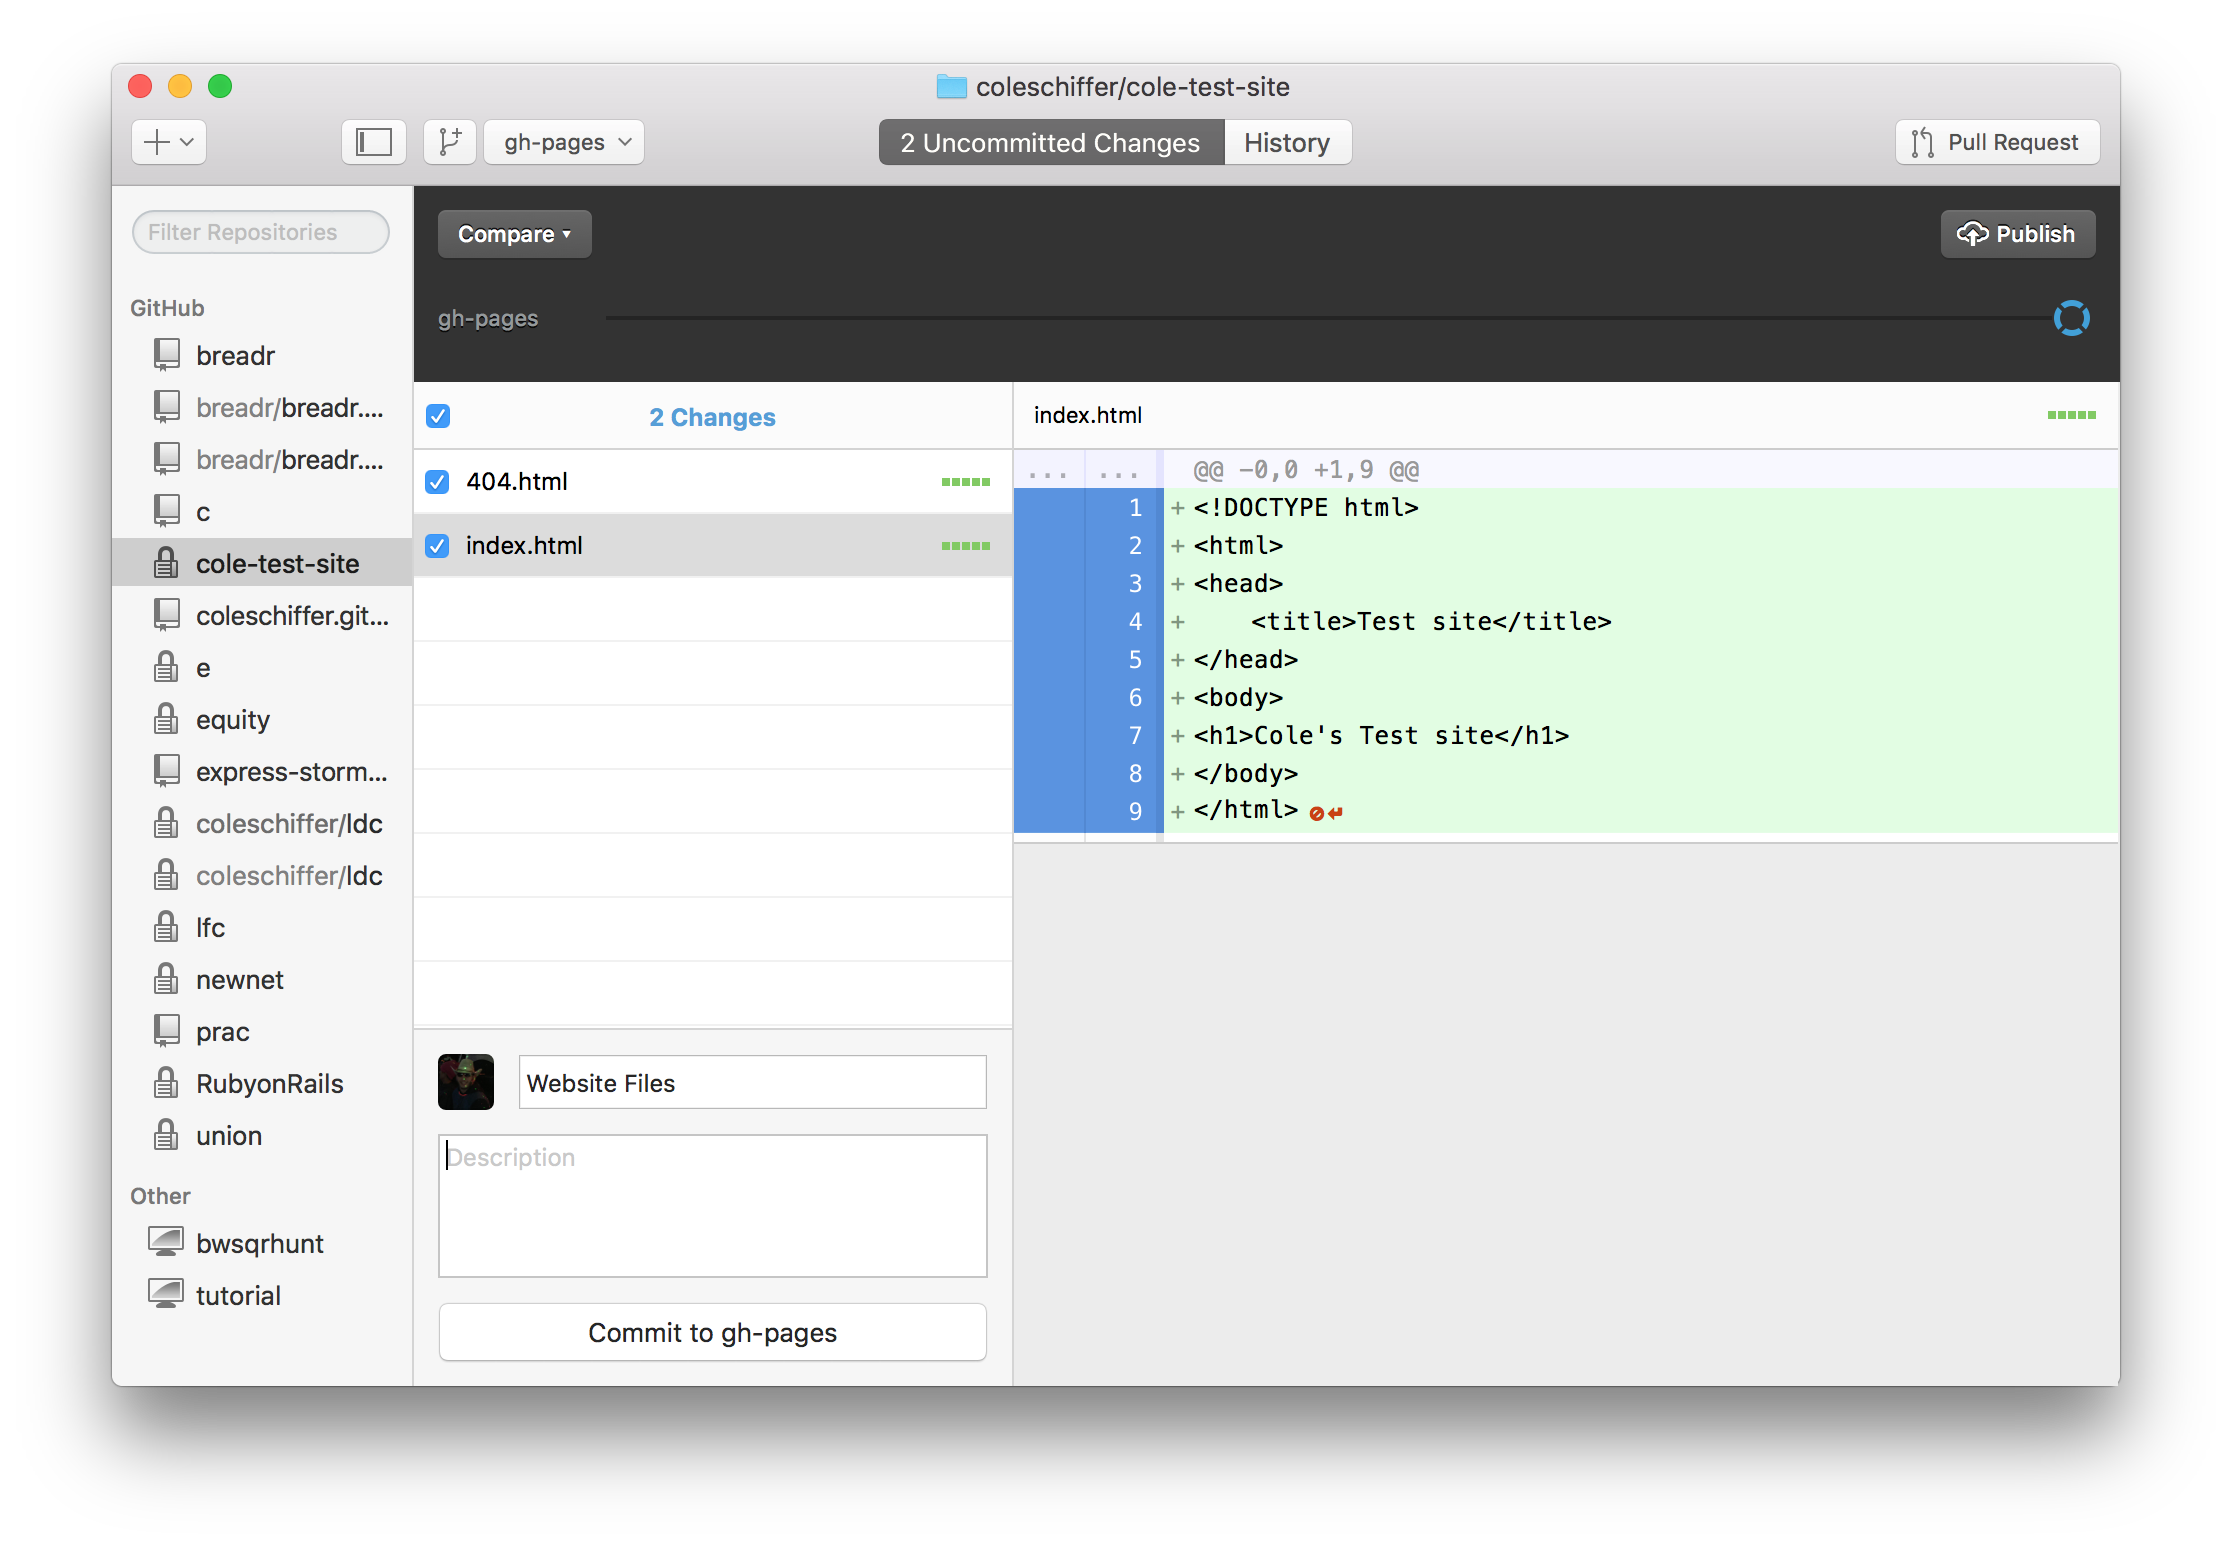
- add in a summary, then click commit to gh-pages, then click the publish button at the top to push to the github servers.
Soon your website should be live at [your_username].github.io/[website_folder_name] for example mine would be coleschiffer.github.io/cole-site-test
Congratulations you now have a free hosted live website!
You can dive deep by exploring how to set it up with a custom domain here and to set up a blog look at Jekyll.
This tutorial is very organized, and I could definitely follow the steps easily, however coming from a fairly lacking background in computer science, there were a few steps that went over my head. To encompass every skill level that your readers might have, I would recommend linking to another tutorial that “dumbs down” the more computer – savvy aspects of this tutorial. Other than that, however, this is a really helpful tool and very carefully constructed tutorial.
It was quick an easy to create an account, but i found it hard to follow the instructions if you do not have a lot of experience with HTML, CSS, or have took a basic computer science course.
The tutorial certainly got me yo the end point, and I mostly understand how the whole process works. It was very easy to follow. However, I think you can include a lot more information and/or explanation of why we do each step, and what it means. For example, I have no clue what the master branch is or why it needs to be called gh-pages. Adding more process information about how this tool works will enable users to learn more about it and learn how to use it in more complex ways even after finishing your tutorial.
I like the tutorial a lot and am considering making a static website soon so I am definitely considering hosting it through github. I found the tutorial pretty straight forward but I could see someone who does not have experience with github getting confused with some of the terminology like “repository”, “branch”, or “commit” and what it means to clone a repository to your local machine.