After brashly (audaciously? foolishly?) electing to model the Skinner Memorial Chapel and spending some time collecting images of the iconic building, I finally took a first pass at modeling it using SketchUp this week. It is always frustrating when one dedicates many hours to trial and error and is left with very little to show for it, but alas, such was my first attempt at digital chapel construction. Behold the fruits of my labor: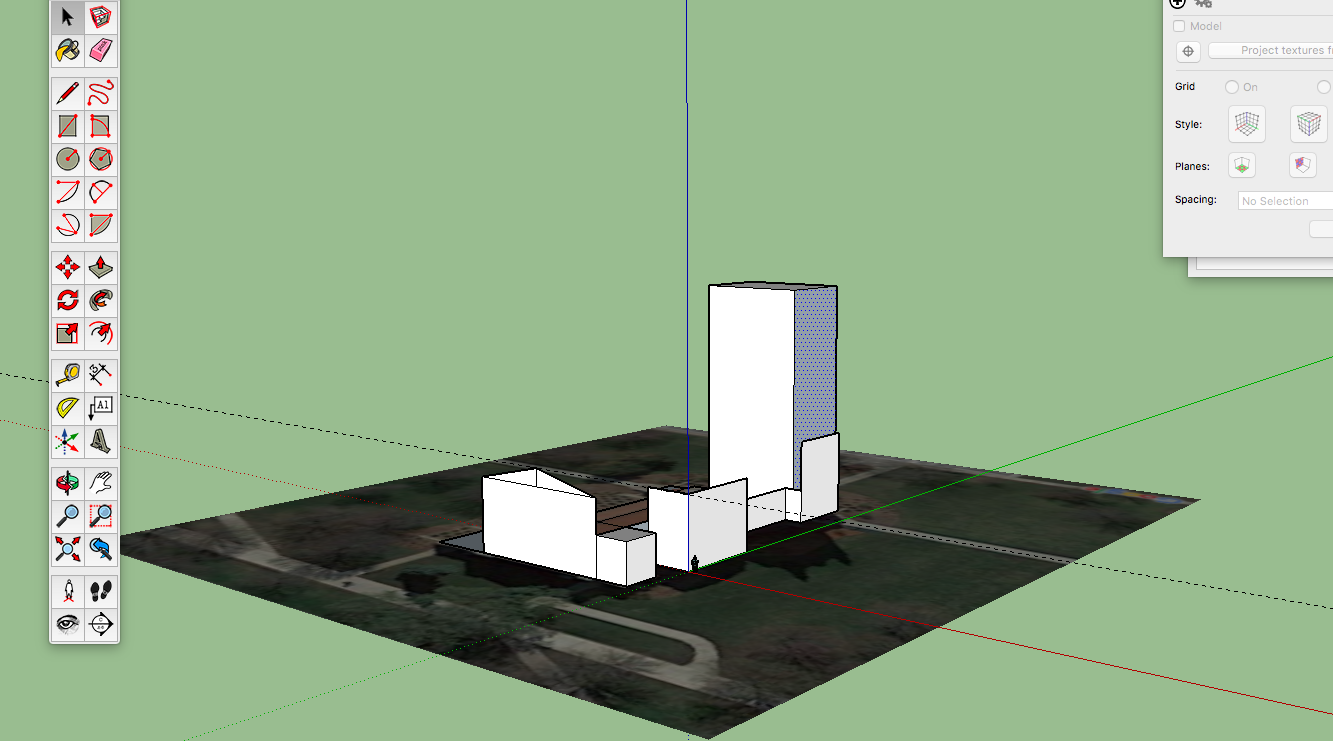
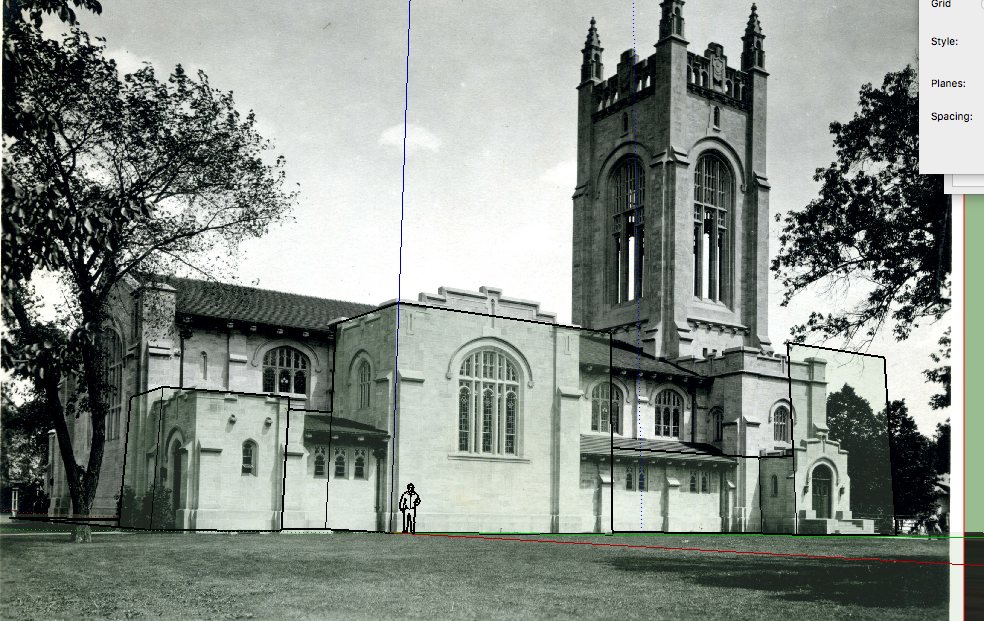
What this image represents is an attempt to accurately size and space a few key components of the chapel, utilizing Sketchup’s “Match Photo” and “Add Location” features.
At first, I tried modeling the building using a single photo, but although the photo seemed to be decent quality, I was skeptical of the shapes I was producing.
 One of the challenges with this building is that it is not very boxy– there are many portions protruding outwards. At first I was essentially trying to treat the building as if it were boxy, and use the outermost edge to form a rectangle at ground level. I thought I could then extent that rectangle upwards to get a rough shape of the building, and then doctor it to account for the different heights of different sections.
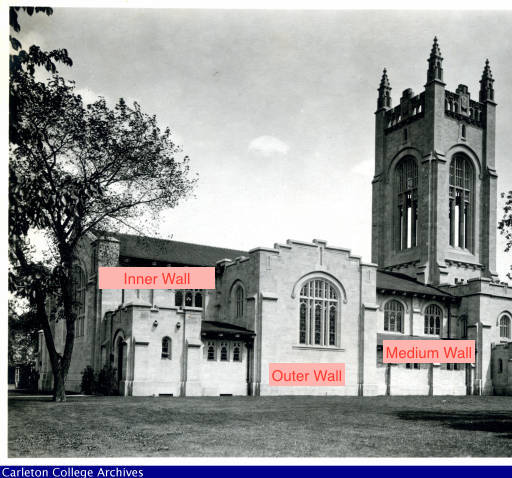
One challenge is that the image to the left seems to show an inner wall on one plane, and an outer wall on another plane, and a medium wall on a third plane. But in fact, I do not think all the walls on the “outer wall” plane actually extend an equal distance, making it difficult to treat that plane as the outer-edge of the rough rectangle I was trying to create.
Another challenge is that there is some spacial warping due to the nature of photography during this era.
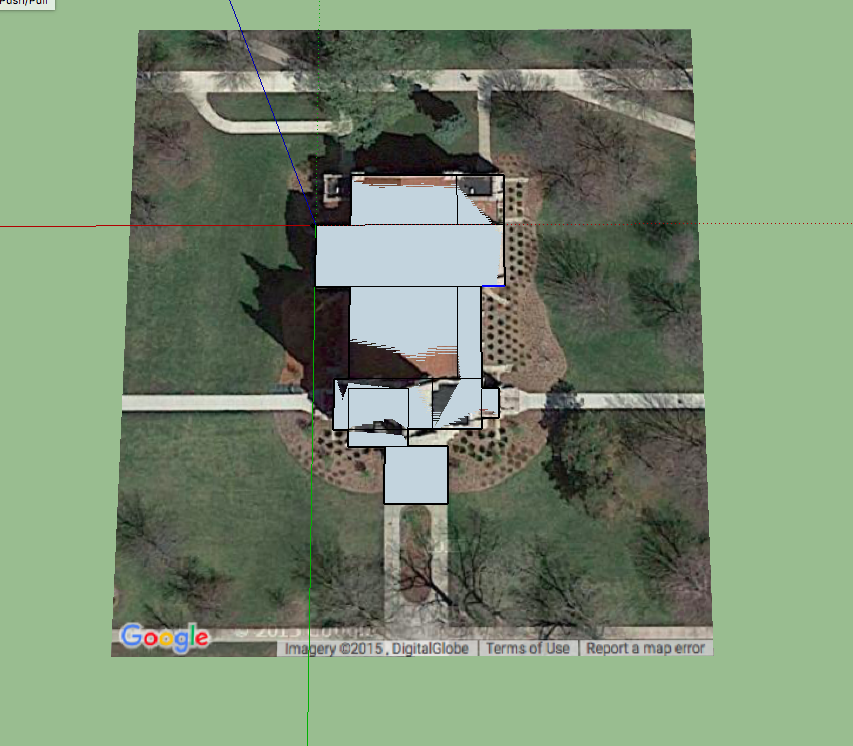
I concluded that rather than trust this image to give me an accurate base structure, I should employ some current satellite imagery. I used the “add location” feature in Sketchup to import a birds-eye view of the chapel as a ground layer. From this, I attempted to sketch the basic shapes of the different structures, and ended up with something like this:
Next, I spent some time figuring out how to orient this base structure to my photograph, and then tried to rise the walls to an appropriate height using the “match photo” functionality.
I then imported several more images, and repeatedly aligned and scaled the image to my current model and then attempted to pull new lines up to the correct height and begin filling out the basic structure.
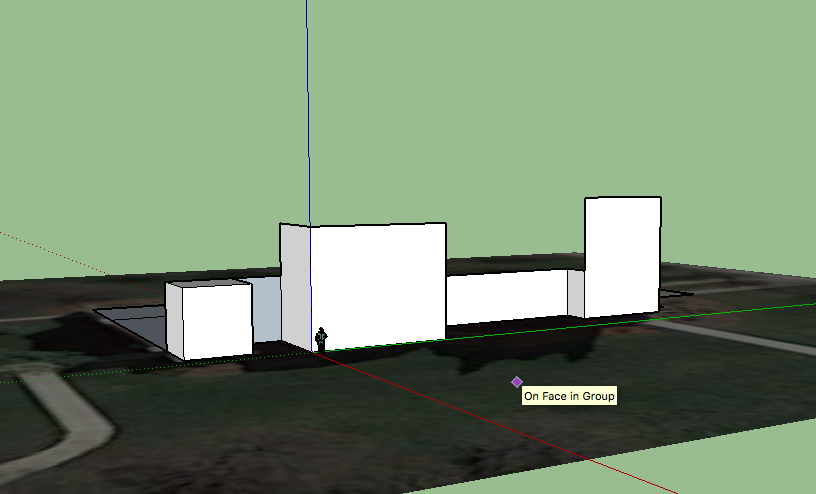
Using multiple images and the ground layer based on satellite imagery made me more confident my model was realistic and based on reality, but I was frustrated by how difficult it was to get my model to align well with each of these sources. No matter which photo I used and how carefully I adjusted the match photo alignment lines, the sides of the model, and so on, I always ended up disparities between my model and my images, like this:
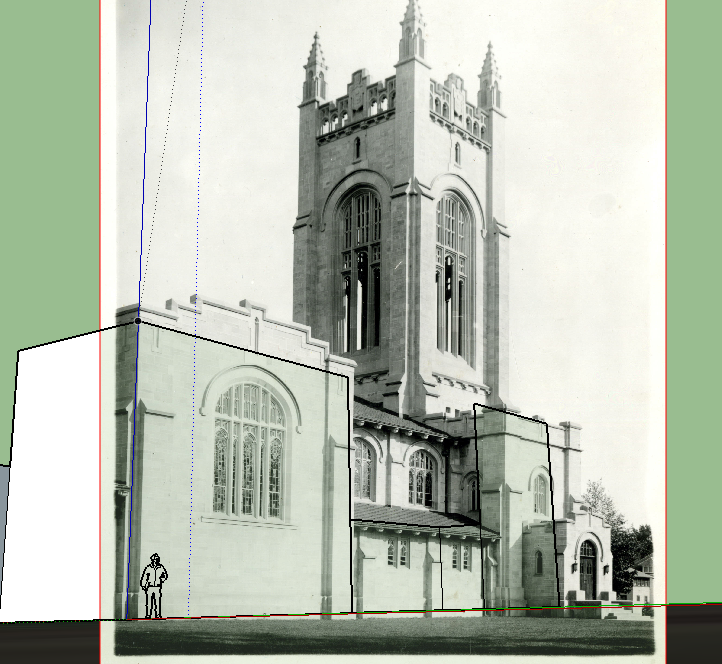
I decided this imperfection is partially rooted in warping in the old photographs, and the fact that the photos are often incomplete and taken from awkward angles. Thus, I decided that modeling this way is somewhat an exercise in accepting compromises and trade-offs.
So I shall continue to adjust the model and the photos until I arrive at a kind of “average” model, that most closely fits each image.
Good for you! This is not an easy model to attempt, albeit a beautiful one! I really enjoyed the outlay and aesthetics of your post, as well as wry but hopeful tone. I’m excited to see how this model turns out and hope you all the best in your frustrations!!
Yes, Dustin, you picked the hard one. I think you were wise to go with the extruded footprint technique, and your model is starting to take shape. It looks like you are off to a great start, and now you can add details from additional images to the solid foundation you’ve laid.