Isn’t it frustrating when you want to sing along to your favorite song but you can’t because Youtube conveniently doesn’t have a lyric video for it? Well, how about DIY-ing and writing your own transcriptions to your favorite song? You can do that using InqScribe!
InqScribe is a digital media transcription software. The software allows you to simultaneously play whatever video and type your own transcriptions for that video. It’s a great tool for elucidating certain dialogues and allows you to better dissect either the context or even the tone of a song/conversation/scene/etc.
How to Use InqScribe:
- You’re going to have to download the software from here. I used the unlicensed version meaning I am not allowed to save or export any data. However, if you want, you can either download a free 14 day trial or buy the software.
- Once downloaded, you can open the software. You will have to choose “Select Media Source.” For this tutorial, I uploaded a video from my computer. But, you could use either a media source from your computer or with a URL.
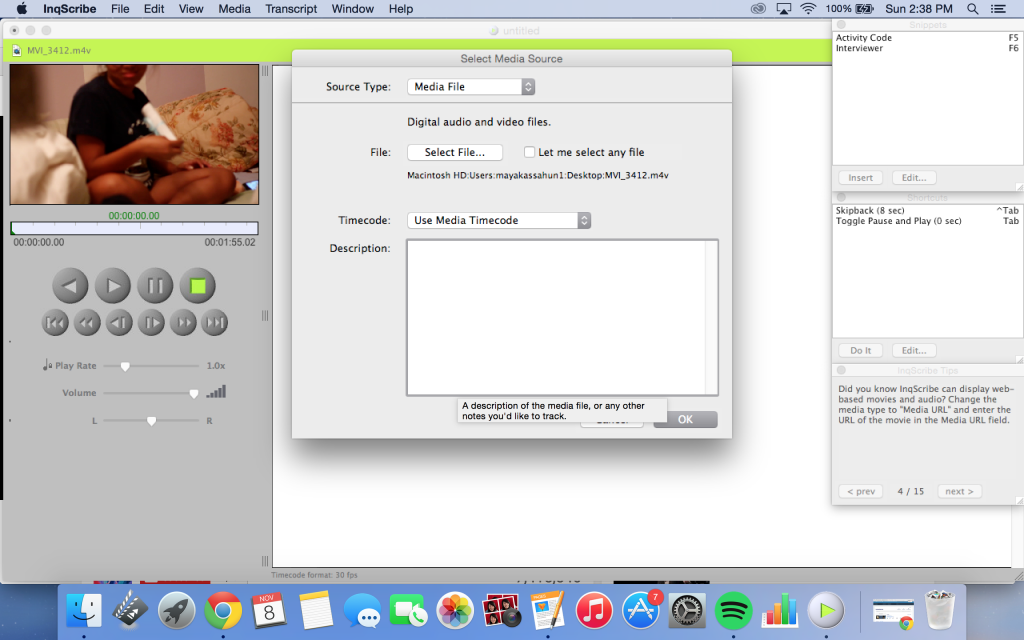
Uploading the media source.
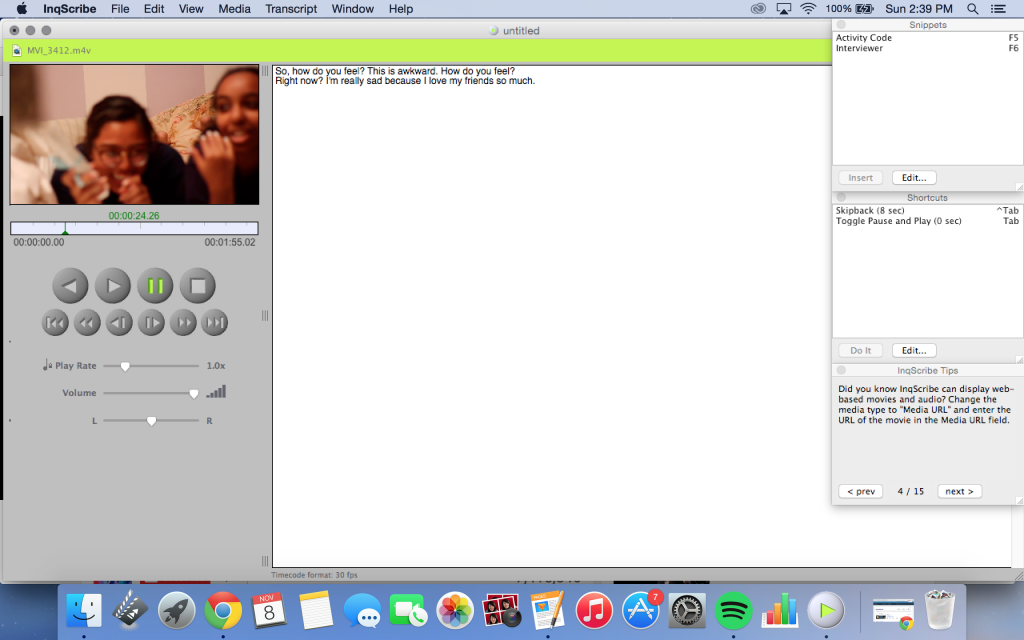
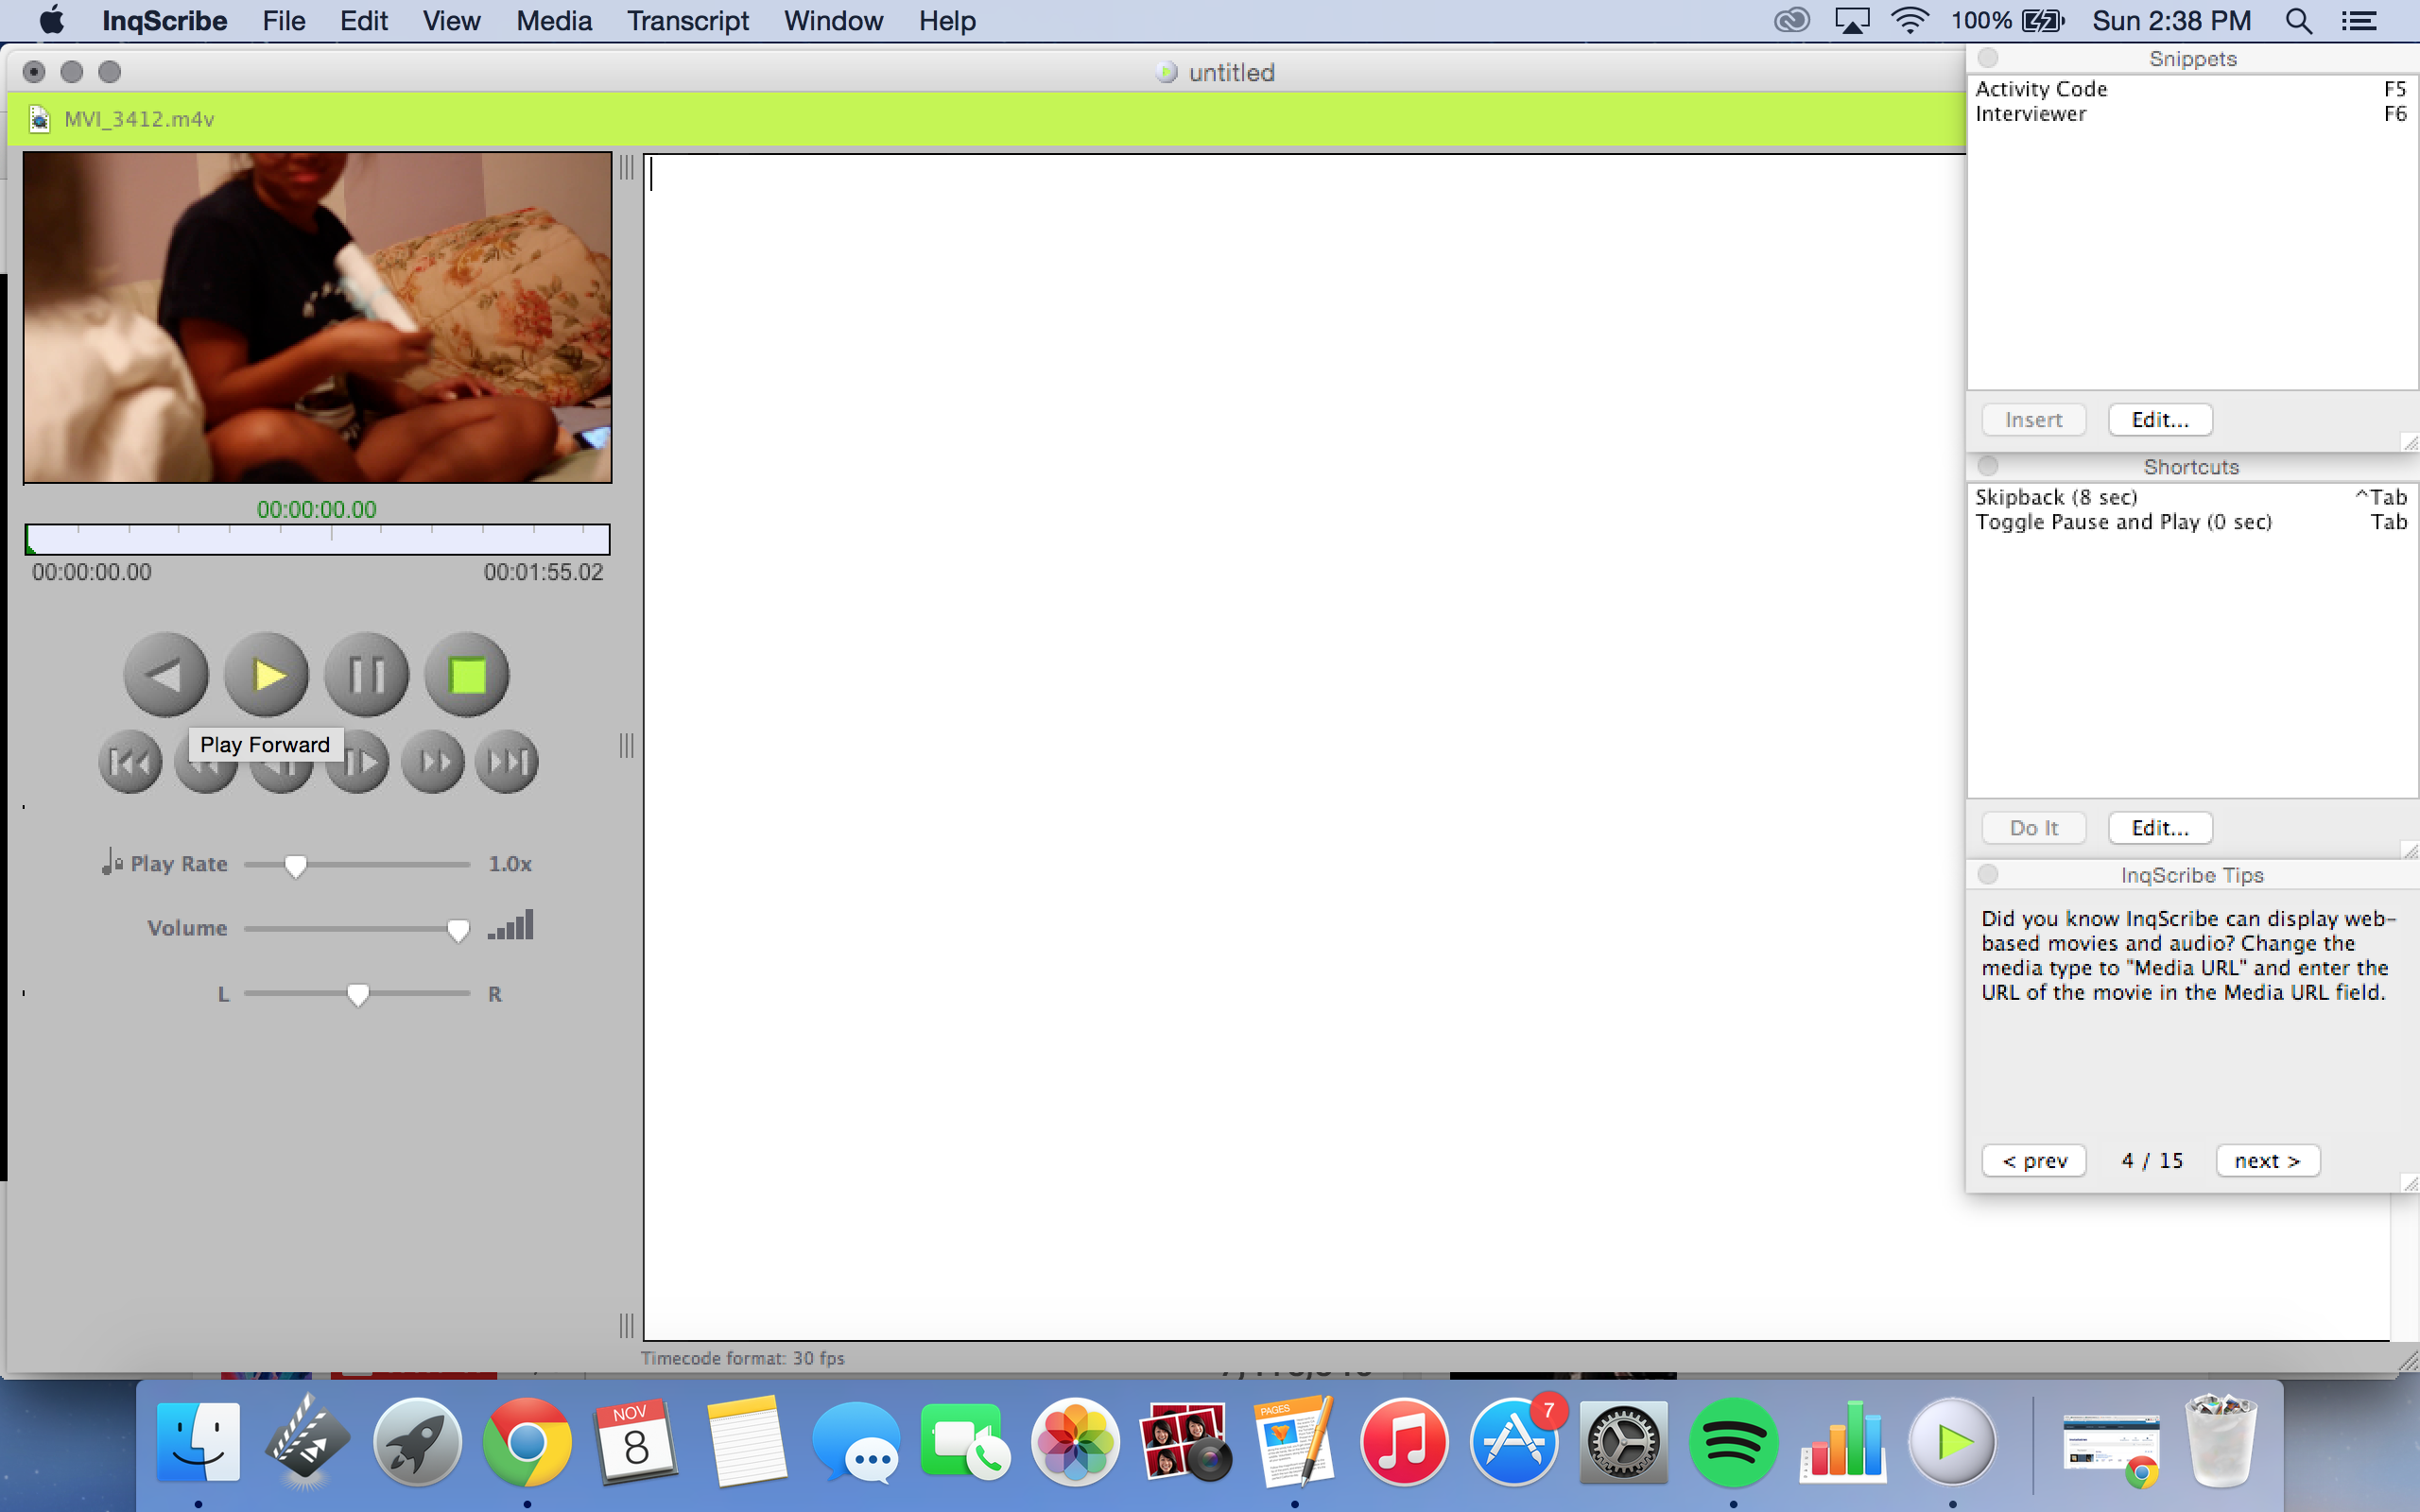
- After you choose your media source, you should see a preview of whatever video you chose in the top left corner. Click the play button. And as you watch the video, you are able to write what you hear in the large empty space on the right.

On the righthand side, you click play. On the lefthand side, you transcribe.
- If you find that the video is too fast for your typing, you can click on the slider that says “Play Rate” and move it to the left in order to slow down the audio.
- Another tool you can utilize is the L/R slider, which changes the source of the audio making it either come from the left or right side of the speaker. This allows the audio to become somewhat more crisp and isolated.
-
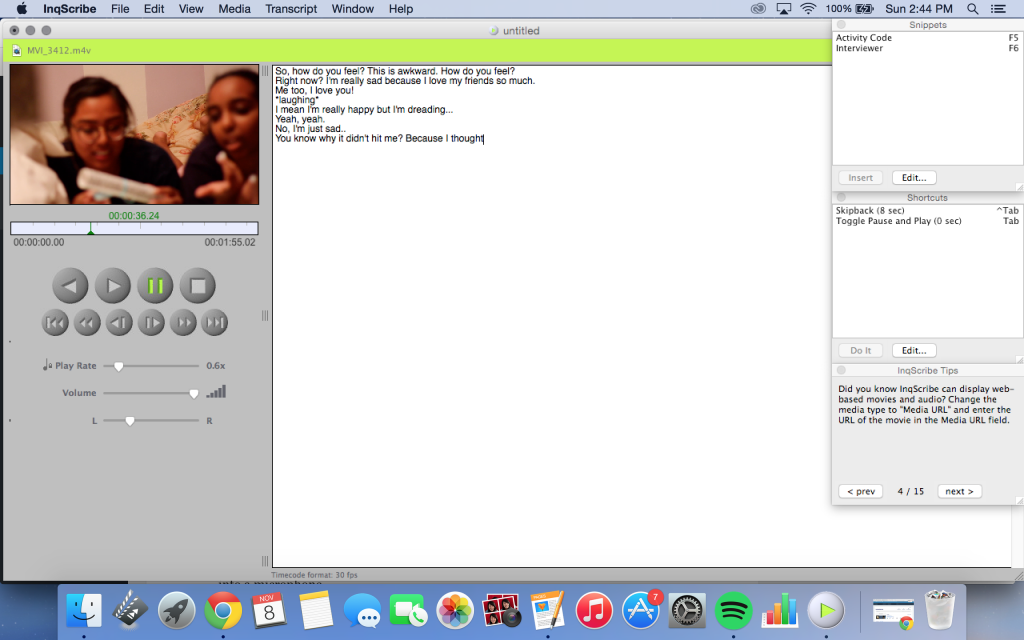
Slowed down the play rate to 0.6x instead of the standard 1.0x
- After finishing your transcription, you can insert timestamps for when each statement was said in order to make certain quotes more accessible. Play the video once more and when the audio correlates with the beginning of each transcribed line, go to “Edit” and click “Insert Time.” This will create a sort of hyperlink that will take you to that specific moment when clicked on.
- This is completely optional.
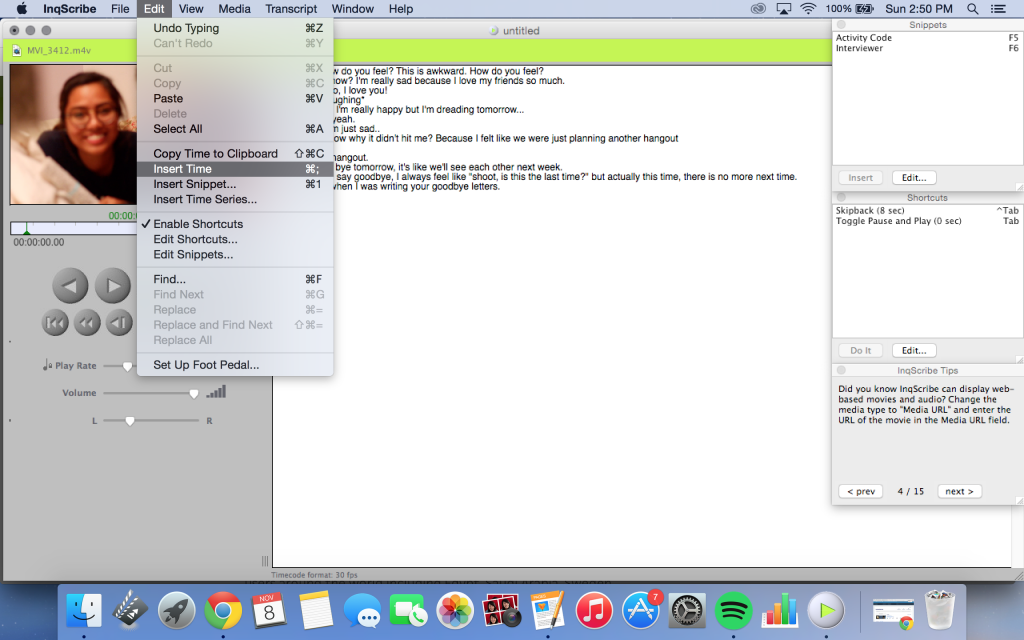
Inserting the time for each transcribed line.
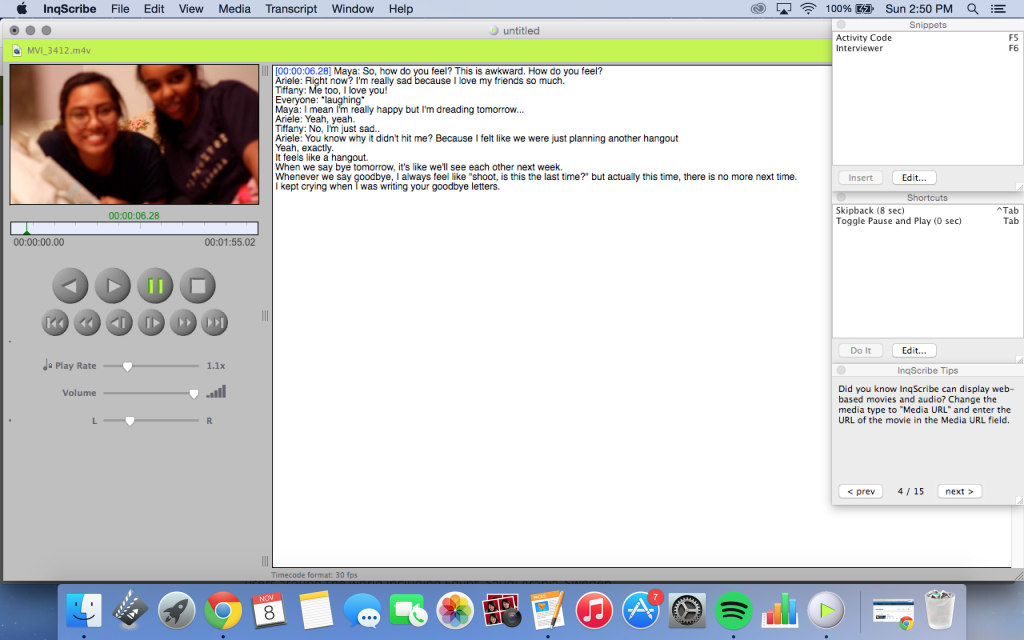
The blue hyperlink is the timestamp.
- This is completely optional.
- Voila! You now have a transcribed video (and maybe a lyric video you can sing along to!)


Here is another easy-to-follow tutorial video on how to use InqScribe.
And here is an interesting usage of InqScribe to transcribe the experiences of Wabanaki Native American children and families involved with state child welfare.
Thanks for covering InqScribe! I find this tool to be interesting. There are bunch of videos on my computer that I would be fun to transcribe, and I will definitely go back to your tutorial to try stuff out.
Maya,
This tutorial has a great hook and a clear explanation for why you would want to learn about and use InqScribe, which I didn’t know about before. It seems like it could be a very useful tool for archival purposes, for creating subtitles of foreign language interviews, and for allowing text analysis tools and techniques to work on video content.
Your walk through is very easy to follow and I especially like the captions that explain what each screenshot is showing. I just wish the software were cheaper! Thanks for sharing.