Audacity – A free multi-track audio editor and recorder
Audacity is a free software that allows users to edit and record audio for Windows, Mac OS X, GNU/Linux and other operating systems. There are many tools in this program that help users to expand their range of creating a different and unique sound. The most widely used features of the software are recording live audio, converting tapes and recording into digital recordings or CDs and editing WAV, AIFF, FLAC, MP2, MP3 or Ogg Vorbis sound files, cutting, copying, splicing or mixing sounds together AC3, M4A/M4R (AAC), WMA and other format. The specific technique I will highlight through this post is “noise removal” process using Audacity as main software. When one records audio sound, it is often that one’s computer is used and a built-in mic is used. Considering the quality of most built-in mic in computers, it is very common for recordings to have background noise. This post will provide ways to remove such background noise after recording, using Audacity. The noise removal technique would be useful in projects that use voice over because it will produce clearer sound. In addition, it can be regularly used in any projects that involve sound or audio track recorded from built-in mic. For people without professional music or audio software, audacity would be a software that will provide better sound at a free cost.
Steps for Noise Removal
Step 1: Download Audacity
- In google, simply type “audacity” and download the program from its official website.
Step 2: Open the program and record
Pressing the red circle button will start the recording. You can change the recording tool by pressing on .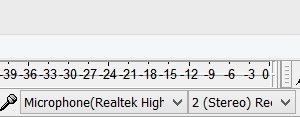
Step 3: Select Noise Sample
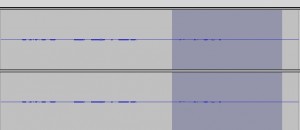
- Select the part where you want to reduce the noise in your recorded audio. Do not select all the audio part but only the part with the noise in it.
Step 4: “Noise Removal”
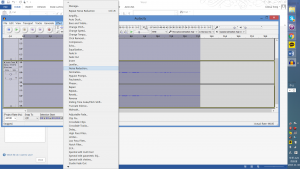
- With the part selected, select “effect” tab select noise reduction. With the tab open, you can change your setting on noise.
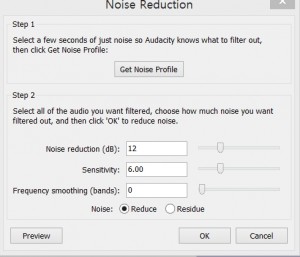
Step 5: “Get Noise Profile”
- Select Noise Profile
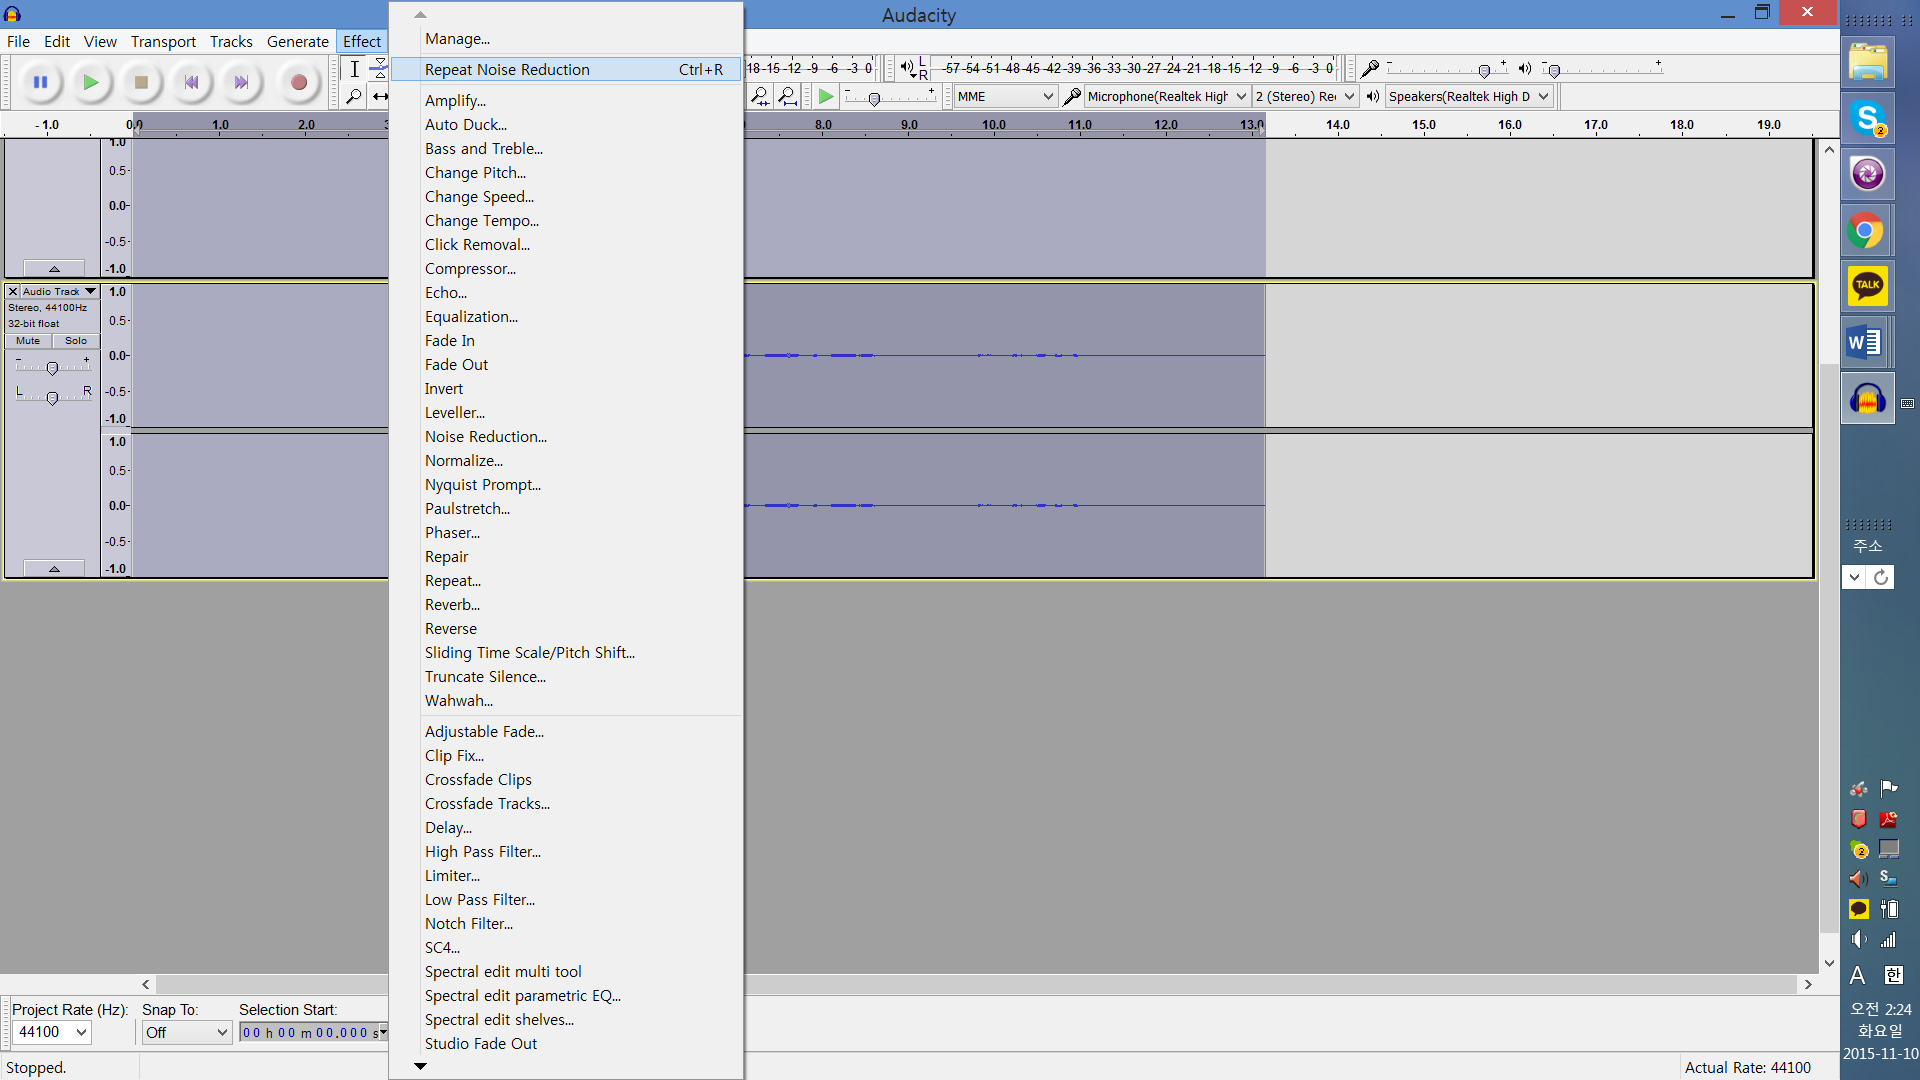
Step 6: Application
- Using (CTRL+A), select all the audio clip and click into effect then press “Repeat Noise Reduction.”
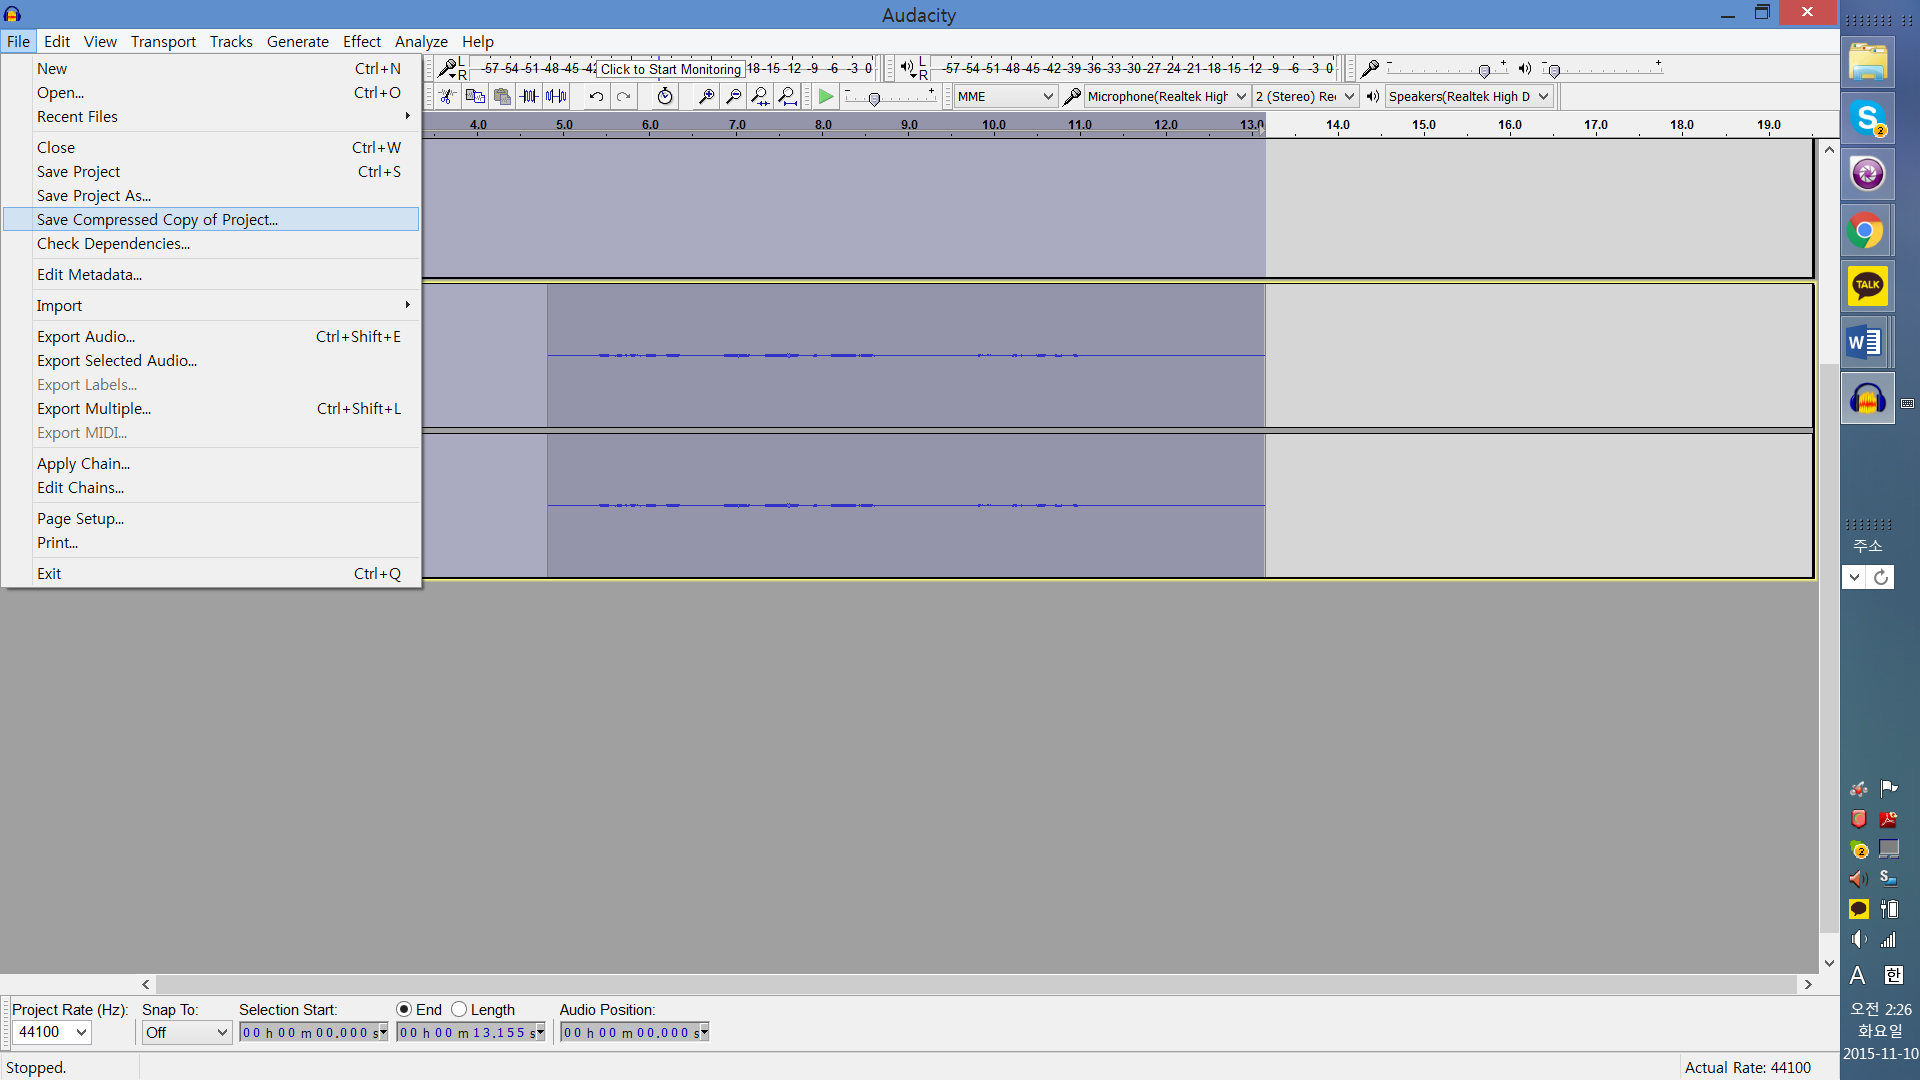
Step 7: Compress and Save/Export Audio
- After all these steps, your recorded audio clip now has clearer sound with reduced noise. 100% Noise removal cannot be guaranteed because it is not a professional program, but noise removal to a decent amount can be expected.
The two links that are related to inform more about this software and this particular technique are:
http://audacityteam.org/ and https://www.youtube.com/watch?v=ogJvFBsvwbc
Enjoy!
Thanks for your step-by-step. You lost me a little bit between steps 5 and 6, but I figured it out eventually. This would have been super useful to know last year because we used Audacity quite a bit for high school projects. Thanks for your illumination!
Audacity is a great little program that can be used for many purposes. One of these purposes is, as you mentioned, is noise removal. The screen shots of Audacity is very helpful as the process can be confusing at times. It would have been cool to include an example of audio before and after the noise was removed. Thanks for sharing this great program with an easy to learn tutorial!
Very nice tutorial. I can see this noise removal technique enabling a sound file to be analyzed more easily for a DH project. Thanks!
Nice tutorial! I can definitely imagine this technique being very useful in the area of digital humanities and I’m glad I now know how to use it too.
Joshua,
This tutorial was very clearly targeted at a specific goal (removing noise to enhance audio quality) and I like that you addressed why you might want to do this in a DH project, if you were including voice over narration or had audio interviews for an oral history project.
Your step-by-step instructions on Audacity are pretty easy to follow, but like other commenters I would have loved to have had a before and after audio file to see the results, and would have liked a little more clarification on individual steps. Some of your screenshots were also a bit blurry or very tightly zoomed, and some captions or links through to the full resolution images would have been helpful.
This was a very informative tutorial overall, though. Thanks for sharing.