Today we are going to work on our collective class project of creating a 3D model of Carleton’s Campus c. 1916-1966.
As we’ve discussed all term, many practitioners argue that the digital humanities are about building something, so let’s put our hard-earned knowledge and research into practice by making a collective, well researched, historically informed 3D simulation that we can share with the public!
As with all DH projects, there are many steps to this process. Over the past few weeks, you’ve already been gathering your sources. You’ve selected a building to model, searched the archives for historic images of them, and gathered their metadata in a spreadsheet. The next steps we’ll take today move on to the processing stage of DH project building:
- Import your files into an Omeka repository to better leverage all of our data and metadata together
- Georectify a historic map of the campus, in order to provide spatial and historical context
- Digitize features from the map to give us spatial coordinates in a GIS vector layer
- Model our buildings in SketchUp to simulate the sense of the campus as it once was
There’s a lot on our plate, so we’ll get through as much as we can today in class, and you can follow the resources listed below to work through the rest on your own this week.
Ready? Let’s build something!
Populating Omeka
Omeka is a content management system and web publishing platform, much like WordPress or Drupal. A few things set Omeka apart and make it a favorite for DH projects
- It was created by humanities scholars specifically for humanities projects, unlike most other platforms that have had to be hacked for humanist scholarship. Specifically, it was built by the folks at the Center for History and New Media (CHNM) at George Mason University, who also developed Zotero.
- It has robust support for metadata, by default the Dublin Core specification, a set of categories widely used by libraries, museums and cultural heritage organizations.
It’s primary use is in building collections—of documents, artifacts, images, etc.—and then organizing them into categories and allowing you to build Exhibits that tell a story from your primary sources.
Accessing our Repository
The repository we’ll be using for this project is one I set up through my Reclaim Hosting server:
Carleton College Buildings 1916-1966 (http://medhieval.com/omeka_hh/)
Click the link above to explore the front end of the website.
- How is the site organized?
- How is it similar to, or different than, the sites we’ve interacted with before?
- Do you recognize your content? Does it make more sense in this context?
- What ways are there to navigate around and find the content you desire?
You should have received an email invitation to join the site, and you can follow the link there to create a password and log in.
If you did not receive an email
- go to the login page and hit the forgot password link
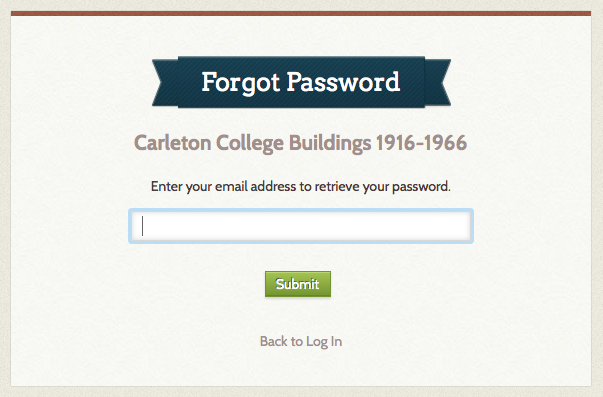
- Enter your Carleton email address and follow the link in the email you receive to set a password and log in
Once you’re at the backend, have a look around and compare this view of the repository to the front end.
- What can you do as an admin that you couldn’t do as a user?
- How is the organization similar to our different than WordPress?
Adding bulk data with CSV Import
In order to get our data in, we are using the CSV Import plugin to add the files from our shared Google drive folder and automatically associate all the attached metadata in our spreadsheet. I have already done this for our main content, but we’ll walk through the steps together to add a few more images of campus maps that we will be georectifying.
The process is not perfect and there are some files that didn’t come through. Try to find your sources and see how well you did entering your information.
Creating Collections and Exhibits
The primary ways you organize data in Omeka are to tag items, organize them in collections or create Exhibits from them. These terms mirror their counterparts in the museum world.
- Collections are thematic groups of items and each item can be in only one (think one room in the museum’s permanent collection)
- Exhibits are more flexible and are how you — as curator of your online museum — tell a story by combining items with text and organizing them in new ways. Items can be in multiple exhibits.
Exercise
- Find all of the items you have uploaded and fix them, if they’re broken.
- Edit the item, navigate to files, and upload the correct files directly.

- Edit the item, navigate to files, and upload the correct files directly.
- Create a New Exhibit for your building
- add at least one page with some descriptive text
- and add a gallery to show all the images associated with that building

See my example gallery on Willis Hall as a model, and check out the resources below if you need help.
Omeka Resources
For a good introduction to Omeka, see Johanna Drucker’s Omeka 101
For more overall introduction to Omeka and instructions on setting up free accounts with Omeka.net, see these two tutorials from Miriam Posner at the Programming Historian site:
For information on CSV import, customizing themes, Neatline and more, check out this fantastic and detailed Omeka admin guide for getting started up Omeka.org with the most common and useful plugins from Nicole Riesenberger et al. at UMD.
Georectification and Digitization
Now that we have a repository of our images, the next step is to rectify our maps and digitize polygon shapes from them.
The process basically involves finding points of correspondence between an image and a referent with known coordinates and adding them to the image so that it will be properly positioned by a GIS. There are many ways to do this. Last year we used ArcGIS to georeference and the David Rumsey georeferencer, but the first is overly complex and the second is pretty buggy.
This year, we are going to use the online MapWarper application. Lincoln Mullen has put up detailed instructions on how to use it, so we are going to use his to follow along.
Exercise
- Download one of the campus maps that we just uploaded to Omeka.
- Follow Lincoln Mullen’s instructions to register with MapWarper and rectify your image.
- Once you are done you get several options to export or access the map.
- Try to use the Tile or WMS information to add it as a Web Layer in ArcGIS online.
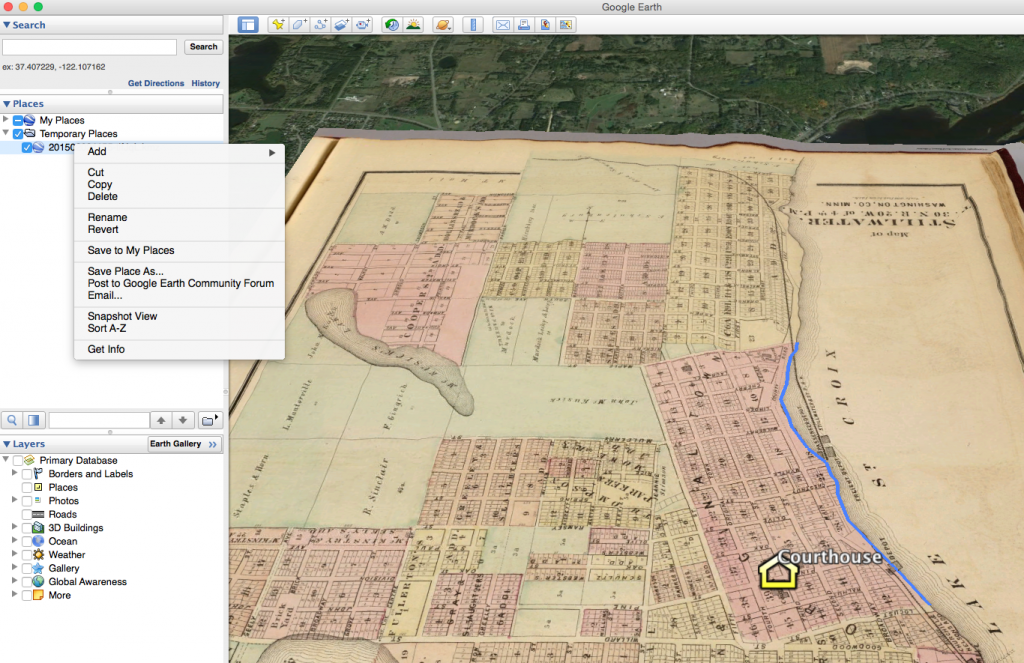
- Download a KML file to open in Google Earth.
Digitization
 Digitizing is the process of turning analog data into 1s and 0s on the computer. In GIS language, this usually means tracing lines on scanned historic or paper maps to create new vector layers.
As with Georectifying, there are many ways to accomplish this. One of the easiest is with Google Earth.
Follow my instructions from last year to trace and digitize the building shapes by opening the KML in Google Earth and adding new features.
Photo Matching With SketchUp
We will be using SketchUp’s Match Photo technique to create our models of historic buildings on Carleton’s campus, which we went over together briefly in class. The clearest step-by-step introduction I’ve found to the Match Photo technique of geomodeling is several years old but the basic principles still apply. The first link takes you to step-by-step instructions for the process using a photo of a barn as an example, and the next two link to videos walking through the same example.
- Step-by-Step: Match Photo: Modeling from Photos
- Video Tutorials: Part I, Creating a new Photo Match and Part II, Modeling with Photo Match
The two videos below are more recent match photo tutorials that show how to incorporate multiple photos, but skip over some of the basic steps outlined above.
- Video Tutorials: SketchUp Training Series: Match Photo Part I and Match Photo Part II
The other method often used to model existing buildings is the “Extruded Footprint” technique, which has the benefit of georeferencing your model with Google Earth from the outset. If your building is still standing and visible in Google satellite imagery, then this method might work as a starting point for you, but it won’t provide the level of detail we want unless you combine it with matched photos to add the photo textures and architectural elements. The video below offers an excellent introduction to how these two techniques can be combined to produce an accurate model, in the same way we practiced together in class.
- Video Tutorial: SketchUp Match Photo video combining Google Earth footprint and photographs
SketchUp Resources
We are primarily interested in exteriors for this class, but if you find floor plans or architectural blue prints for your building in the archives and want to go nuts and try to start modeling a version with the interior walls, go for it. Here are a few basic resources to get you started.
- Quick how-to overview of the process: How to build a building starting from a floor plan in SketchUp
- Much more detailed and long-winded video on Modeling a floor plan
Finally, masterSketchUp.com has compiled a handy list of 10 tips every SketchUp modeler should know.