Today I will present you a tutorial of using TimeMapper to create your own timeline map with ease. Although my group used ArcGIS’s StoryMap to build our final project, I found this TimeMapper a great tool to display texts with its coherent story on maps more efficiently. ArcGIS’s StoryMap is more powerful than TimeMapper so that we could embed SketchUp Models and Wiki websites into the timeline story, but if your aim is to simply show a clear timeline of a specific theme, which has a strong correlation with geographical information, then TimeMapper would be my suggested tool for you.
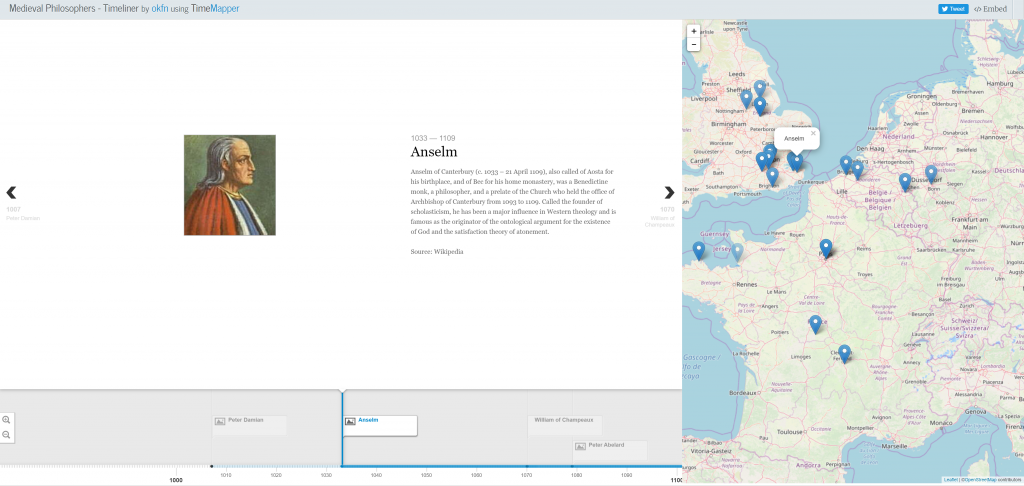
A TimeMapper project would have a clear user interface than ArcGIS’s StoryMap
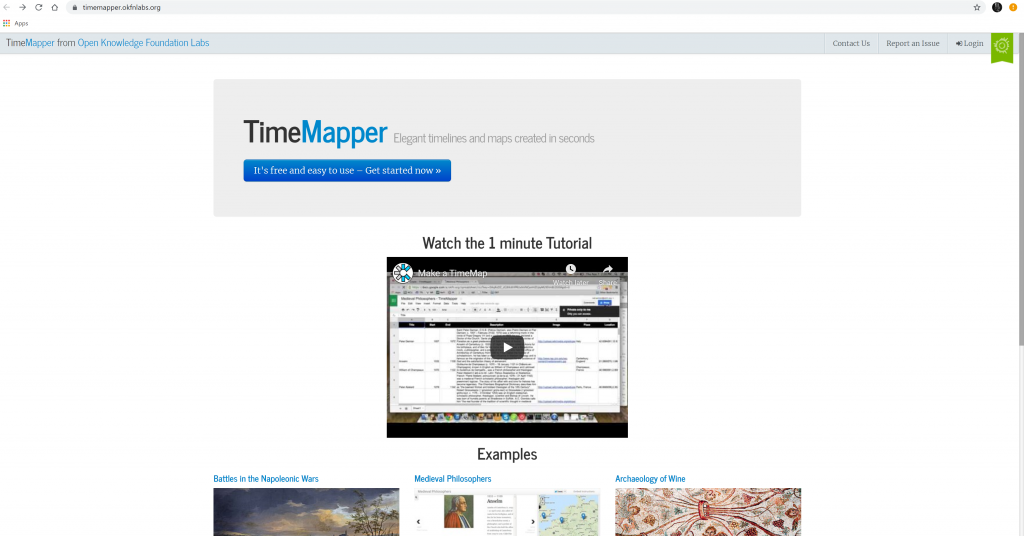
To create your own time map, go to the link provided above and you will see the welcome page:
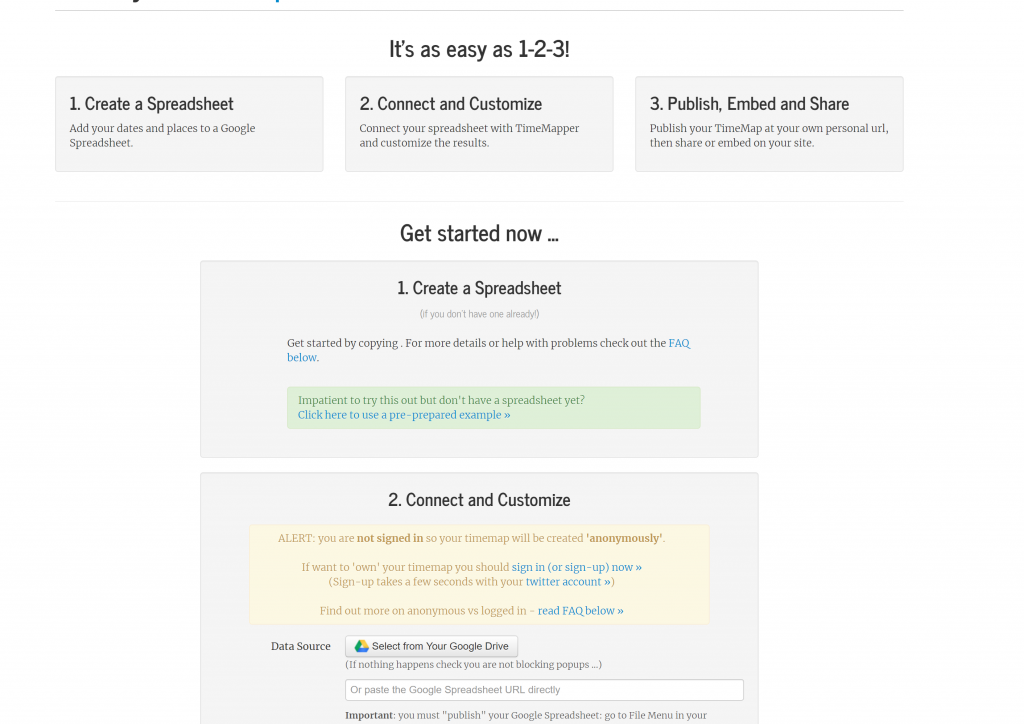
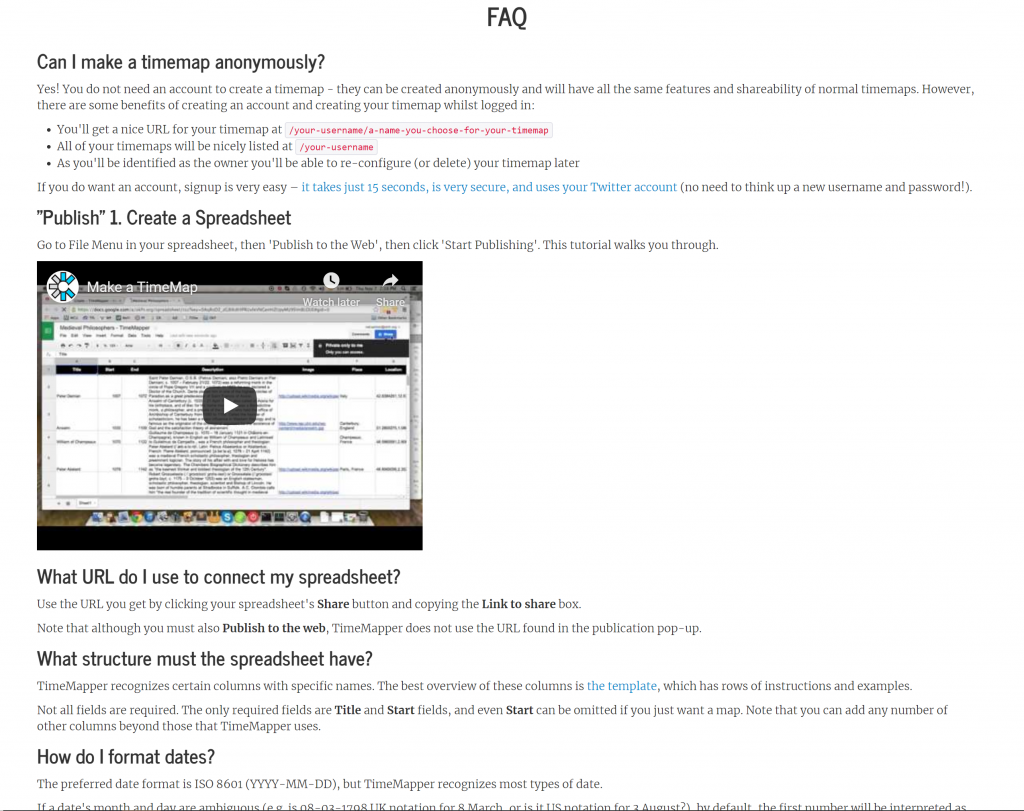
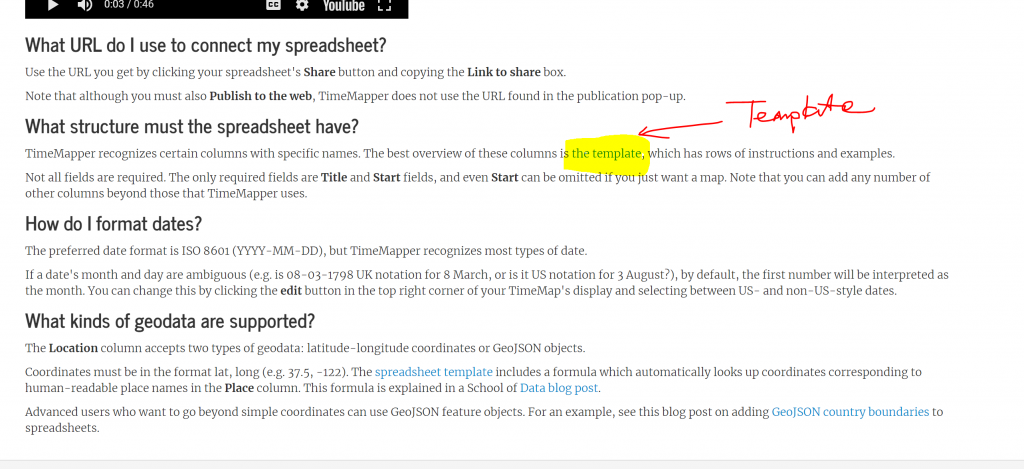
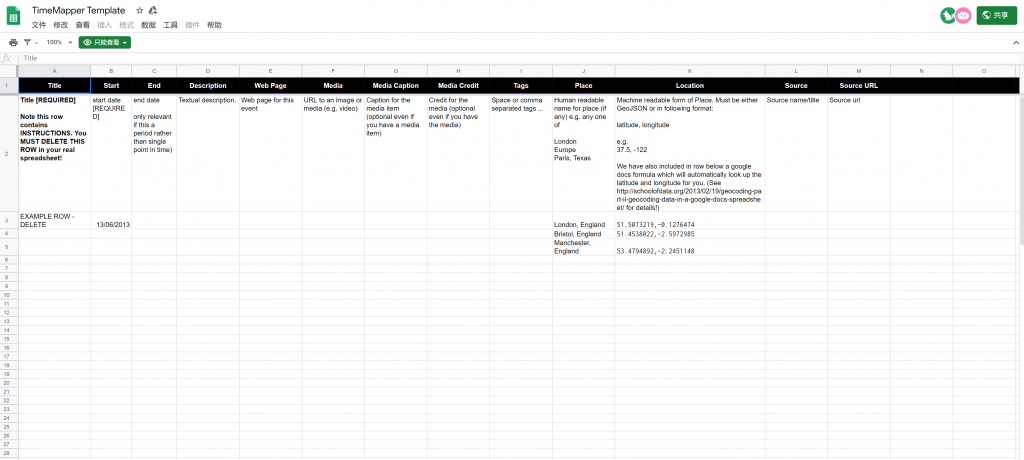
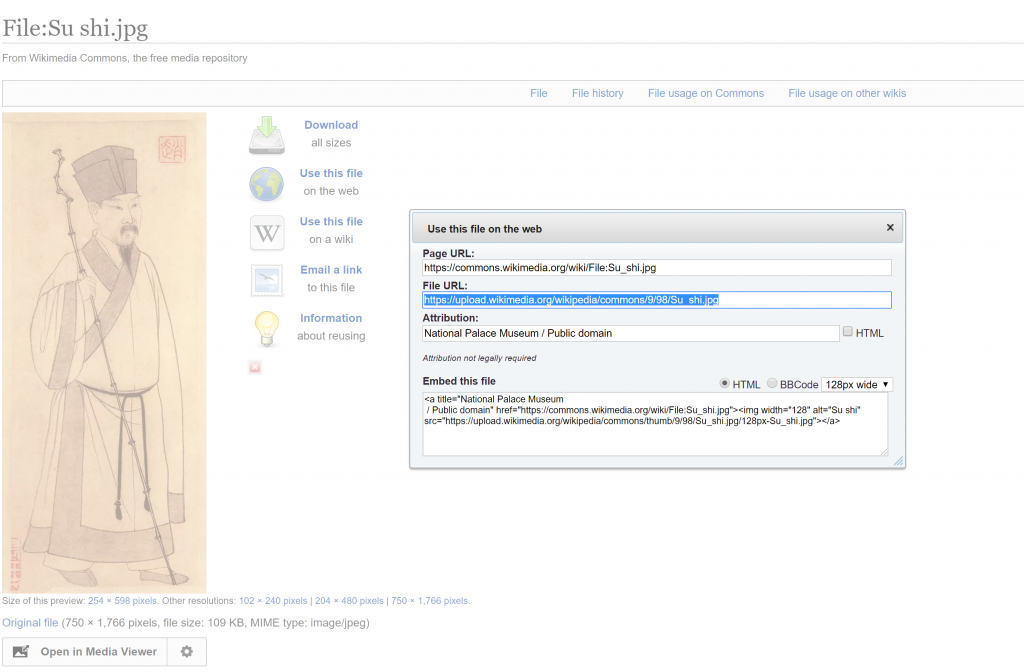
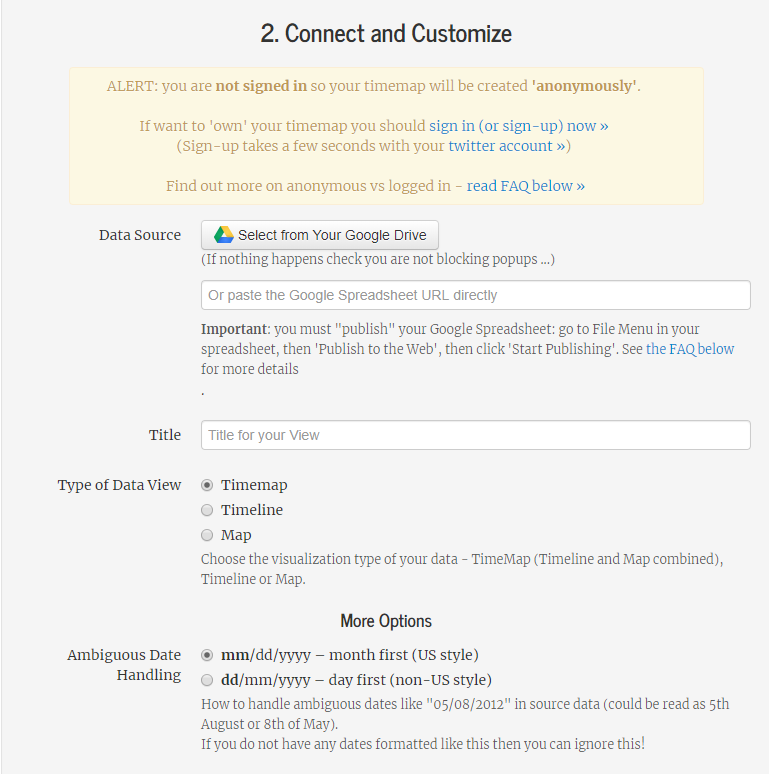
The Welcome Page of TimeMapper is simple, and the 1-minute Tutorial Video is very helpful for first-time users.This is the step-by-step process of making your own time map. If you have no idea how to make it, you could click the model data template that the developer provided to see how it goes. Also, the TimeMapper sets you as anonymous as the default unless you log in with your Twitter account. To create your own time map, you shall download the Excel template under the instruction page at the highlighted link. This is the given Excel Template. Inside, you could find clear instructions for each row’s data entry requirement. Take our final project’s Su Shi’s image as an example. If you want to embed an image in your time table, you should find the image’s URL link for the website. I found it from Wiki database. Also, for geographical locations’ entry requirements, you should find the right places’ latitude and longitude, which could be obtained via Google Maps through the instruction above. Following the instruction given above, I found the latitude and longitude data from Google Maps for the birthplace of Su Shi, which is Meishan, Sichuan, China.Finally, you should follow the video instruction to publish your own Excel sheet and share it with the public. Put the link in the given place on the TimeMapper website, and you are done!
Thanks for this tutorial! I found it particularly helpful the way that you provided an explanation for the difference between TimeMapper and ArcGIS’ Story Map– I always understand the larger system better when the differences between two tools that appear to be very similar are underlined. Your advice on which tool is better for which project was very helpful and did what a tutorial should do, I think, which is to guide the user from a human point of view, and starting at the user’s end-goal or desired project in mind. I also appreciated the information on logging in and account logistics– this is often skipped over in many tutorials online.


One reply on “Tutorial for TimeMapper”
Thanks for this tutorial! I found it particularly helpful the way that you provided an explanation for the difference between TimeMapper and ArcGIS’ Story Map– I always understand the larger system better when the differences between two tools that appear to be very similar are underlined. Your advice on which tool is better for which project was very helpful and did what a tutorial should do, I think, which is to guide the user from a human point of view, and starting at the user’s end-goal or desired project in mind. I also appreciated the information on logging in and account logistics– this is often skipped over in many tutorials online.